| Table of Contents |
|---|
Create service account for the project
- Go to https://console.developers.google.com/projectselector/permissions/serviceaccounts
- Select a project. You can create a new one too if you do not have one yet (e.g. jogetsample).

- Click on Create Service Account.

- Name the service account (e.g. jogetsample).
Remember to check Furnish a new private key and also Enable Google Apps Domain-wide Delegation. Press Create.
- A .json file will be downloaded. Open up the file in your favorite text editor.
Enable Google Drive
...
API for the project
- Go to https://console.developers.google.com/apis/library
- Make sure that your current project is selected (e.g. jogetsample).

- Click on Google Drive API.

- Enable it.
Delegate Google Drive access to the project service account
- Go to https://admin.google.com/AdminHome?chromeless=1#OGX:ManageOauthClients.
- From the downloaded JSON file earlier, copy the "client_id" and put into the Client Name field.

In the field
Code Block https://www.googleapis.com/auth/drive.file
Click Authorize.
Configure Joget Workflow App
From the downloaded JSON file earlier, copy the "client_email" and "private_key" values.
In your Joget app, select Google API Configuration in Properties & Export -> Set Default Plugin Properties
Key in the value of "client_email" value into OAuth 2.0 Client ID, and value of "private_key" into OAuth 2.0 Client Secret, then Submit.

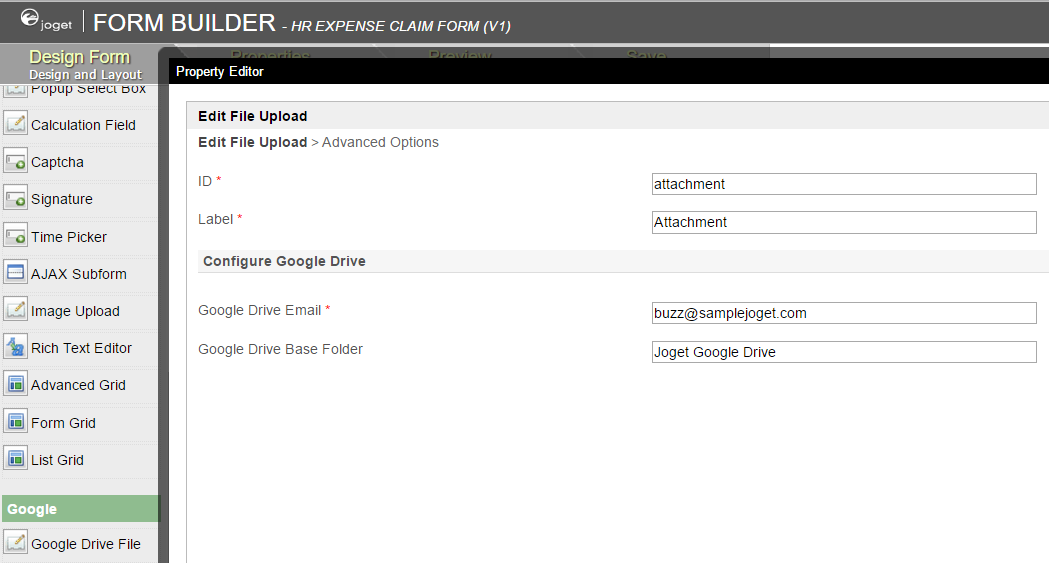
Google Drive Form Element
- With the steps above done, you are now ready to use the Google Drive File form element.
- Just configure on which user's Google Drive you want to store to and name the folder accordingly.