...
- In the App design page, click on the Processes menu on the left, and then on the Design Processes button along the top.
- The Process Builder is one of the main highlights in Joget Workflow v5 replacing the older Workflow Designer.
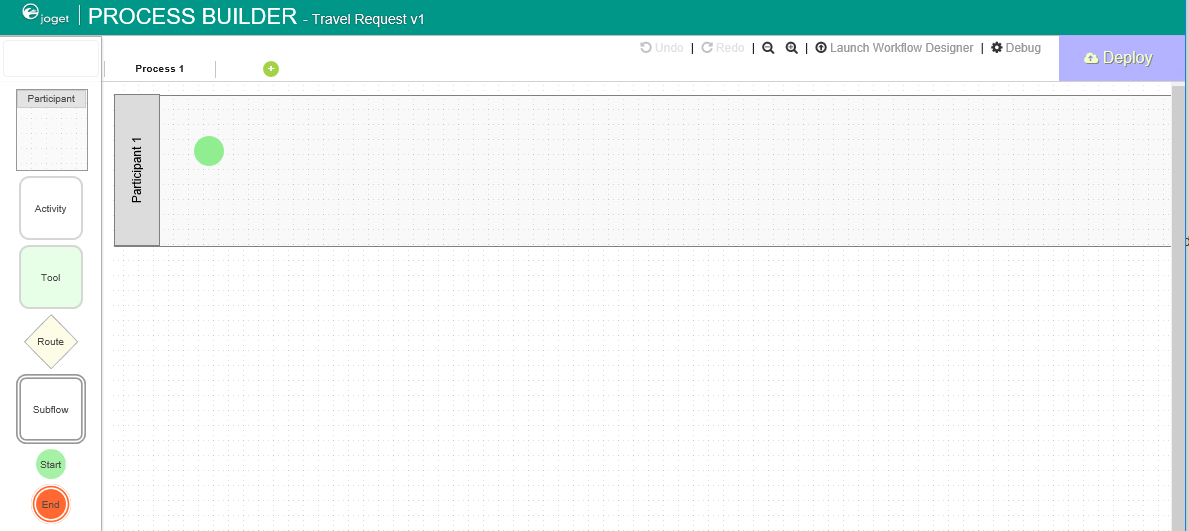
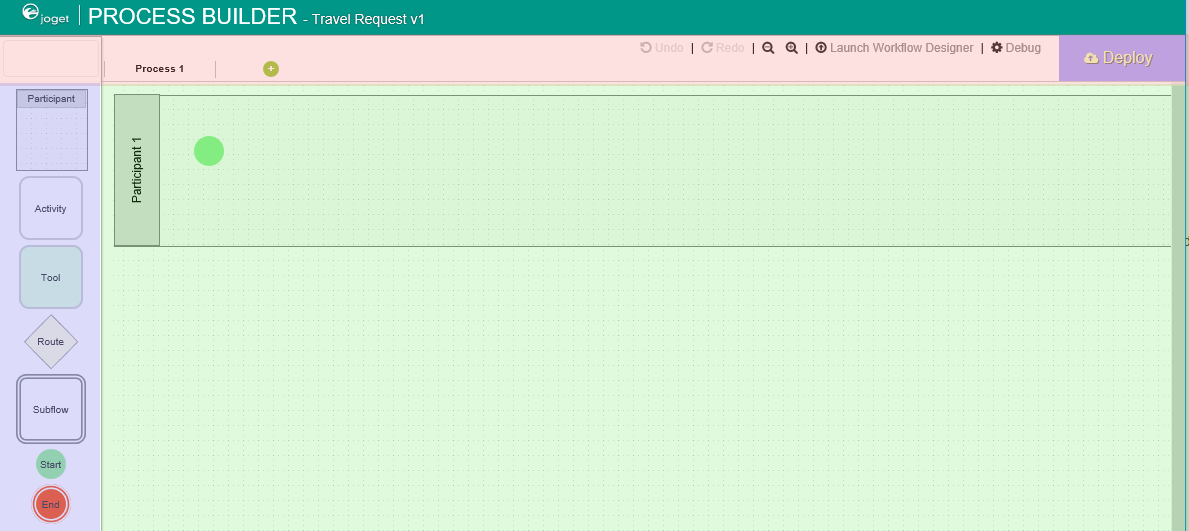
- There are 3 main areas in the Process Builder. On the top (red), the Navigator panel contains a list of processes together with the action buttons on the right. On the left (blue), this is where the element palette is placed by default. One can move it around to suit one's style. The main panel in the middle is the Graph area (green) that contains the actual process diagram.
- Click on the edit icon under the process name in the Navigator. This brings up the properties dialog where you can edit the process details.
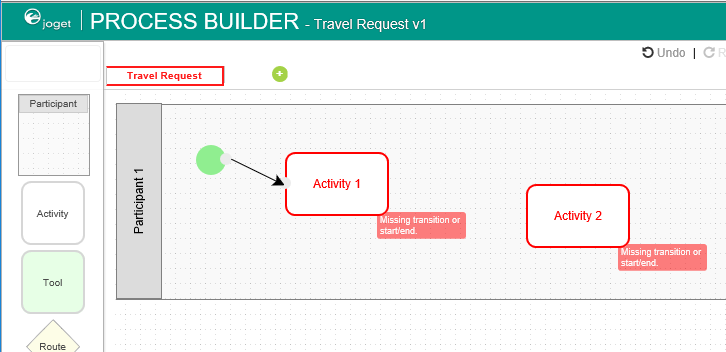
- Add Participants into the process by clicking on the green add button under current Participant. Participants represent users or roles that perform a certain task. Click on the edit button while hovering over the participant name to set its properties.
- Add activities, tools and routes into the process diagram. Activities represent forms which require human interaction. Tools represent system or automated tasks, and routes are decision points. Use transitions to link them all together in a flow. You may either expand your design by connecting from existing nodes or by dragging the required nodes from the element palette into the process diagram.
To handle routing (for example approval conditions), use Routes in combination with workflow variables. To create a workflow variable, double click on the process name in the Navigator to bring up the process dialog. Click on the first small icon under the Workflow variable heading, and key in the ID of the variable e.g. status.
Info title Routes Learn more about Process Routes.
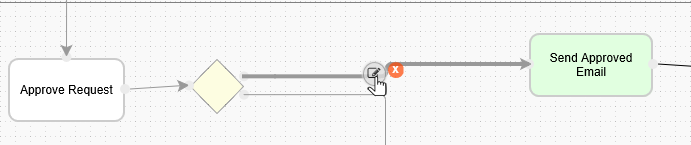
- Once a workflow variable has been defined, hover over on a transition and click on the edit icon to open the transition dialog.
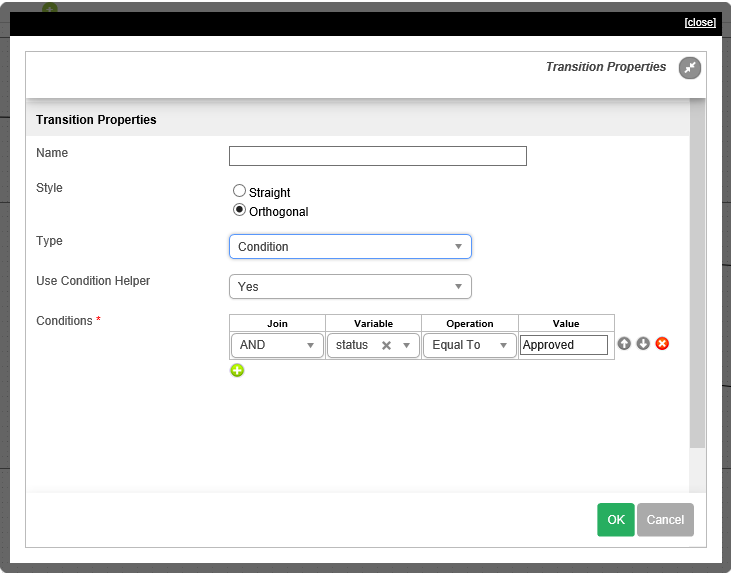
- In the transition dialog, select type Condition, select the variable status in Variable and key in Approved into the Value field*.* This means that this transition will occur if the value of status is "Approved".
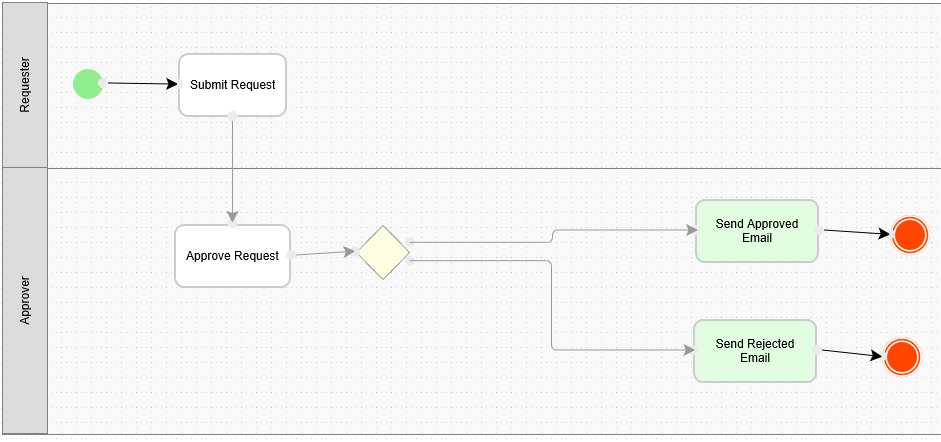
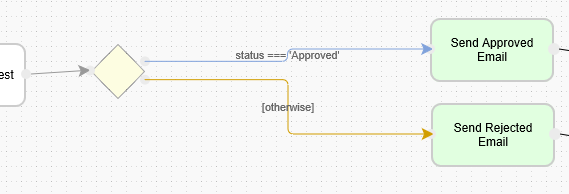
- Set the transition type to Otherwise to indicate that it is the default path to take when other conditions are not met. The Otherwise transition is shown in orange. An example of a simple routing process is as shown below:
- Ensure that the process has a proper Start and End. Click on Deploy to deploy the process to the server.
...