...
- Login to the OpenShift console as the cluster admin
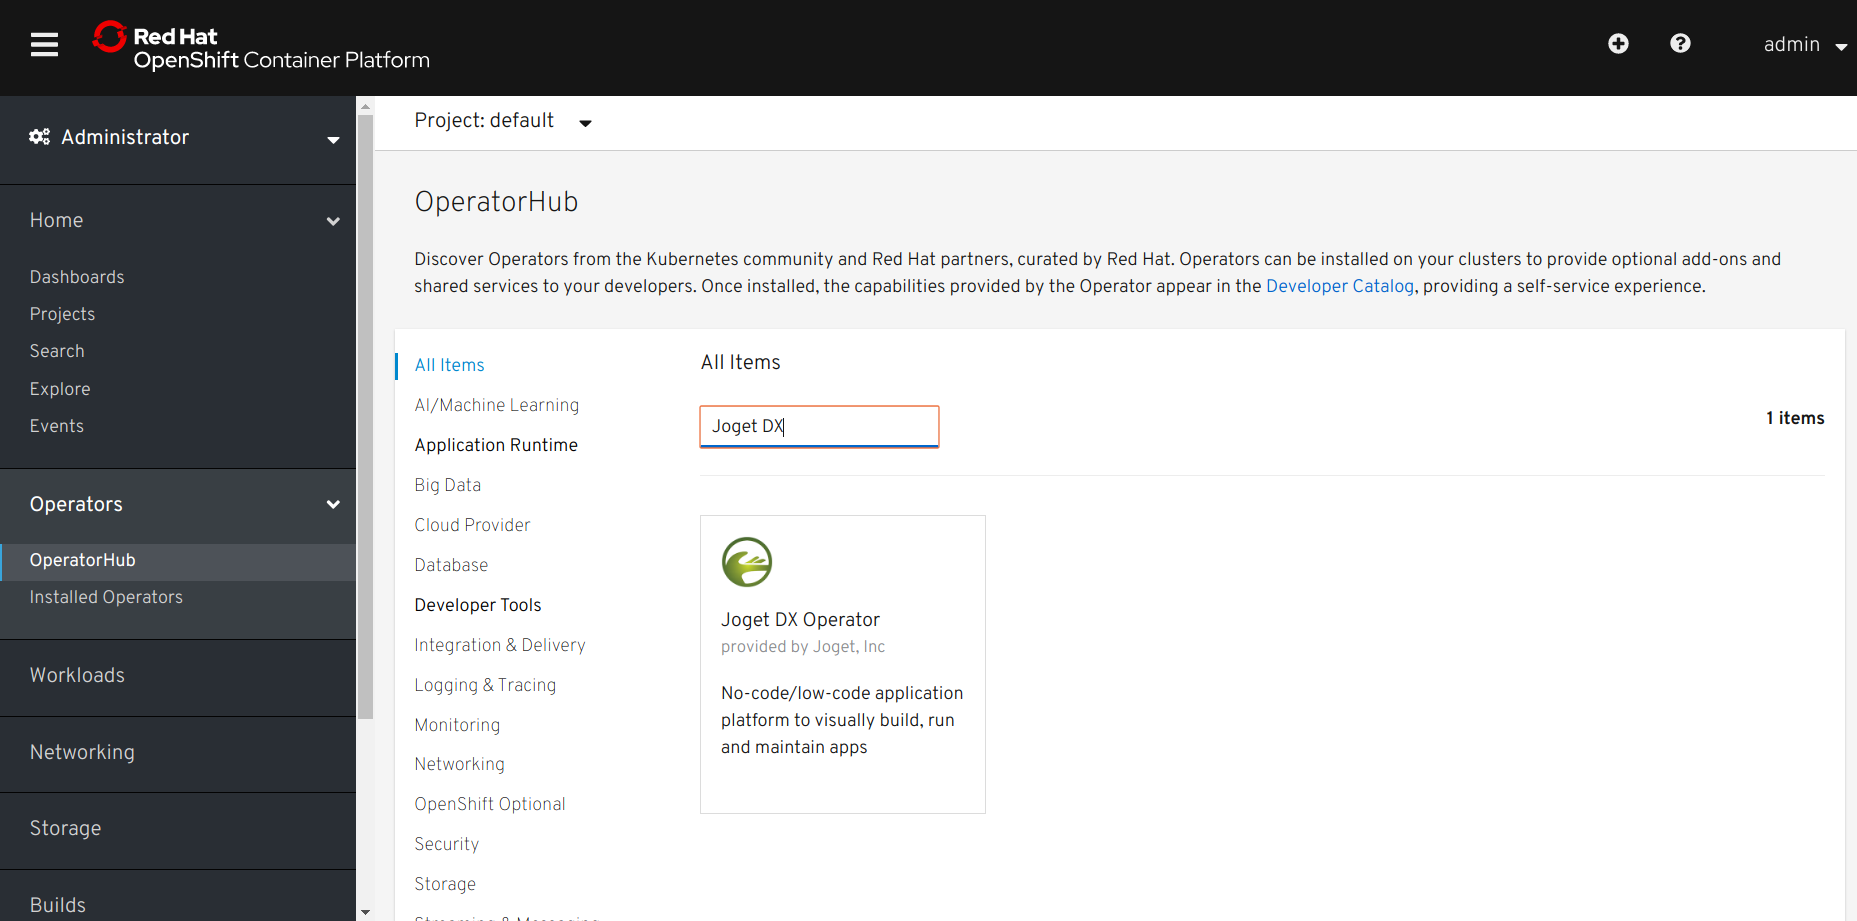
- Browse to Catalog > OperatorHub and search for Joget DX
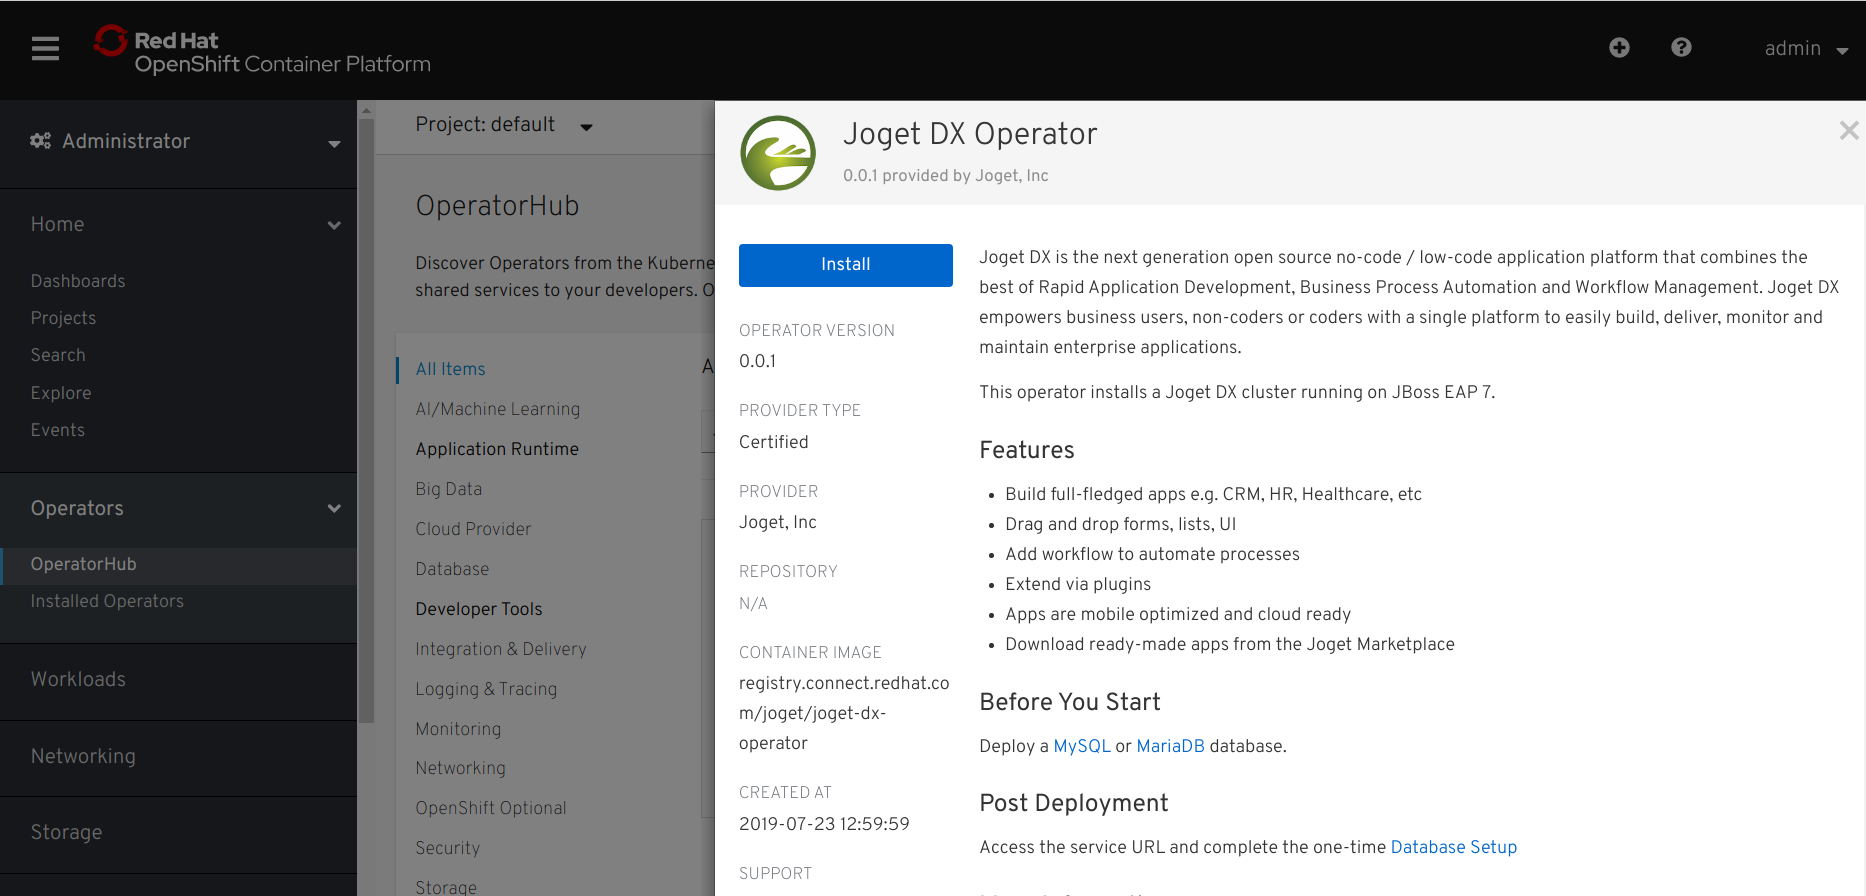
- Select the Joget DX Operator, and click on the Install button
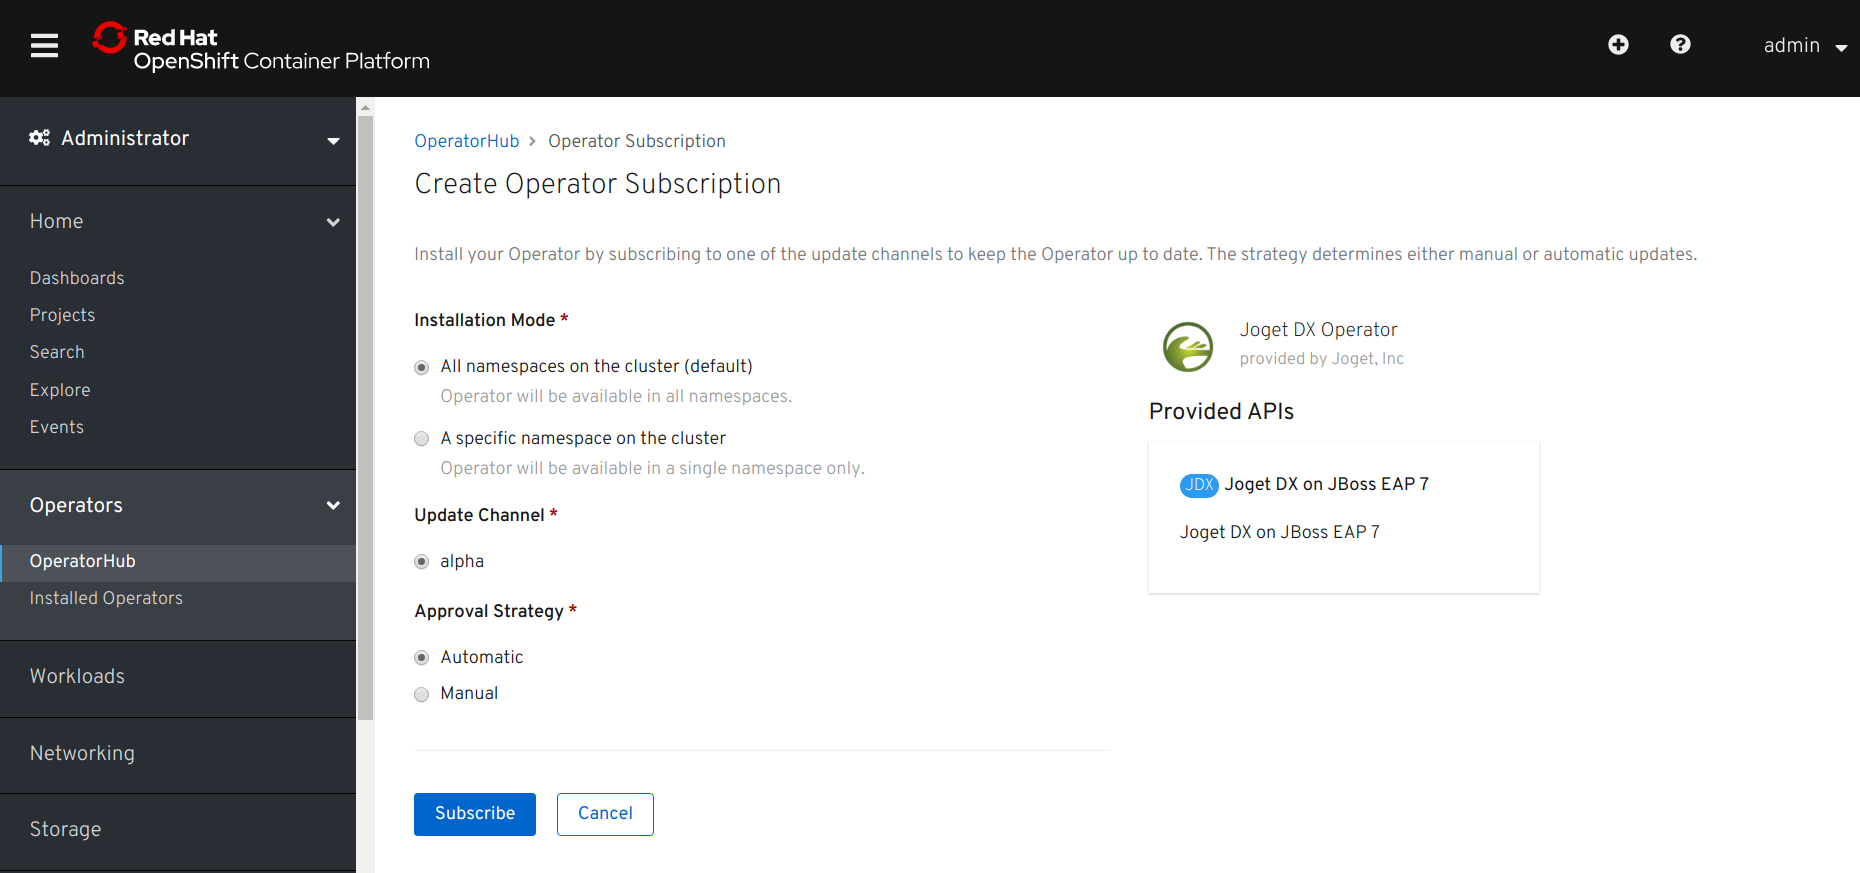
- Click on the Subscribe button to install the Joget DX Operator.
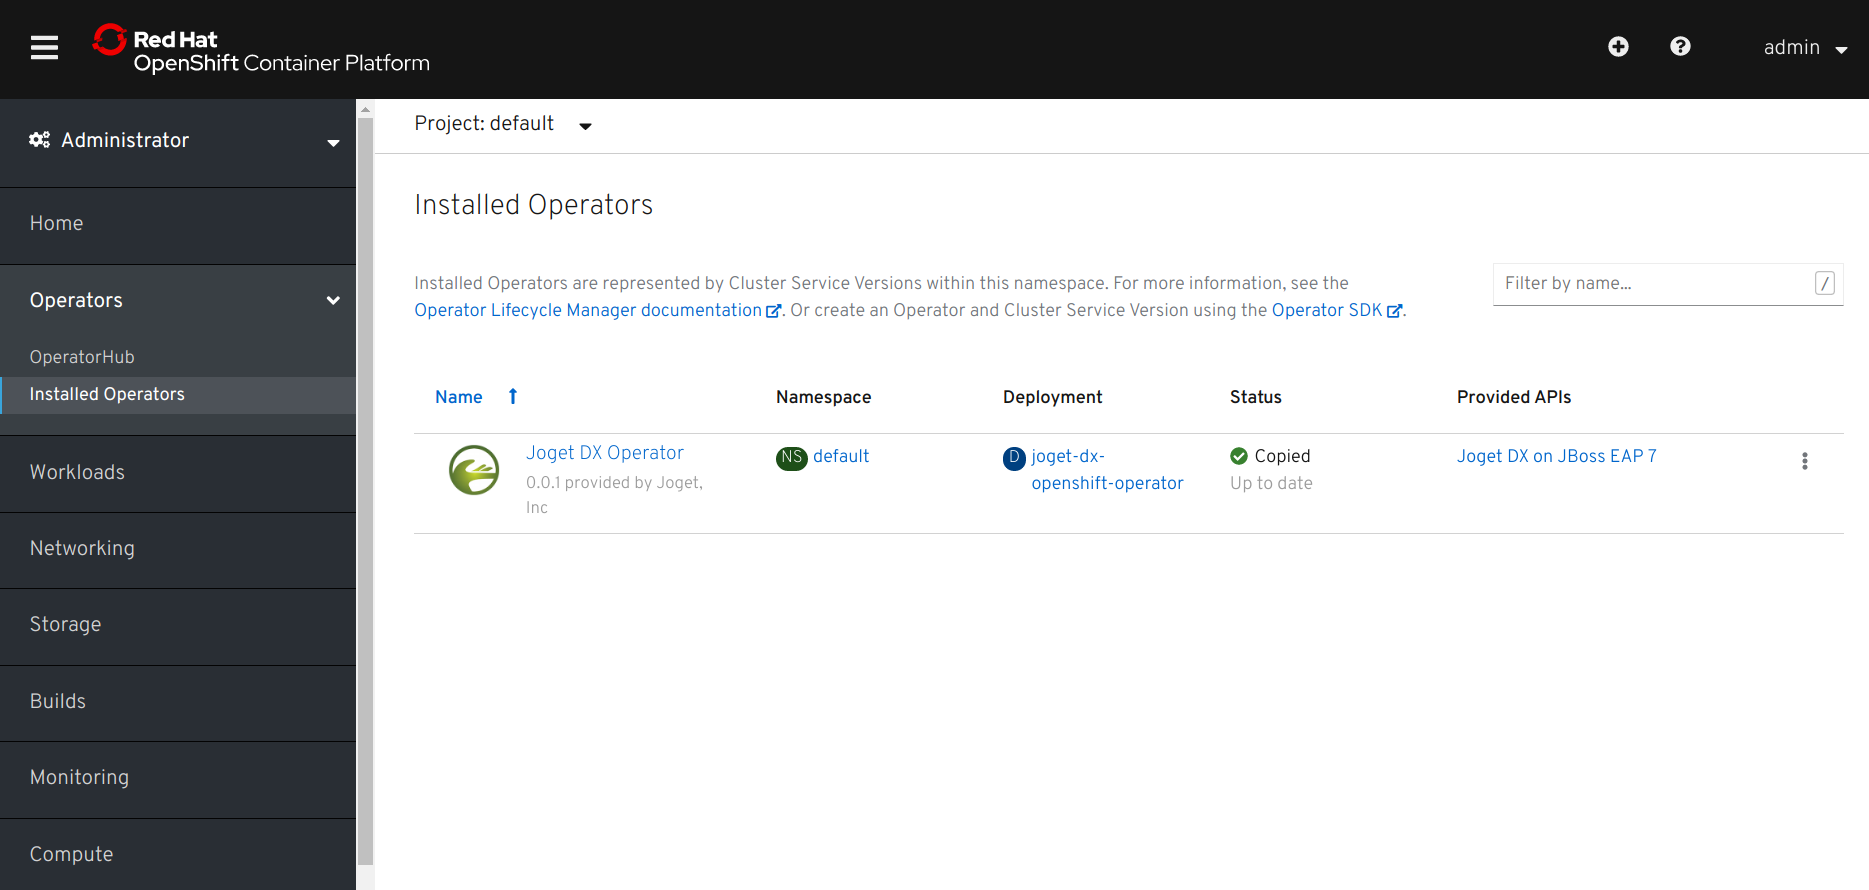
- Browse to Catalog > Installed Operators and select Joget DX Operator to confirm that the operator has been installed successfully.
Tutorial Part 2: Create a Joget Cluster with the Joget DX Operator
...
- Now that the Joget Operator has been installed, login to the OpenShift console as a normal user.

- Browse to Projects and click on the Create Project button. Enter a name and click on Create.

- As a prerequisite, you will need to deploy either a MySQL or MariaDB database in the project.
The fastest way to deploy MySQL would be to use the OpenShift CLI e.g.:
Code Block # deploy persistent mysql export DB_APP_NAME=joget-mysqljogetdb export MYSQL_DATABASE=jwdb export MYSQL_USER=joget export MYSQL_PASSWORD=joget oc new-app openshift/mysql-persistent --name $DB_APP_NAME -p DATABASE_SERVICE_NAME=$DB_APP_NAME -p MYSQL_USER=$MYSQL_USER -p MYSQL_PASSWORD=$MYSQL_PASSWORD -p MYSQL_DATABASE=$MYSQL_DATABASE
registry- Alternatively, you can deploy using the OpenShift Console. For MySQL, you can use either the public docker hub image centos/mysql-57-centos7, or the certified one from the Red Hat Registry registry.redhat.io/rhscl/mysql-57-rhel7.
To access images from the Red Hat Registry, you will need to create a Secret containing a valid Red Hat login. If you do not have an account, you can acquire one by registering for one of the following options: - Red Hat Developer Program. This account gives you access to developer tools and programs. 30-day Trial Subscription. This account gives you a 30-day trial subscription with access to select Red Hat software products.
- . redhat.io
- Username: Red Hat login username Password: Red Hat login password
- Browse to the project, go to Workloads and click on add other content.

- Select Database.

- Search for MySQL.

- Select MySQL then click on Instantiate Template.

- MYSQL_DATABASE: jwdb
- MYSQL_USER: joget MYSQL_PASSWORD: joget
- Name: joget-mysql Environment Variables:
- Key in the following configuration and click on Create.

- Database Service Name: jogetdb
- MySQL Connection Username: joget
- MySQL Connection Password: joget
- MySQL Database Name: jwdb
- Go to Workloads → Deployment Configs to verify that the MySQL database has been deployed successfully.

Browse to Workloads > Secret, select Image Pull Secret from the Create dropdown and key in the Red Hat registry server and login information e.g.
 Registry Server Address:
 2.2 Deploy Joget DX using the Joget DX Operator
- Browse to Operators > Installed Operators.

- Select the Joget DX Operator, and click on Create Instance.

- By default the configuration for “name” is “example-joget” and “size” is 1 (the number of required Joget instances). Modify the values as required, click Create.

- The Joget DX Operator will automatically start to deploy the required number of Joget DX instances along with all the required resources, which should take a few minutes.

- Select the created Joget name, and click on Resources to see the resources automatically created and managed by the Joget DX Operator.

- Click on Events to see the events as they happen

2.3 Complete One-Time Joget Database Setup
- Browse to Home > Projects and select the Joget DX project. Click on Workloads tab and select Joget DX deployment. After a few minutes, you should see at least 1 available MATCHING PODS.

- Select Resources to see the created Services and Routes. Copy the Location in the created Route. That is the URL to access Joget DX from an external browser.

- Access the Joget DX URL and in the Database Setup page, key in the database configuration of the database deployed earlier and click on the Save button.

- Database Type: MySQL
- Database Host: the service name of the database e.g. jogetdb
- Database Port: 3306
- Database Name: the configured database name e.g. jwdb
- Database User: the configured username e.g. joget
- Database Password: the configured password e.g. joget
- Once the setup is completed, click on Done and you will be brought to the Joget DX App Center.
