...
From the downloaded JSON file earlier, copy the "client_email" and "private_key" values.
Thai จากไฟล์ JSON ที่ดาวน์โหลดมาก่อนหน้านี้ให้คัดลอกค่า "client_email" และ "private_key"
In your Joget app, select Google API Configuration in Properties & Export -> Set Default Plugin Properties
Thai ในแอป Joget ของคุณเลือกการกำหนดค่า Google API ใน Properties & Export -> Set Default Plugin Properties
Key in the value of "client_email" value into OAuth 2.0 Client ID, and value of "private_key" into OAuth 2.0 Client Secret, then Submit.
Thai ป้อนค่าของ "client_email" ค่าลงใน OAuth 2.0 รหัสลูกค้าและค่าของ "private_key" ลงใน OAuth 2.0 ไคลเอนต์ลับแล้วส่ง Submit


Google Drive Form Element
...
With the steps above done, you are now ready to use the Google Drive File form element.
Thai เมื่อทำตามขั้นตอนข้างต้นเสร็จแล้วคุณก็พร้อมที่จะใช้องค์ประกอบของไฟล์ในรูปแบบ Google Drive File
Just configure on which user's Google Drive you want to store to and name the folder accordingly.
Thai เพียงกำหนดค่าไดรฟ์ Google ของผู้ใช้ที่คุณต้องการจัดเก็บและตั้งชื่อโฟลเดอร์ตามนั้น


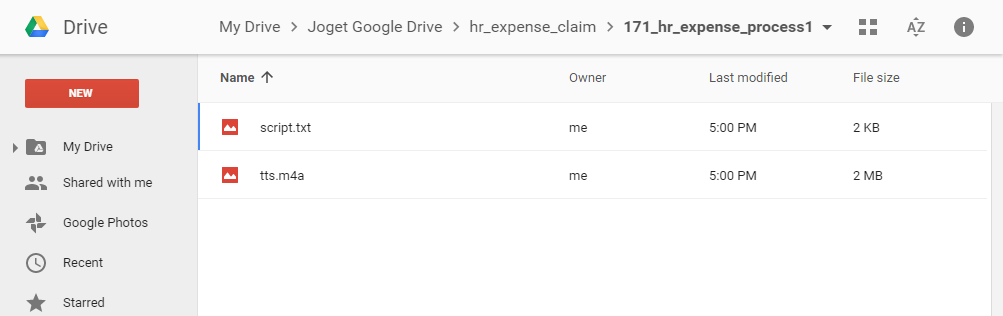
Files uploaded will follow the same folder structure as the native File Upload element. Here's the sample screenshot in Google Drive.
Thai ไฟล์ที่อัปโหลดจะเป็นไปตามโครงสร้างโฟลเดอร์เดียวกับองค์ประกอบก File Upload ดั้งเดิม นี่คือภาพตัวอย่างใน Google Drive
...