| Panel | ||||||||||
|---|---|---|---|---|---|---|---|---|---|---|
| ||||||||||
Manage API Key userview menu handles API call authentication for APIs created with the API Builder. This userview menu is already bundled in the API Builder plugin. |
| Table of Contents |
|---|
Configure API Access
| Name | Description | Screens (Click to view) | ||||||||||||
|---|---|---|---|---|---|---|---|---|---|---|---|---|---|---|
API Key | An automatically generated unique identifier used to authenticate to an API document. |
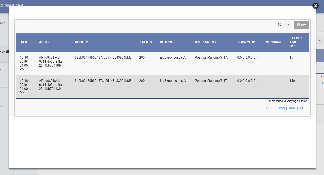
Figure 1: Manage API Key in a userview
Figure 2: Manage API Key - Log view
Figure 3: Manage API Key - New/Edit access | ||||||||||||
| Authentication Method | Methods available:
Required keys in the request header:
| |||||||||||||
API Secret (API Key & Token method) | A secret string commonly used in the token pattern. | |||||||||||||
Token Pattern (API Key & Token method) | Token Pattern consists of hash algorithm and variables. Format:
Supported hash algorithm:
Supported variables:
Examples:
| |||||||||||||
Permission Plugin (Basic access authentication method) | Select a permission plugin and configure its properties. Find list of available permission plugins here. | |||||||||||||
| Custom Authenticator Plugin | Select a custom authenticator plugin and configure its properties. This option is shown only if a plugin of that type exist in the system. Learn more about API Authenticator plugin here. | |||||||||||||
| Custom Authentication Method | Methods available:
| |||||||||||||
| Domain Whitelist | Domain whitelist to allow API calls.
| |||||||||||||
| IP Address Whitelist | IP address whitelist to allow API calls.
| |||||||||||||
| Remark | Any remark or description for the created API access. |

Configure Userview Menu
Manage API Key properties
| Name | Description | Screens (Click to view) | ||||
|---|---|---|---|---|---|---|
| ID | Menu element unique ID. Joget will use this ID in the URL if the Custom ID is empty. |
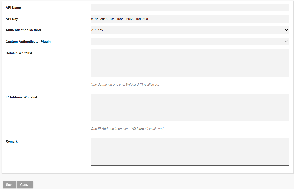
Figure 4: Manage API Key properties | ||||
| Custom ID | Item link slug. Optional field.
| |||||
| Label | Menu label. Mandatory field. | |||||
| API Document Name | Select an API Document that you have created with the API Builder, for configuration of access in runtime. |

UI
List
| Name | Description | Screens (Click to view) |
|---|---|---|
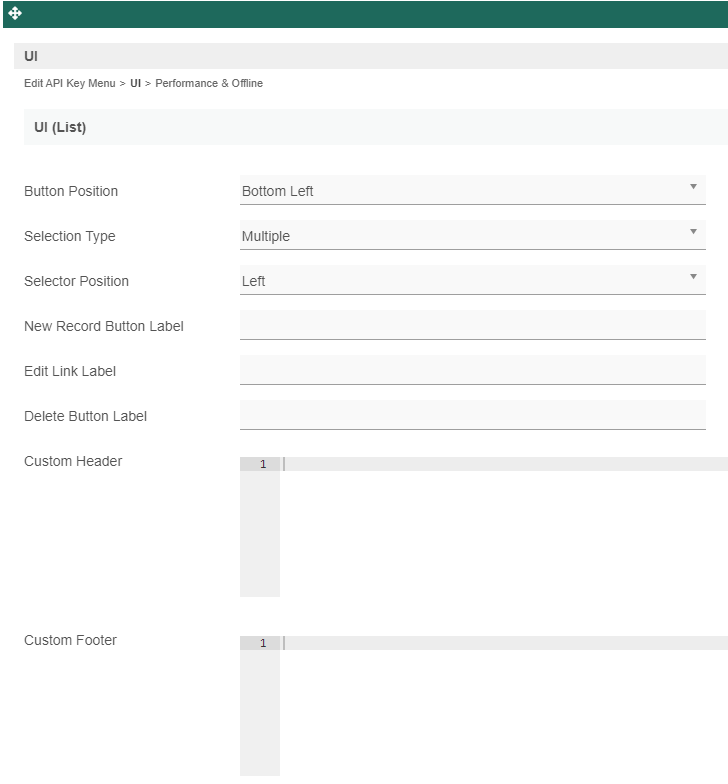
| Button Position |
|
Figure 5: UI (List) |
| Selection Type |
| |
| Selector Position |
| |
New Record Button Label | New record button label to show in listing. | |
Edit Link Label | Edit button label to show in listing. | |
Delete Button Label | Delete button label to show in listing. | |
Custom Header | Custom HTML to show above the listing. | |
| Custom Footer | Custom HTML to show below the listing. |
Add
| Name | Description | Screens (Click to view) |
|---|---|---|
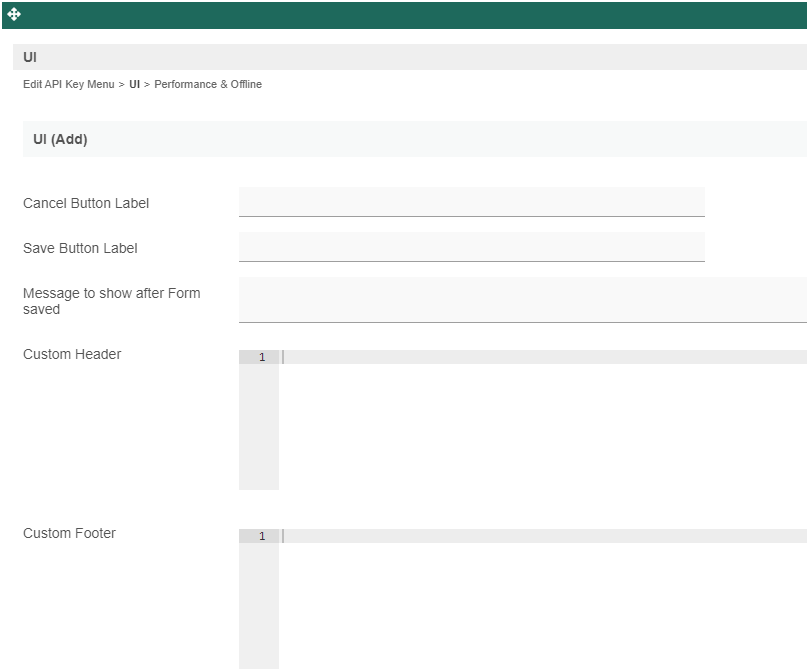
| Cancel Button Label | Cancel button label to show in add new record form. |
Figure 6: UI (Add) |
| Save Button Label | Save button label to show in add new record form. | |
| Message to show after Form saved | Message to show in a browser popup, after new record is saved. | |
| Custom Header | Custom HTML to show in header of add new record form. | |
| Custom Footer | Custom HTML to show in footer of add new record form. |
Edit
| Name | Description | Screens (Click to view) |
|---|---|---|
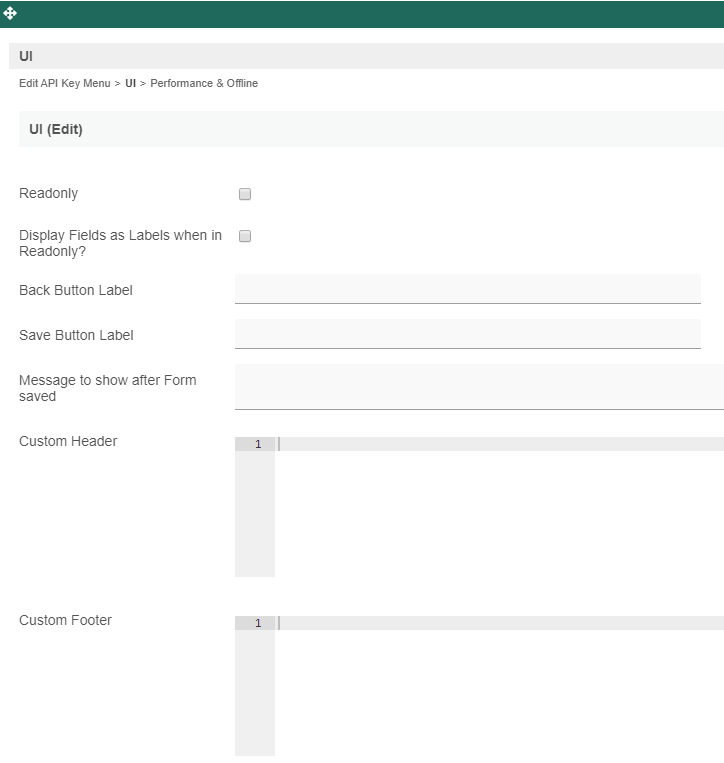
| Readonly | If checked, the form will be rendered as read-only and not editable anymore. |
Figure 7: UI (Edit) |
Display Fields as Labels when in Readonly? | When the form is in read-only mode, determines if values should be displayed as is (label form) instead of being shown in original input fields. | |
| Back Button Label | Back button label. Default value: Back | |
Save Button Label | Save button label. | |
| Message to show after Form saved | Message to show in a browser popup, after a record is successfully edited. | |
| Custom Header | Custom HTML to show in header of edit record form. | |
| Custom Footer | Custom HTML to show in footer of edit record form. |
Performance & Offline
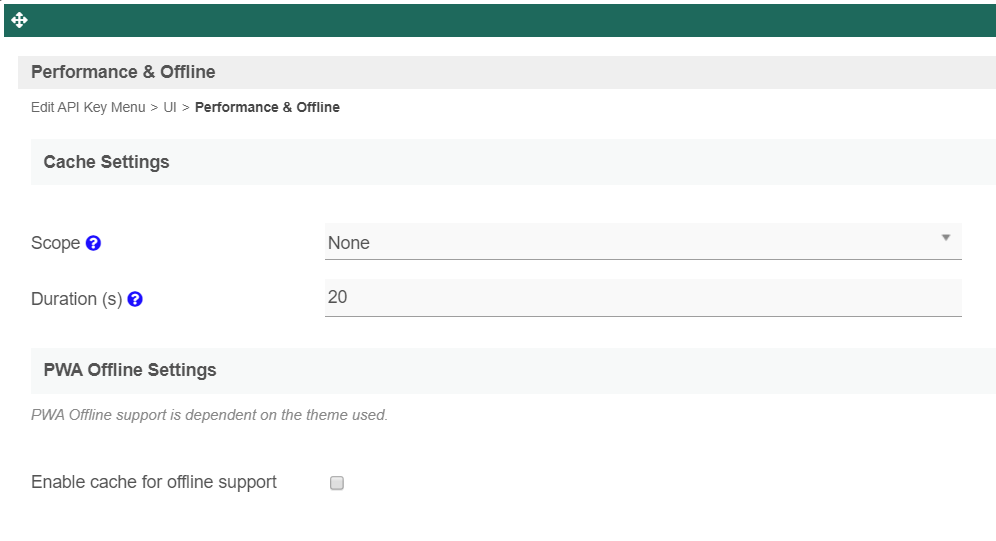
Figure 8: Performance & Offline
- Cache Settings
| Panel | ||||||||||
|---|---|---|---|---|---|---|---|---|---|---|
| ||||||||||
You can configure the Performance settings in this Userview Menu which allows one to cache existing content for improved performance and loading speed. Read more at Performance Improvement with Userview Caching. |
- PWA Offline Settings
| Name | Description |
|---|---|
| Enable cache for offline support | Once enabled, this userview element will be accessible in the event of an offline environment. |