| Table of Contents |
|---|
| English |
|---|
IntroductionIn this tutorial, we will show the process of sending emails using Microsoft Graph API with Joget JSON Tool. The guideline will help you automate the process of sending emails, making it a more efficient and streamlined process. This article will provide a step-by-step guide to help set up and send emails using Microsoft Graph API and Joget JSON Tool. |
Set Up Azure Application
Create Developer Account
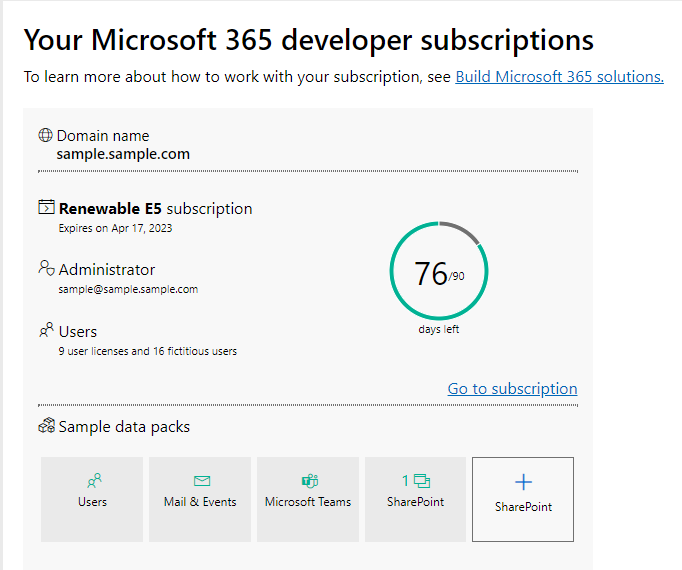
First, You need to set up the Microsoft Graph API configurations, You have to create a Free Microsoft 365 Developer Tenant account from here to register your Azure account to get the tenant ID which is later required to send the email. After creating the account, copy the email address in the "Administrator" secdtion to section and use it to sign up to for Azure.
 h
h
Figure 1: Microsoft 365 Developer Tenant Account Subscription
Create Azure Account
Upon creating Microsoft 365 Developer Tenant account, sign up on Azure here using your given Microsoft 365 Developer Tenant email address in the previous step.
...
Use the email in the "Administrator" section to sign up for your Azure account and this time you will have full access to it.
Register Application
So now with the Azure account set up, we can begin registering an application.
...
Figure 4: Sample App Overview
Get Client Secret
Next up is to get your client secret.
...
| Warning | ||
|---|---|---|
| ||
Make sure you secure this value before leaving or refreshing the page as the value will become hidden afterwards. |
Add API Permissions
Last The last thing to do is to give the Azure app the permission to send emails via the Microsoft Graph API.
To perform this, from the app's overview page, go to API Permissions > Add a Permission > Microsoft Graph > Application Permissions.
Use the search bar to search for "Mail", Select Mail list and tick "Mail.Send". Optionally you can also tick "User.Read.All" if you want to see the list of users who can use this Azure app. Add the permissions to grant your Azure app the permission to send emails.
...
Figure 6: API Permission Settings
Using Joget JSON Tool to Call API
Joget JSON Tool is a plugin included in the Process builder that lets you issue JSON web service calls. In order to properly send an email with the MS Graph API, you will need in total 2 of these JSON tools. One to request for an access token and the other to actually send the email.
Requesting Access Token
Courtesy to Microsoft's documentation, to acquire the access token, you will need a POST request to the URL:
...
Next up is to give the request the appropriate parameters, this request has to include the following:
- A client Client ID
- The client Client secret
- A grant Grant type
- And a scopeScope
Following the steps above, you should have the client ID and client secret with you, simply enter those two values with the name "client_id" and "client_secret".
...
Upon Completion, you would have successfully requested and stored our access token for the second JSON tool.
Sending the Email
Courtesy to of Microsoft's documentation and this Stackoverflow guide, to send an email, we will need another POST request with the link:
...
For this guide, we will be using the first one since we are using client credentials flow as explained above, enter the appropriate information to your second JSON tool and make the Body Type as "Custom JSON Payload".
...
Figure 11: Mapping Configurations
Getting userPrincipalName via Azure
This "id | userPrincipalName" refers to the ID or "principal name" of the user that will be sending the email. The format of an ID will be a 32 long random string separated into 5 sections, while the format of a principal name will look like an email address. Most emails and IDs will be invalid when placed in the request link, to see which emails are allowed, you can check it in your Azure profile.
...
Figure 12: MSFT Overview

Figure 13: MSFT Users
Getting userPrincipalName and ID via GET Request (optional)
Optionally, you can extract both the "User Principal Name" and their ID, by doing a GET request to the link,
...
Feed this GET request with a non-expired access token and if the request is successful, you will be presented with an array of JSON objects that represents all of the user's information, including their "User Principal Name" and ID. It is also important to note, this is where that optional API permission "User.Read.All" is used. For this guide, this method will not be used.
The JSON Payload
After pasting the appropriate request link, time to feed it the JSON Payload
...
Enter the appropriate information for each property, you could either hard code the information in the JSON object, or use hash variables like in the code block above.
Request Headers
After the JSON payload, you will also need to insert the request headers. For this request, it needs two things for their header, "Content-type" and "Authorization".
...
Figure 15: Request Header II
Conclusion
And that's it! With a minimum of 2 JSON Tools, you will be able to send an email using the MS Graph API. By the end, the process of your application should look something like the picture below, 2 tools for requesting an access token and sending the email and any additional activity for automating some of the process, like for the demo app, it is for automating creating the message.
...
Figure 16: Process Builder of Send Email using MS Graph Demo App
Plugin
This guide will provide you with the knowledge to have full control of this process, but if you are just looking for the basic functionality of sending an email using the MS Graph API, then do look into the Send Email with MS Graph Plugin Tool that automates this entire process.
Demo App
Here is the demo app that showcases this guide, please do keep in mind all of the information related to the Azure app has been left empty since those should be filled with your own Azure app. Most of these empty information can be find in the process of the application.
...