Steps To Import This Plugin - Go to the Joget Marketplace plugin page here: https://marketplace.joget.org/jw/web/userview/mp/mpp/_/vad?id=cardviewer_datalist_formatter.
- Click "Download" on this plugin screen (It will be a .jar file).
- Go to your Joget server, and login as admin.
- Navigate to "Admin Bar > Settings > Manage Plugins" and click "Upload Plugins" button.
- In "Upload Plugin", select the plugin .jar file you just downloaded, then click "Upload".
- Depending on the plugin type, you can now use the new plugin in your form or datalist or userview.
- The Joget Knowledge Base has more information on managing and developing plugins.
- Alternatively, you can click Download from Marketplace from the App Center and search for Card Viewer Datalist Formatter plugin to install it.
Steps to use the Plugin: - Start the Joget server and open the App Center.
- Login as admin and click on Design New App (See Figure 1) or click on existing application.
- For new application, fill up the App ID with camel case, App Name and click on Save button. (See Figure 2)
- Create New Form, fill up Form Details and click on Save button. (See Figure 3)
- In the form, drag two Text Fields and an Image Upload to upload image. (See Figure 4)
- Fill up the Text Fields and File Upload, for example:
- First textfield field with id = 'name'
- Second textfield field with id = 'desc'
- File Upload field with id = 'image'
- Click save and generate a CRUD. (See Figure 5)
- Edit the newly created datalist and edit the Name column to add the Card Viewer Datalist Formatter. (See Figure 6)
- Configure the Card Viewer Datalist Formatter by referring to Figure 7.
- After making sure that you are only displaying the Name column in the datalist, save the datalist.
- Next, go to the userview builder and add a new form element. (See Figure 8)
- After that, edit the CRUD and remove the Form (Edit) and save the userview. (See Figure 9)
- If you have followed steps that have been provided, you can click on Preview but nothing will be showed because no data were keyed in the Form yet.
- Therefore, you need to fill in the Form that you have been created, for example:
a. Fill in the Name with 'Alex'
b. Fill in the Description with 'Working as IT Support'
c. Upload an image to be displayed in the card.
- Finally, you can see the final result in the Userview. (See Figure 10)
| 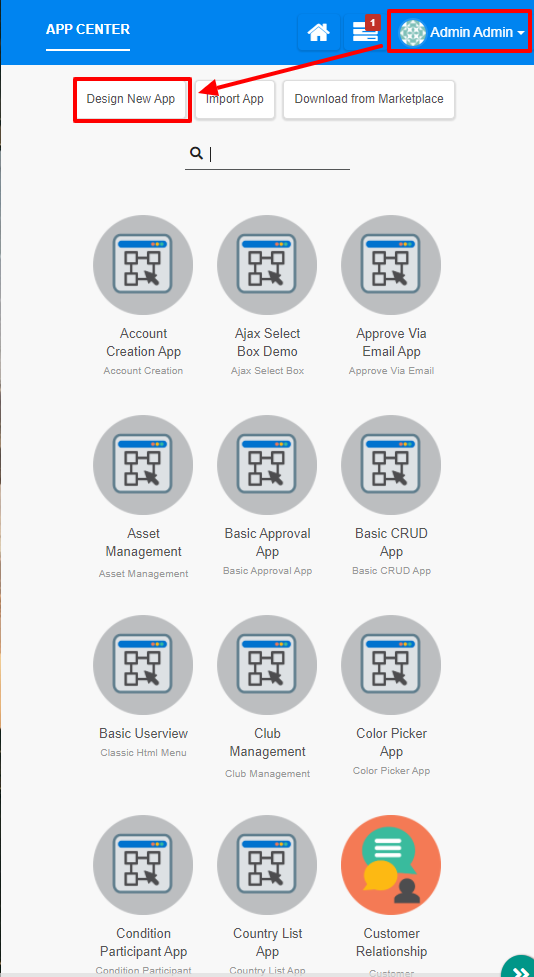
Figure 1  Figure 2 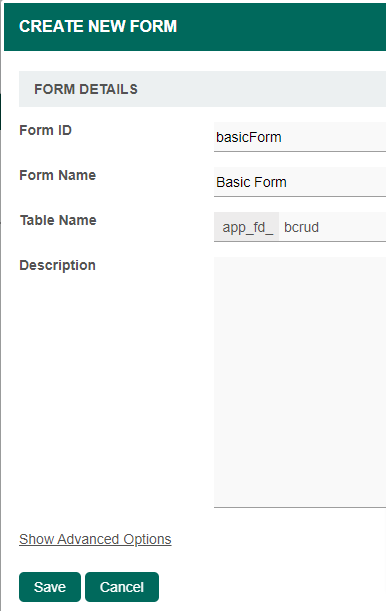
Figure 3 
Figure 4 
Figure 5 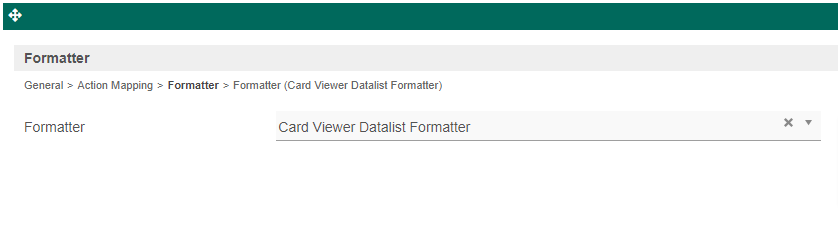
Figure 6 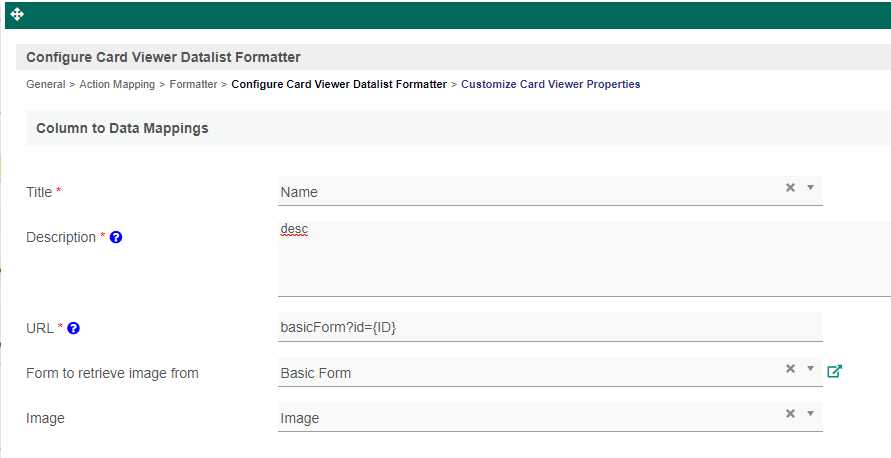
Figure 7
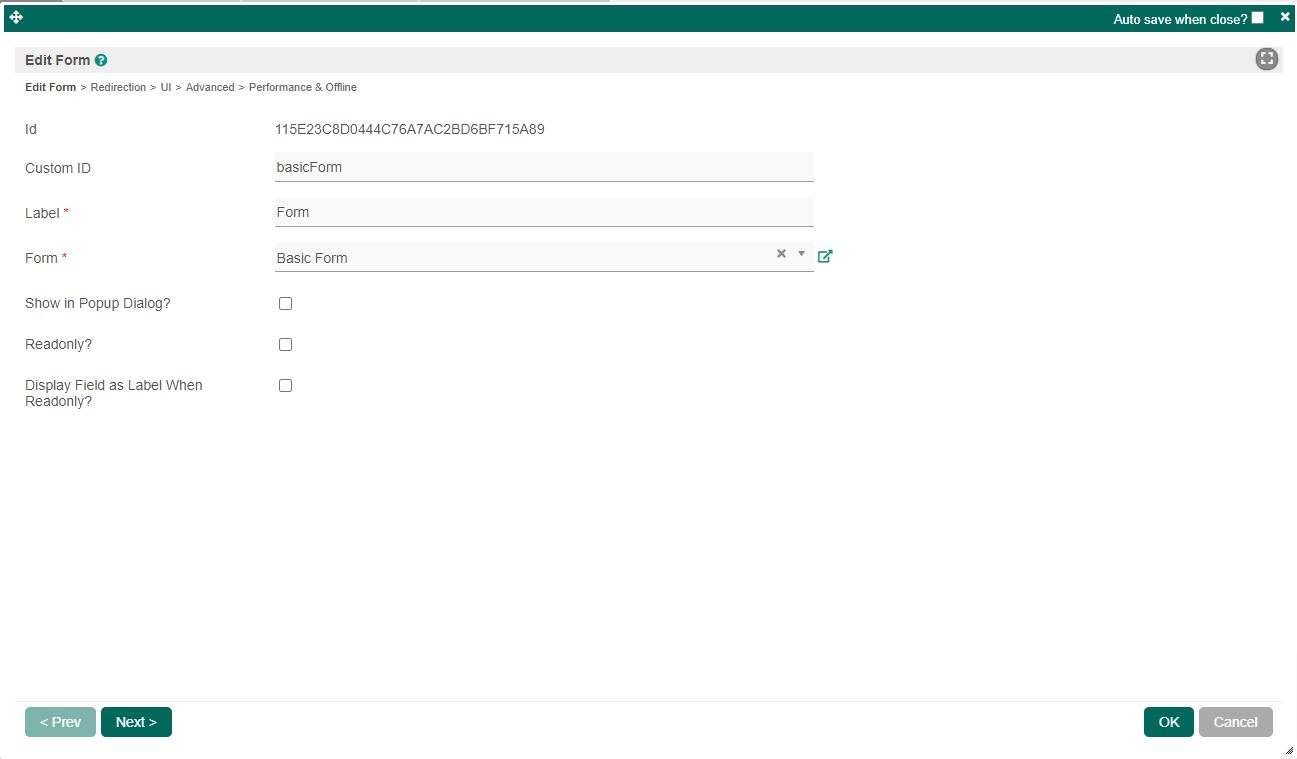
Figure 8 
Figure 9
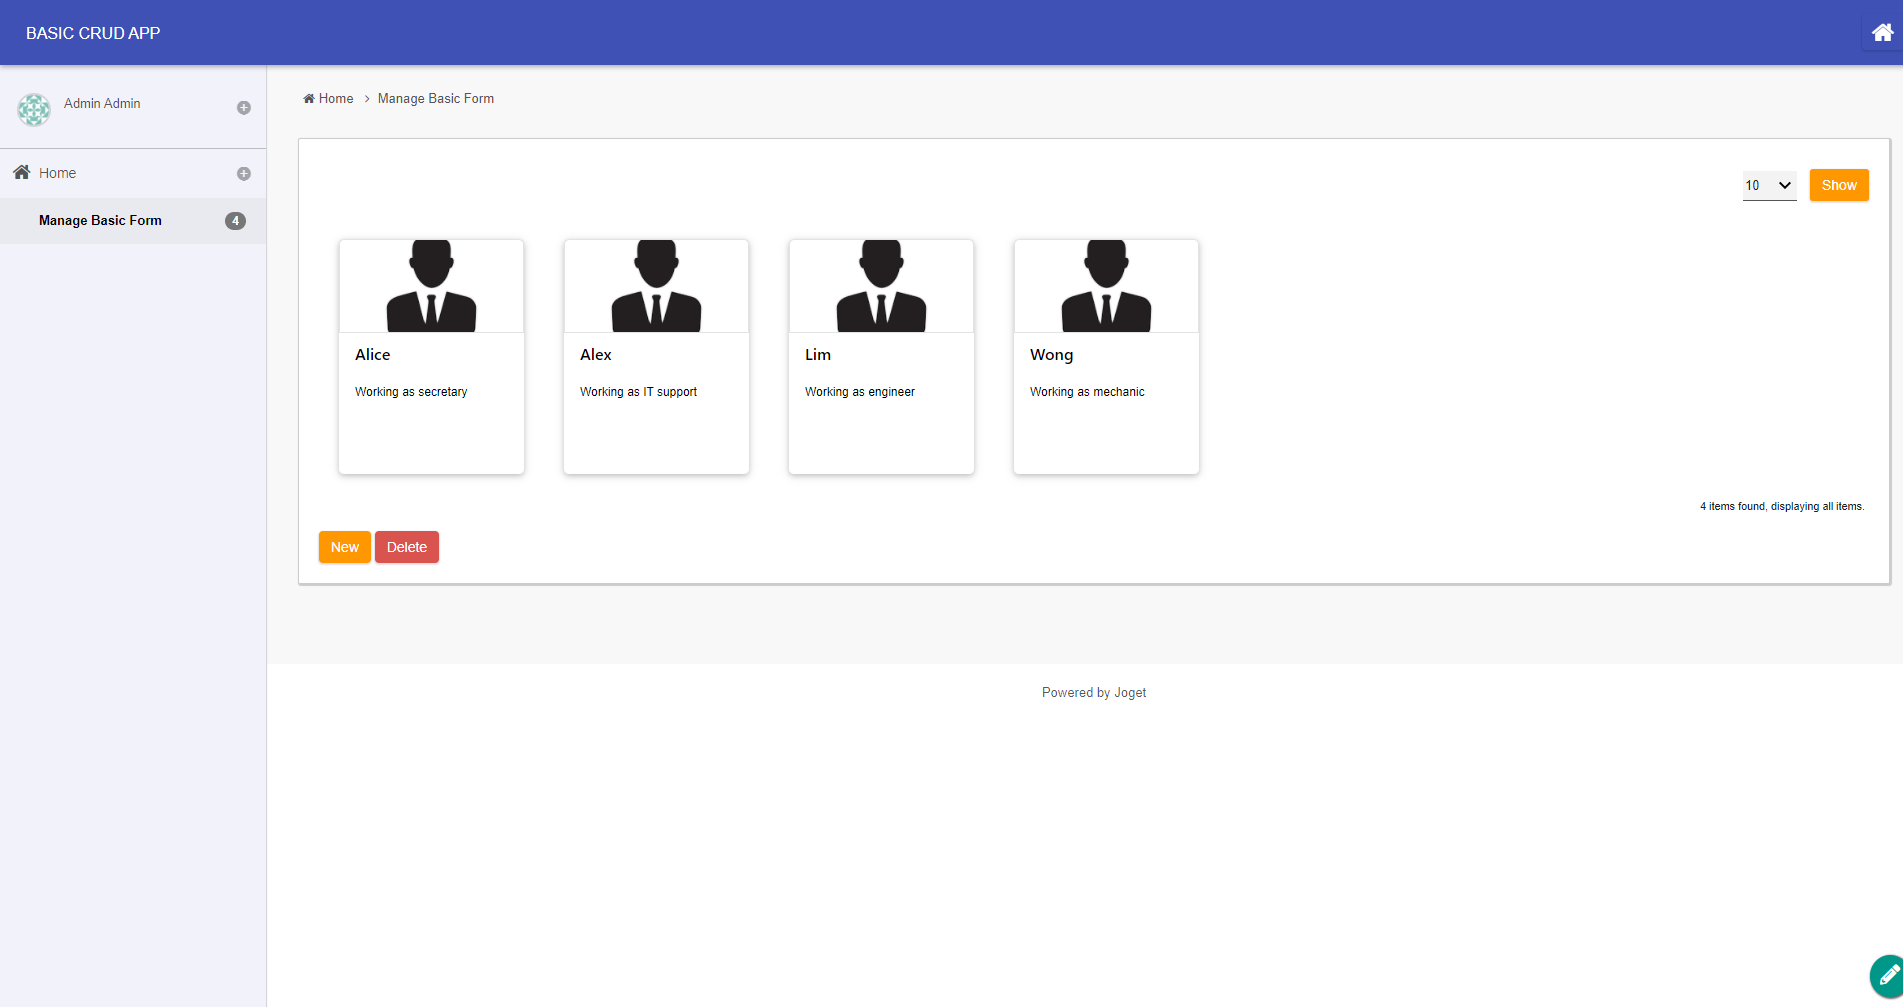
Figure 10
|