...
- In the Windows Server Manager, launch Tools > AD FD Management

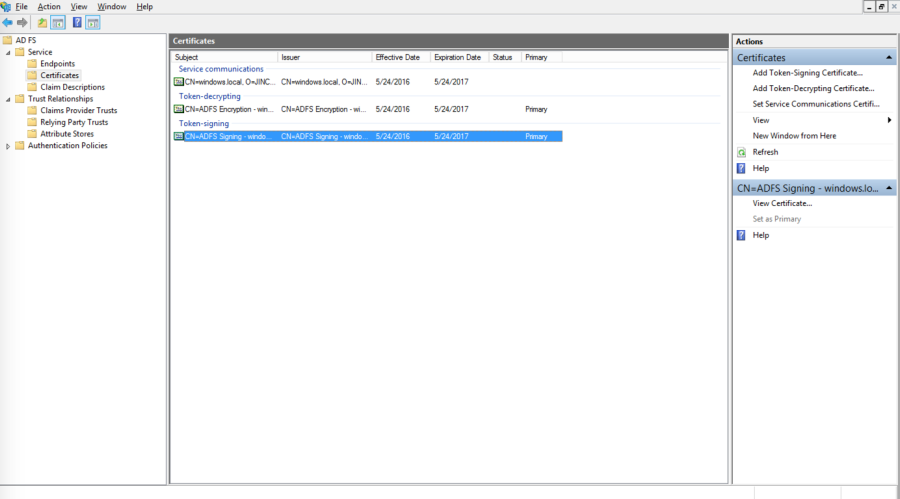
- In the AD FS Management console, select Service > Certificates in the left navigation pane.
- Select the Token-signing certificate and click on the View Certificate link on the right pane.
- Click on the Details tab, and click on the Copy to File… button

- This starts the Certificate Export Wizard. On the Welcome to the Certificate Export Wizard page, click Next.
- On the Export Private Key page, click No, do not export the private key, and then click Next.
- On the Export File Format page, select Base-64 encoded X.509 (.CER), and then click Next.
- On the File to Export page, type the name and location of the file that you want to export, and then click Next. For example, enter C:\ADFS.cer.
- On the Completing the Certificate Export Wizard page, click Finish.
...
- Download the SAML Directory Manager from the Joget Marketplace
- In Joget Workflow, login as an administrator
- In Settings > Manage Plugins, click on Upload Plugin. Select the downloaded JAR file and click on the Upload button to upload the downloaded JAR file
- In Settings > Directory Manager, choose the SAML Directory Manager and click on Select.

- Open the contents of the exported AD FS certificate in a text editor and copy the contents.
- In the Plugin Configuration page, paste the contents into the IDP Certificate field (copy-paste without the BEGIN and END lines)

- Copy the value of the ACS URL (to be used in AD FS configuration later).
- With User Provisioning Enabled checked, a user will be created on first login if the username does not already exist. To integrate with Active Directory directly to retrieve users and groups, configure the External Directory Manager to LDAP Directory Manager.
...
- In the Windows Server Manager, launch Tools > AD FD Management
- In the AD FS Management console, click on Trust Relationships > Relying Party Trusts in the left navigation pane.
- In the right page, click on Add Relying Party Trust.

- On the Welcome to the Add Relying Party Trust Wizard page, click Start.
- Select Enter data about the relying party manually, and then click Next.
- Type a relying party name (e.g. Joget Workflow) and then click Next.
- Make sure Active Directory Federation Services (AD FS) 2.0 Profile is selected, and then click Next.
- Do not use an encryption certificate. Click Next.
- Click to select the Enable support for the SAML 2.0 WebSSO protocol check box.
- In the Relying party SAML 2.0 SSO service URL field, type the URL copied from the Joget SAML Directory Manager earlier, e.g. https://mysite.cloud.joget.com/jw/web/json/plugin/org.joget.plugin.saml.SamlDirectoryManager/service
- Paste the URL into the relying party trust identifier, and then click Add. Click Next.
- Select Permit all users to access this relying party. Click Next.
- On the Ready to Add Trust page, there is no action required, click Next.
- On the Finish page, click Close. This opens the Rules Editor Management console.
...
- On the Issuance Transform Rules tab, click Add Rule.

- On the Select Rule Template page, select Send LDAP Attributes as Claims. Click Next.
- On the Configure Rule page, type the name of the claim rule in the Claim rule name field e.g. User Attributes.
- From the Attribute Store drop-down list, select Active Directory.
In the Mapping of LDAP attributes to outgoing claim types section, key in the following mappings:
LDAP Attribute
Outgoing Claim Type
SAM-Account-Name
Name ID
E-Mail-Addresses
email
Given-Name
User.FirstName
Surname
User.LastName

- Click Finish, and then click OK.
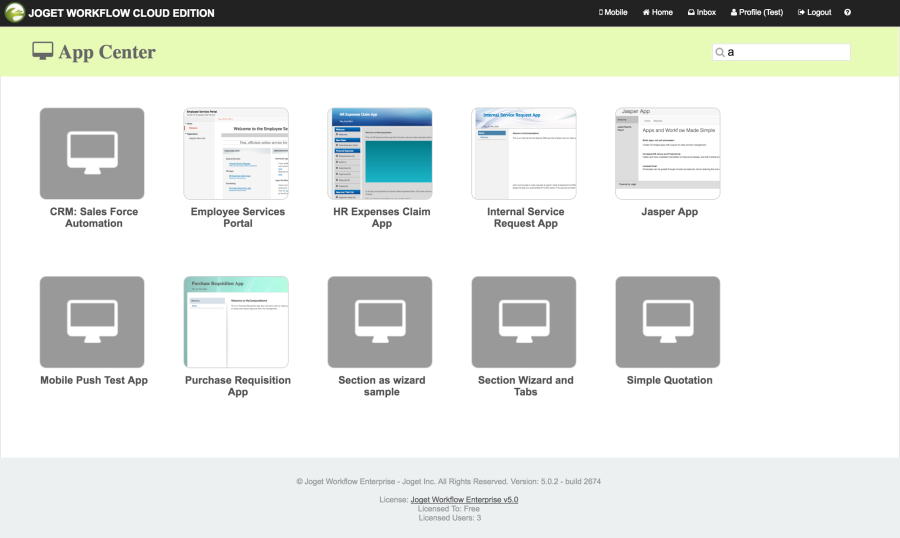
- At this point, the SSO should be operational. Test the login by accessing the the AD FS login page e.g. https://windows.local/adfs/ls/idpinitiatedsignon.aspx

- Select the appropriate site e.g. Joget Workflow and click on Sign in.
- Login to SharePoint using your AD account

- On successful login, you should be automatically logged into Joget Workflow
iv. Add Link in SharePoint site
- In SharePoint, click on Edit Links in the left menu
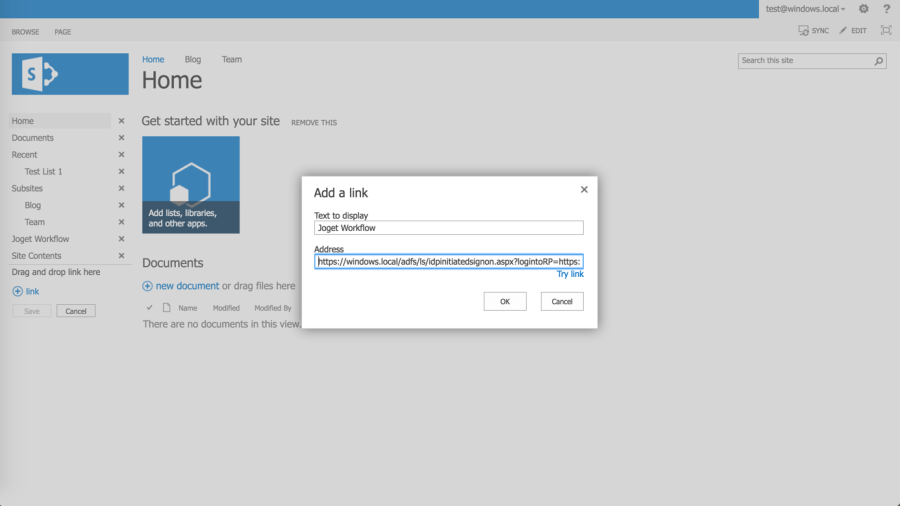
- Click on
 link, and key in the text to display (e.g. Joget Workflow) and the direct SSO link e.g. assuming the AD FS server is https://windows.local and the Joget Workflow server is https://mysite.cloud.joget.com, the link will be https://windows.local/adfs/ls/idpinitiatedsignon.aspx?logintoRP=https://mysite.cloud.joget.com/jw/web/json/plugin/org.joget.plugin.saml.SamlDirectoryManager/service
- Once the link is created, clicking on the link will SSO the user into the Joget Workflow installation.
...