...
Import the app in (joget.home)/lib/APP_cloud-xxxx.zip into Joget.
Thai นำเข้าแอปใน (joget.home) /lib/APP_cloud-xxxx.zip ไปที่ Joget
Go to Properties & Export and set the “domain” to the appropriate value for the main domain (e.g., example.com).
Thai ไปที่คุณสมบัติ & ส่งออกแล้วตั้งค่า“ โดเมน” เป็นค่าที่เหมาะสมสำหรับโดเมนหลัก (เช่น example.com)
Publish the app.
Thai เผยแพร่แอพ
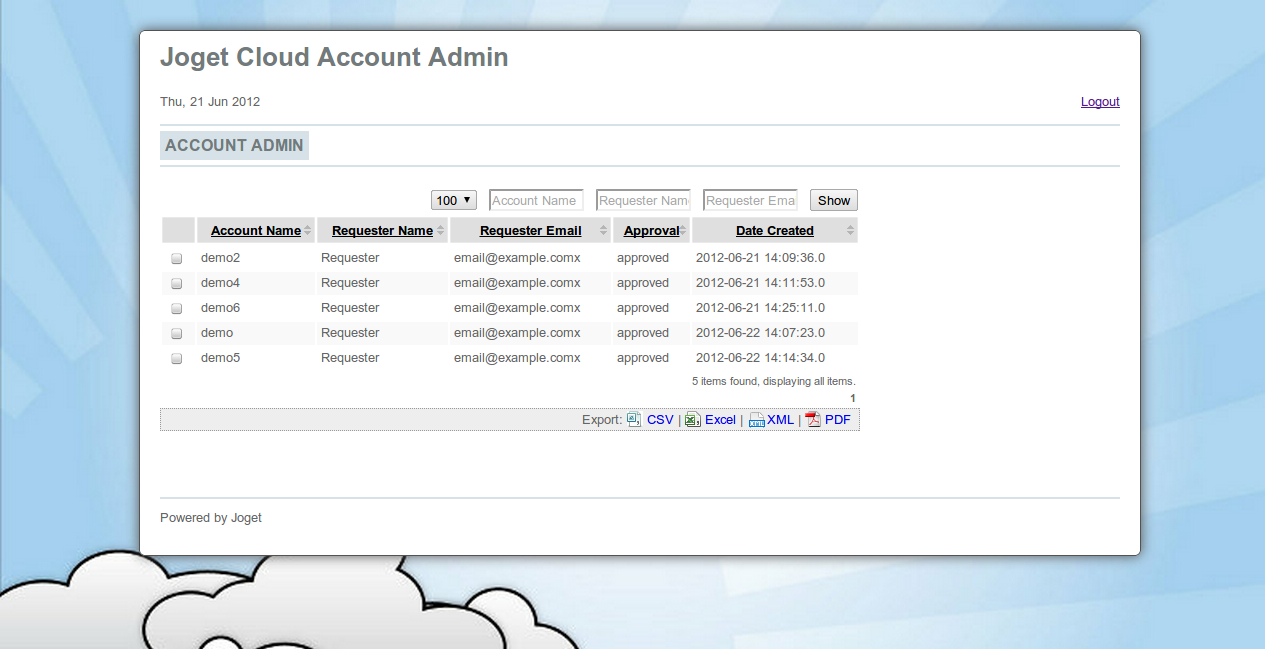
Access the app at http://localhost:8080/jw/web/userview/cloud/admin/.
Thai เข้าถึงแอปได้ที่ http://localhost:8080/jw/web/userview/cloud/admin/
Login to view the Account List.
Thai เข้าสู่ระบบเพื่อดูรายการบัญชี
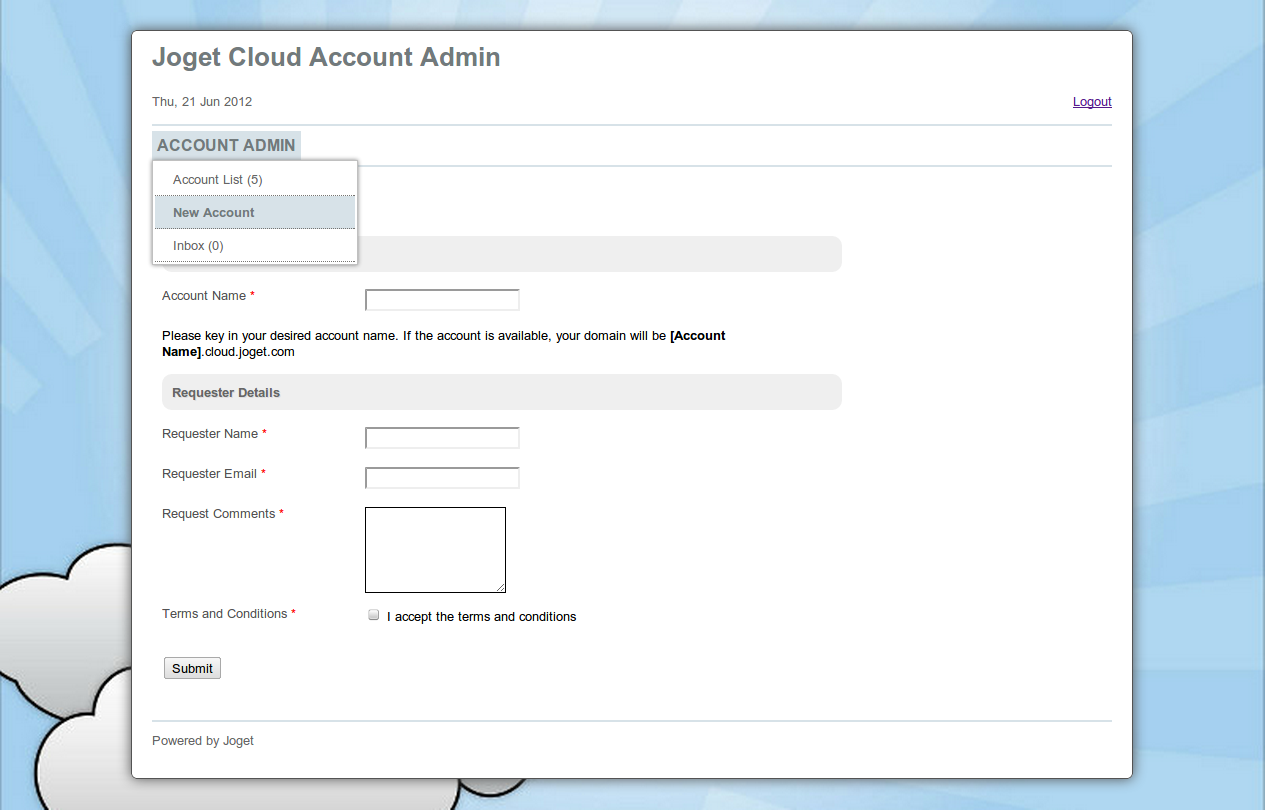
Select New Account from the drop-down menu to request for a new account.
Thai เลือกบัญชีใหม่จากเมนูแบบเลื่อนลงเพื่อขอบัญชีใหม่
When a request is submitted, it needs to be approved. Approve the request; a BeanShell tool will be executed to provision the account.
Thai เมื่อส่งคำขอจะต้องได้รับการอนุมัติ อนุมัติคำขอ เครื่องมือ BeanShell จะถูกดำเนินการเพื่อจัดเตรียมบัญชี
Verify that the account is created at the requested domain (e.g., demo.example.com).
Thai ตรวจสอบว่าบัญชีถูกสร้างที่โดเมนที่ร้องขอ (เช่น demo.example.com)
Modify the app where necessary:
Thai แก้ไขแอปที่จำเป็น:
...