Watch the video tutorial on this
Before we can begin, please make sure that you have completed Building From Source. In this article, we are going to show you on how to create a Userview Theme.
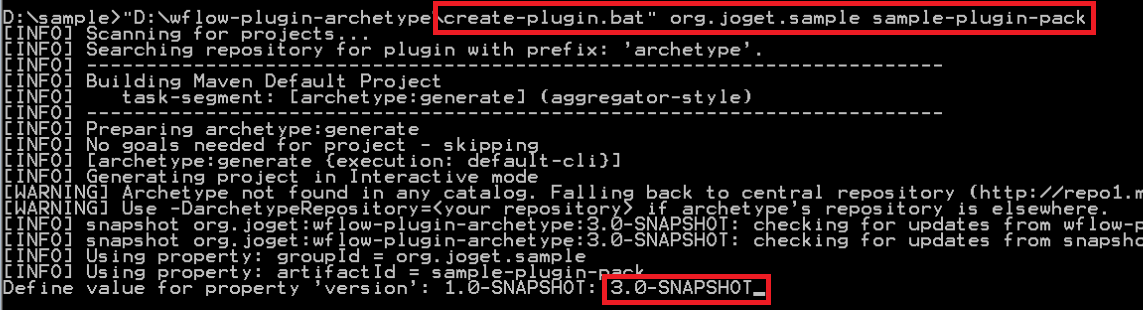
Create new Maven Project
- Download wflow-plugin-archetype.zip
- Create new project using the following instruction.
- When you are ready, open your project in your Netbeans.
Create a new UserviewTheme file
- Create a new Java file that would be used for the Userview theme.

- You may copy implementation codes from the existing DefaultTheme in wflow-core project.
Copy resources from existing themes
- Create your theme files at "src/main/resources/themes/green/"
- Copy properties definition file from "wflow-core/src/main/resources/properties/userview/defaultTheme.json"
- Copy message file from "wflow-consoleweb/src/main/resources/message/userview"
Customize your theme
Make the necessary changes in naming to reflect your new theme.
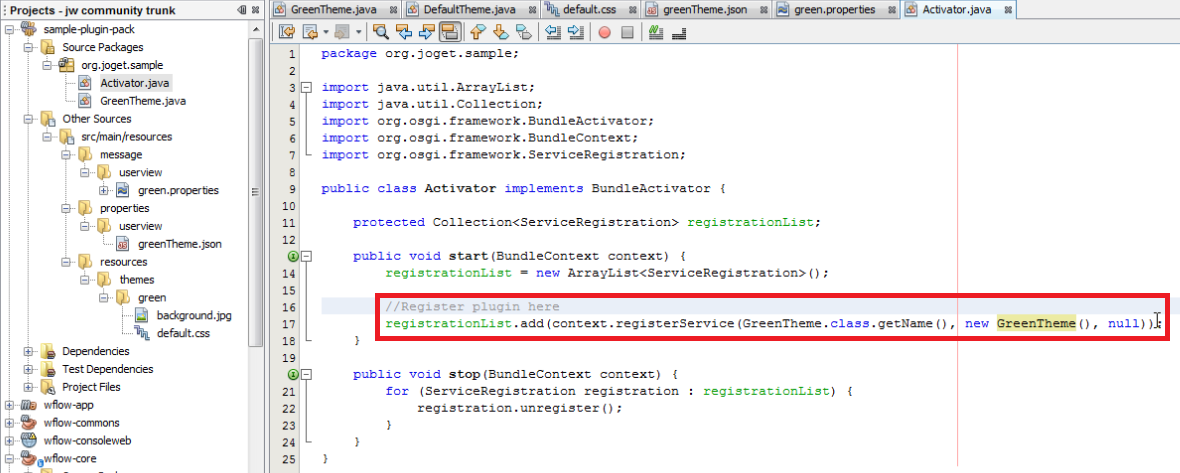
Activate your theme
In Activator.java, add the newly created UserviewTheme class into the BundleActivator activation list.
Build and upload the plugin
When you are ready, build and upload the plugin in the "Manage Plugins" section in the "System Settings" of your Joget console. 
After uploading the plugin, preview the newly created Userview theme in one of your Apps.