Introduction
Time Picker is a standard text field with an add-on script that enables it to collect time-format input.
The Time Picker is only available on Professional and Enterprise Edition.
Get Started
The easiest way to see how the Time Picker works are to create a new app. Here are the steps:
- Start the Joget Server and open the App Center.
- Log in as admin and click on the pencil icon on the Expenses Claim to open the Design App. (see Figure 1)
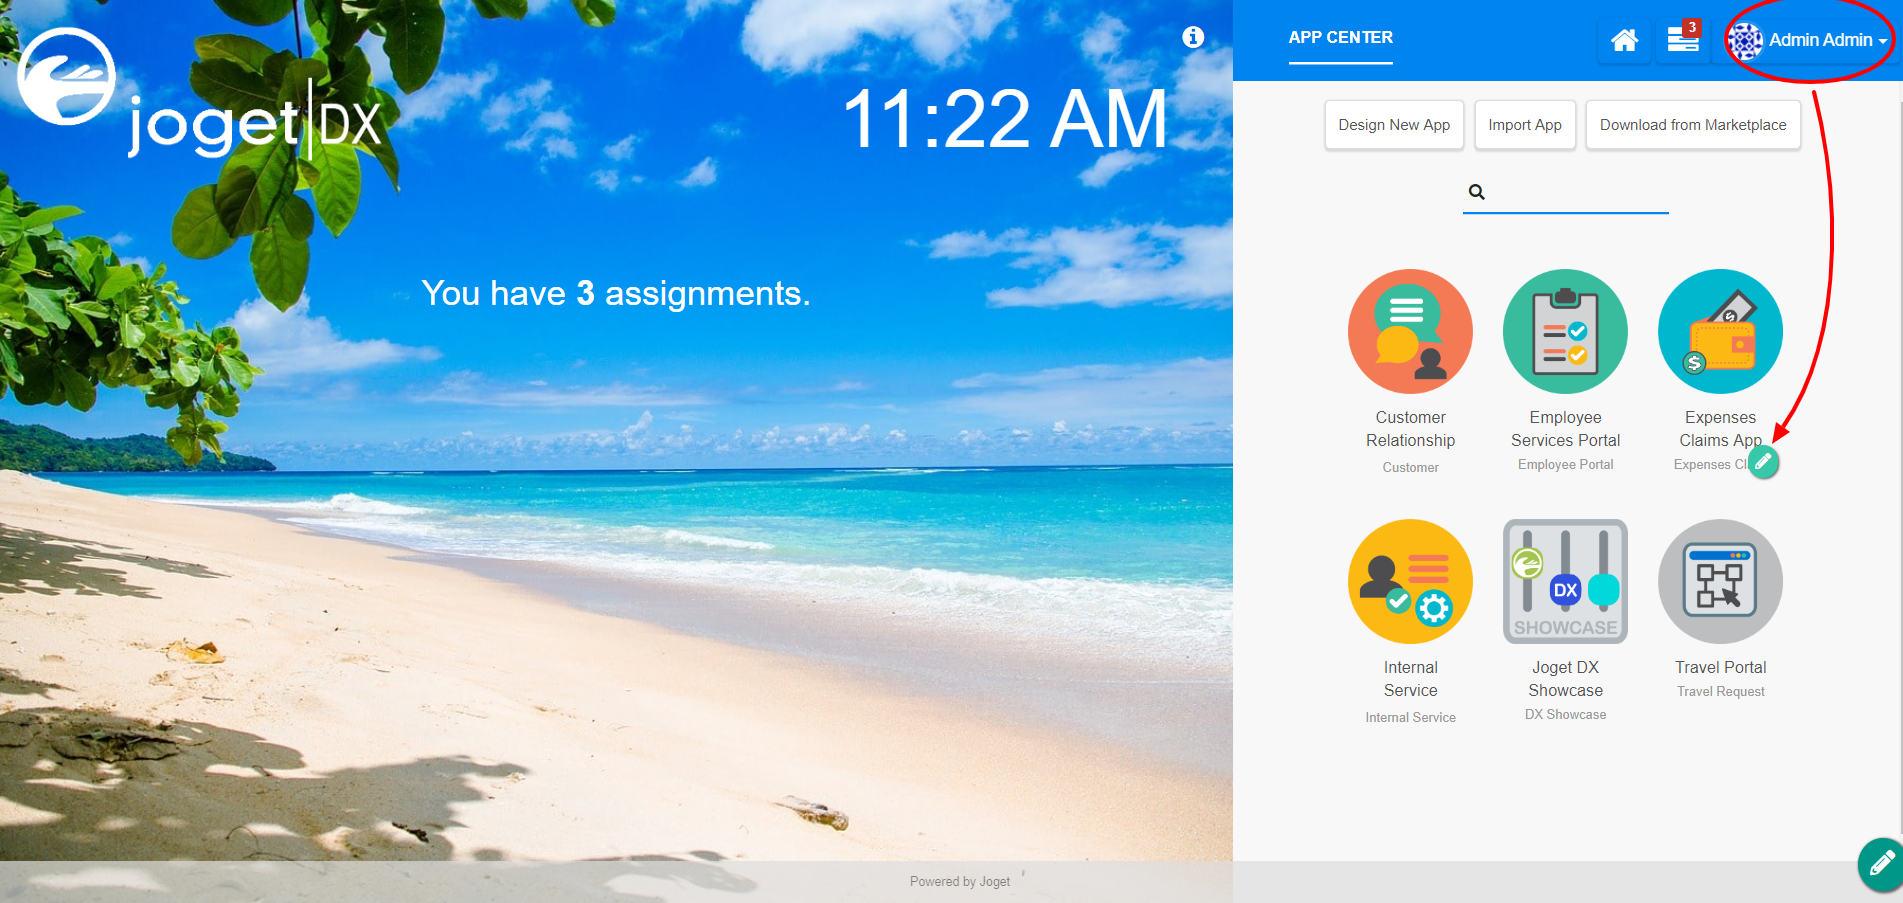
Figure 1 - Click on the Create New Form button and fill up the Form Details as follows (see Figure 2):
- Form ID: timePicker
- Form Name: Time Picker
- Table Name: j_expense_claim

Figure 2 - Drag and drop a Time Picker element on to the canvas.
- Hover the mouse over the Time Picker element on the canvas and click on Edit to open up the Edit Time Picker properties.
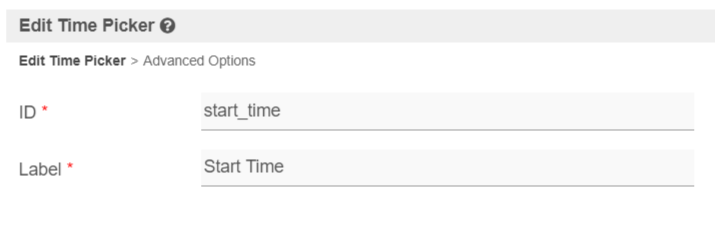
Fill up the following fields as follows and click on OK (see Figure 3):
- ID: start_time
Label: Start Time

Figure 3- Click on Preview and try using the Time Picker
Time Picker Properties
Edit Time Picker
| Name | Description |
|---|---|
| ID | Element ID (By declaring as "start_time", a corresponding database table column "c_start_time" will be created) Please see Form Element for more information about defining the ID and list of reserved IDs. |
| Label | Element Label to be displayed to the end-user. |
Advanced Options
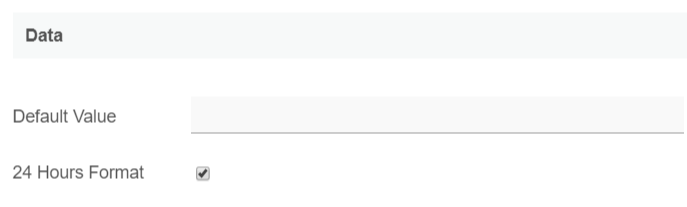
Data
| Name | Description |
|---|---|
| Default Value | Default Value when there's no existing value found. A hash variable is accepted here. |
| 24 Hours Format | Checked for 24 Hours format. Unchecked for 12 Hours format. |
Validation

| Name | Description |
|---|---|
| Validator | Attach a Validator plugin to validate the input value. When will validation takes place? Validation will take place whenever a form is submitted except when it is submitted as "Save as Draft". |
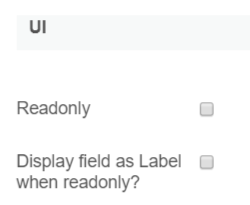
UI
| Name | Description |
|---|---|
| Readonly | Determines if the element is editable. |
| Display field as Label when readonly? | Displays the value of the element as plain text when an element is set to "Readonly". |
Workflow

| Name | Description |
|---|---|
| Workflow Variable | If the form is part of a workflow process, upon saving of the form (by clicking on "Save as Draft" or "Complete" button). The value in this input field will be saved into the corresponding workflow variable named here. Using a non-existent Workflow Variable name You will get the following warning with the name printed out (e.g. status) in the server log if you attempt to map to a non-existent Workflow Variable. context attribute status does not exist in process context - adding new attributes to the process context is not allowed |