...
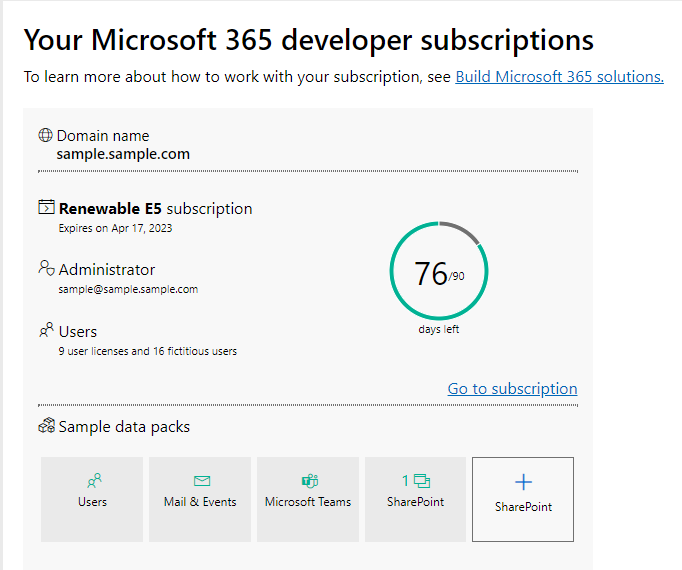
First, You need to set up the Microsoft Graph API configurations, You have to create a Free Microsoft 365 Developer Tenant account from here to register your Azure account to get the tenant ID which is later required to send the email. After creating the account, copy the email address in the "Administrator" secdtion to use it to sign up to Azure.
 h
h
Figure 1: Microsoft 365 Developer Tenant Account Subscription
...
Upon creating Microsoft 365 Developer Tenant account, sign up on Azure here using your given Microsoft 365 Developer Tenant email address in the previous step.

Figure 2: Azure Account Dashboard
...
- Choose a name for the app
- Select your support type as Accounts in any organizational directory (Any Azure AD directory - Multitenant) and personal Microsoft accounts (e.g. Skype, Xbox)
- Leave redirect URI blank
- Click Register

Figure 3: Registration Of New App Configurations
...
After this you should see in the app's overview you have an "Application (client) ID" and a "Directory (tenant) ID", Copy these IDs as they will used later to send API call will using your app and your account.

Figure 4: Sample App Overview
...
To generate a new client secret, from the app's overview page, go to Certificates and Secrets > New Client Secret and enter a description and expiry date for the client secret:

Figure 5: Client Secret Settings
...
To perform this, from the app's overview page, go to API Permissions > Add a Permission > Microsoft Graph > Application Permissions. Use the search bar to search for "Mail", Select Mail list and tick "Mail.Send". Optionally you can also tick "User.Read.All" if you want to see the list of users who can use this Azure app. Add the permissions to grant your Azure app the permission to send emails.

Figure 6: API Permission Settings
...
So, enter the appropriate information into your first JSON Tool and keep the Body Type as "Request Parameters".

Figure 7: Token Request Call
...
Other authentications flow would let you be more specific with your scope, like entering "Mail.send" but for client credentials it must have a value with the "/.default" suffixed to the application ID URI, which by default is "https://graph.microsoft.com/". Enter the link to the value with the name "scope".

Figure 8: Request Parameters
...
The "access_token" property of this JSON object is what we need for our second JSON tool, and for this guide, we will store this value in a workflow variable. You can create a workflow variable by going to the "Process Property", which in Joget DX8, is accessible via the pencil icon beside your process' name.

Figure 9: Process Properties
...
Back at your JSON tool, scroll down to the "Store to Workflow Variable" setting and enter the variable of your choice and give the JSON object name "access_token".

Figure 10: Store to Workflow Variable Setting
...
For this guide, we will be using the first one, enter the appropriate information to your second JSON tool and make the Body Type as "Custom JSON Payload".

Figure 11: Mapping Configurations
...
From the Home screen go to Azure Active Directory > Users. You can see a list of all the valid users, it should be filled with around a dozen dummy accounts and your account. Copy paste your or any of the "User Principal Name" in that list to your request link and this time the request will be valid.

Figure 12: MSFT Overview

Figure 13: MSFT Users
...
"Content-type" is used so the request knows what type of payload is it using, which for our case is a JSON object, so enter the value "application/json".

Figure 14: Request Header I
"Authorization" as the name suggests is used to authorize the request, this is where you will use your access token, the value for this request header will be a string in the format "[TOKEN_TYPE] [TOKEN]", the type of token we are using will be a "Bearer" token and you can simply copy paste the token or use a hash variable to extract the token that was stored in the workflow variable.

Figure 15: Request Header II
...
And that's it! With a minimum of 2 JSON Tools, you will be able to send an email using the MS Graph API. By the end, the process of your application should look something like the picture below, 2 tools for requesting an access token and sending the email and any additional activity for automating some of the process, like for the demo app, it is for automating creating the message.

Figure 16: Process Builder of Send Email using MS Graph Demo App
...