...
Steps To Import This Plugin
1. Go to the Joget Marketplace plugin page here: https://marketplace.joget.org/jw/web/userview/mp/mpp/_/vad?id=cardviewer_datalist_formatter.
2. Click "Download" on this plugin screen (It will be a .jar file).
3. Go to your Joget server and log in as admin.
4. Navigate to "Admin Bar > Settings > Manage Plugins" and click the "Upload Plugins" button.
5. In "Upload Plugin", select the plugin .jar file you just downloaded, then click "Upload".
6. Depending on the plugin type, you can now use the new plugin in your form or datalist, or userview.
7. The Joget Knowledge Base has more information
...
on managing and developing plugins.
8. Alternatively, you
...
can click Download from Marketplace from the App Center and search for the Card Viewer Datalist Formatter plugin to install it.
Steps to use the Plugin:
1. Start the Joget server and open the App Center.
2. Login as admin and click on Design New App (See Figure
...
1) or click on existing application.
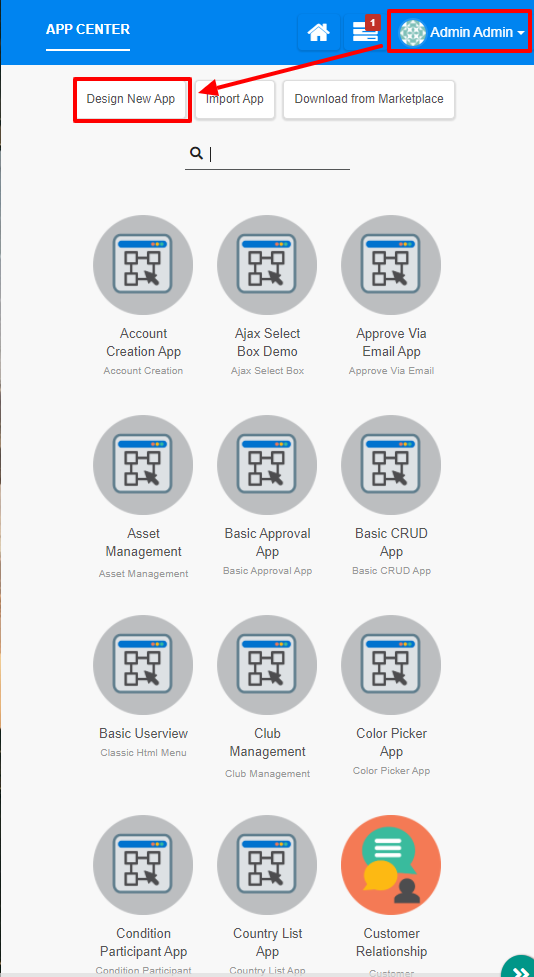
Figure 1 Design New App
3. For new applications, fill up the App ID with camel case, and App Name, and click on the Save button. (See Figure
...
2)
Figure 2 App Details
4. Create New Form, fill up the Form Details, and click on the Save button. (See Figure
...
3)
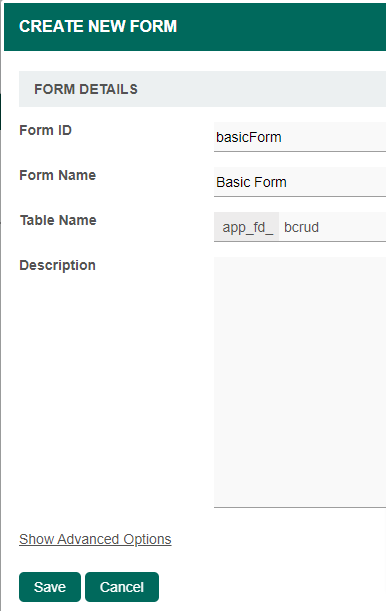
Figure 3 Form Details
5. In the form, drag
...
two Text Fields and an Image Upload to upload an image. (See Figure
...
4)
Figure 4 Drag Form Elements
6. Fill up the Text Fields and File Upload, for example:
- First text field with id = 'name'
- Second text field with id = 'desc'
- File Upload field with id = 'image'
7. Click save and generate a CRUD. (See Figure
...
5)
Figure 5 Save and Generate CRUD
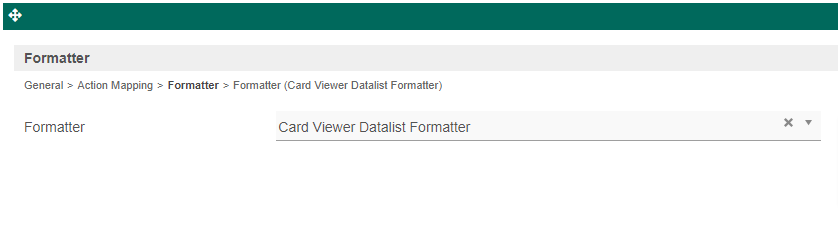
8. Edit the newly created datalist and edit
...
the Name column to add the Card Viewer Datalist Formatter. (See Figure
...
6)
...
Figure 6 Formatter
9. Configure the Card Viewer Datalist Formatter by referring to the Figure
...
7.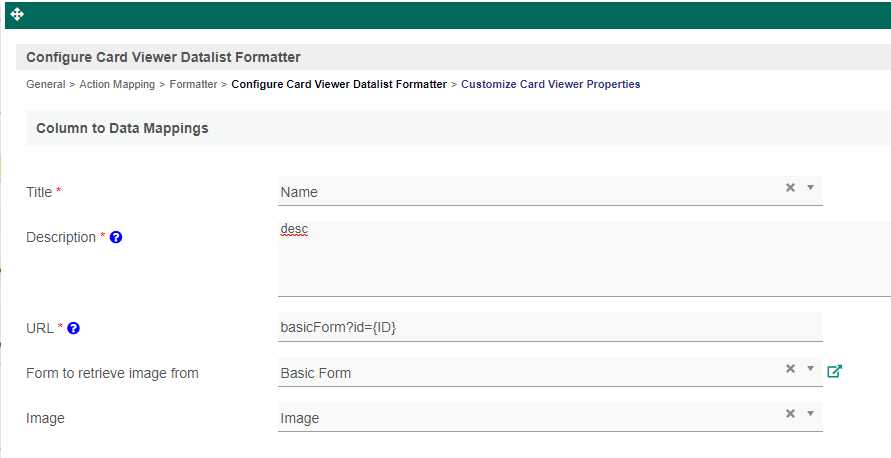
Figure 7 Configure Card Viewer Datalist Formatter
10. After making sure that you are only displaying the Name column in the datalist, save the datalist.
11. Next, go to the userview builder and add a new form element. (See Figure
...
8)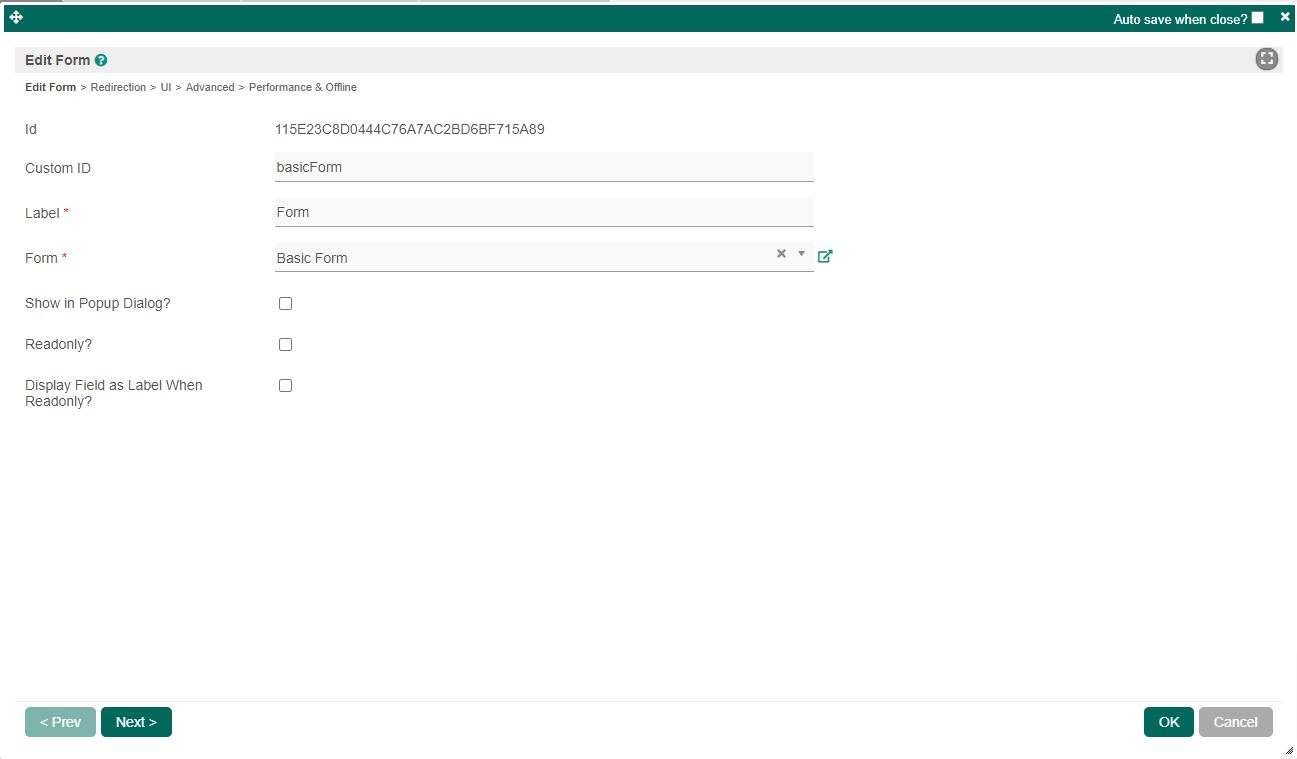
Figure 8 Add new Form Element
12. After that, edit the CRUD and remove
...
the Form (Edit) and save the userview. (See Figure
...
9)

Figure 9 Remove Form in Form Edit
13. If you have followed the steps that have been provided, you can click on Preview but nothing will be shown because no data were keyed in the Form yet.
14. Therefore, you need to fill in the Form that you have created, for example:
a. Fill in the Name with 'Alex'
b. Fill in the Description with 'Working as IT Support
c. Upload an image to be displayed on the card.
15. Finally, you can see the final result in the Userview. (See Figure
...
10)
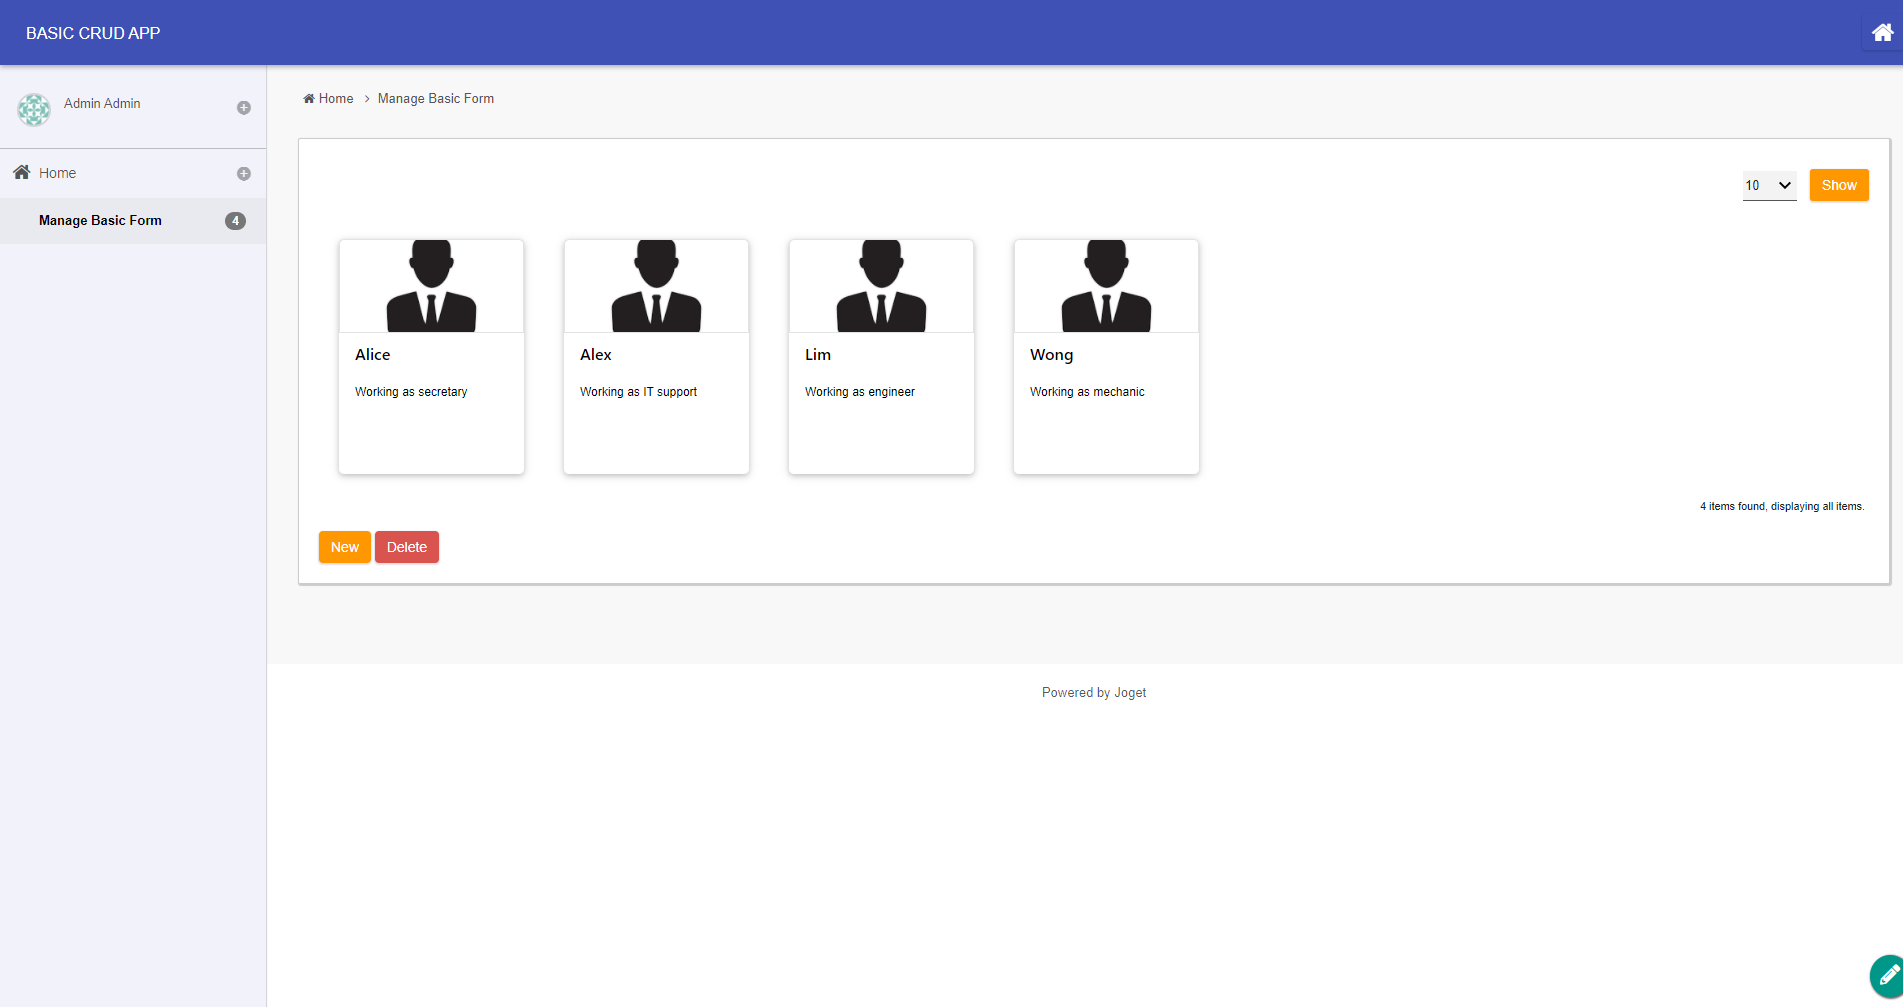
Figure 10 Final Result (Userview)
Card Viewer Datalist Formatter Properties
...