Steps To Import This Plugin- Go to the website ()
- Click "Download" on this plugin screen (It will be a .jar file).
- Go to your Joget Workflow localhost or server and login as admin.
- In Joget Console navigate to "Admin Bar>Systems Settings>Manage Plugins" and click the "Upload Plugins" button.
- In "Upload Plugin", select the plugin .jar file you just downloaded, then click "Upload".
- You should be able to view the newly installed plugin under the Installed Plugins tab.
- Remember to always uninstall the old plugin before uploading a new version.
- The Joget Workflow Knowledge Base has more information on managing and developing plugins.
Steps To use This Plugin- Start the Joget server and open the App Center.
- Login as admin and click on Design New App (See Figure 1) or click on existing application.
- For new application, fill up the App ID and App Name then proceeds to click on Save button. (See Figure 2)
- Create New Form, fill up Form ID, Form Name and Table Name then click on Save button. (See Figure 3)
- Fill up the form with a Text Field with the id as status and a Step Display form element then save the form. (See Figure 4)
- Edit the Step Display form element by adding a few status and selecting color then save the form. (See Figure 5 and 6)
- Click the GENERATE APP button and generate a CRUD. (See Figure 7)
- After creating the CRUD, launch the Step Display App Userview. (See Figure 8)
- Go to the newly created form and click on New button. (See Figure 9)
- Fill up the status field with one of the values added in the status of Step Display form element and observe the results. (See Figure 10)
- To use the plugin as a datalist column formatter, edit the List - Step Display Form. (See Figure 11)
- Edit the status column and add the Bootstrap Steps Display Formatter. (See Figure 12 and 13)
- Add a new record to the datalist and observe the results. (See Figure 14)
| 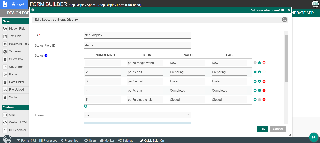
Figure 1 
Figure 2 
Figure 3 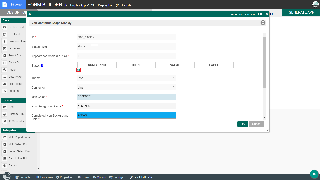
Figure 4 
Figure 5 
Figure 6 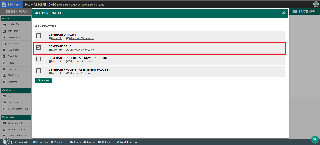
Figure 7 
Figure 8 
Figure 9 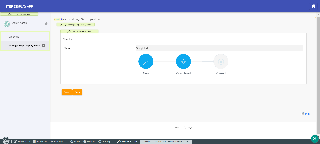
Figure 10 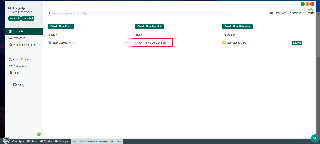
Figure 11 
Figure 12 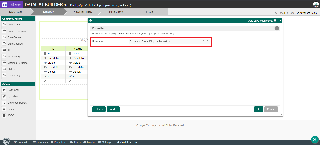
Figure 13 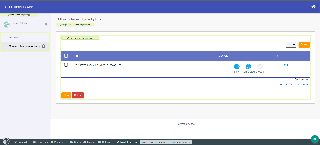
Figure 14 |