Previous step
Make sure that you have first completed the previous tutorial - Designing a Form
ตรวจสอบให้แน่ใจว่าคุณได้ทำแบบฝึกหัดก่อนหน้าเสร็จสิ้นก่อน - Designing a Form
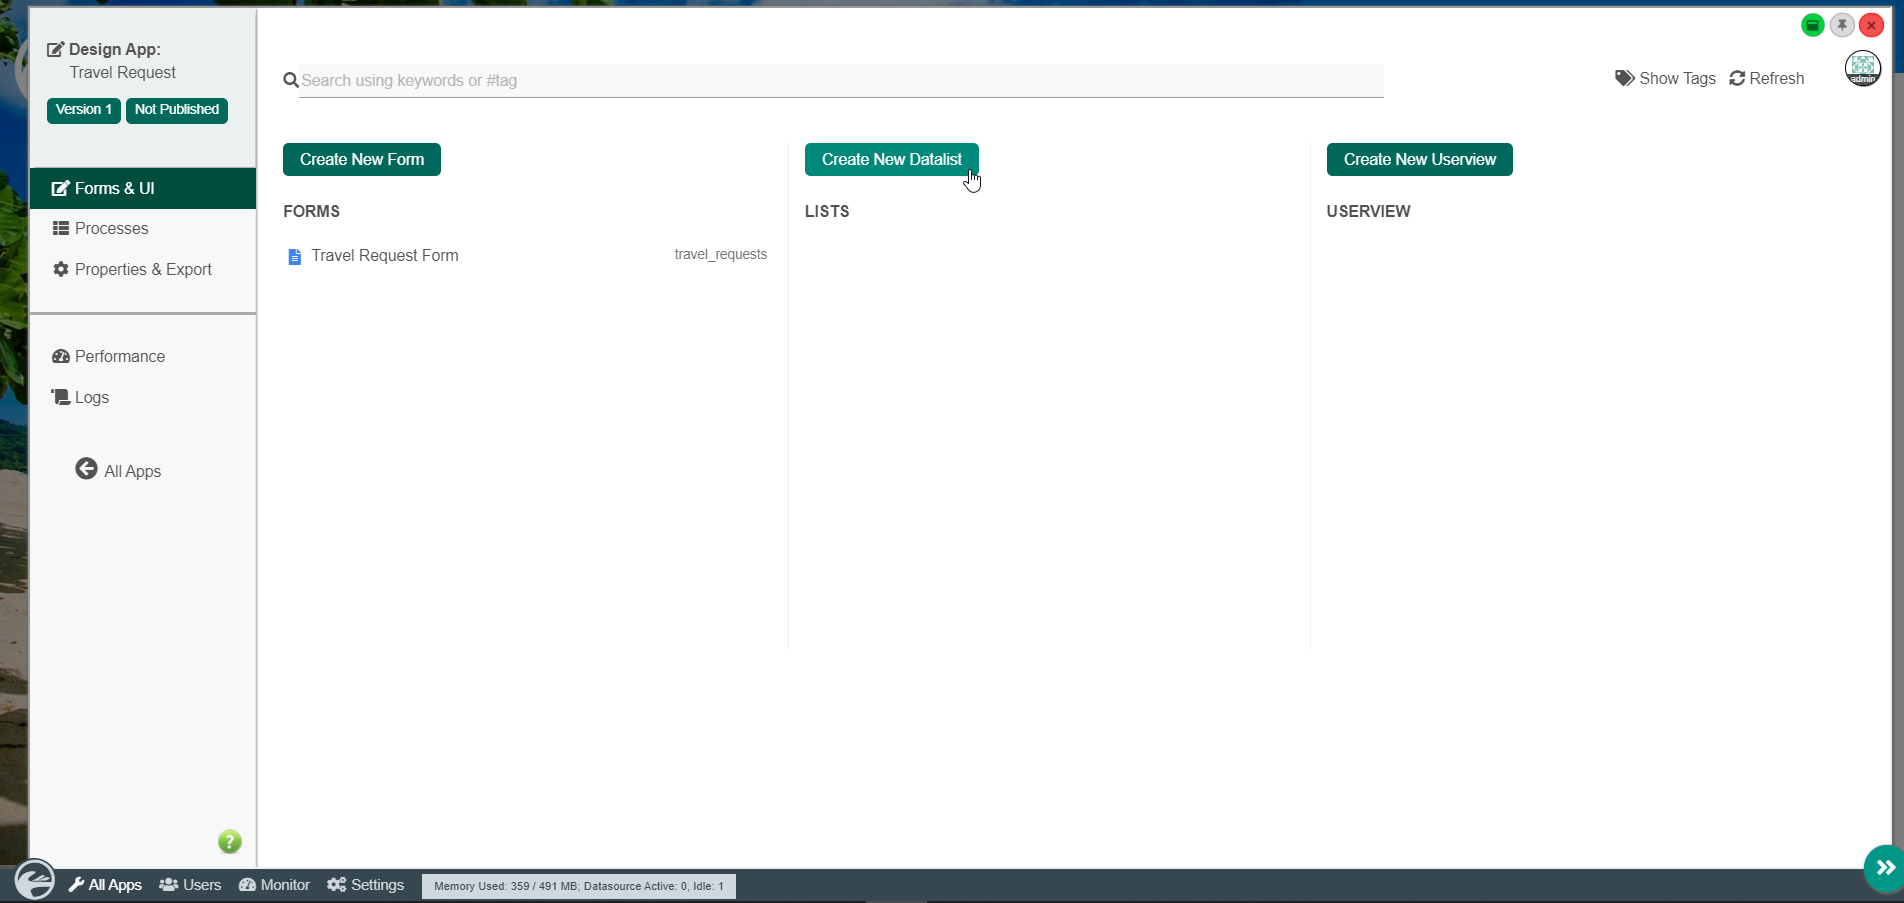
In the Design App page, click on the Create New Datalist button along the top.
ในหน้า Design App ให้คลิกที่ Create New Datalist ใหม่ด้านบน
Key in the details of the new list.
พิมพ์รายละเอียดของรายการใหม่
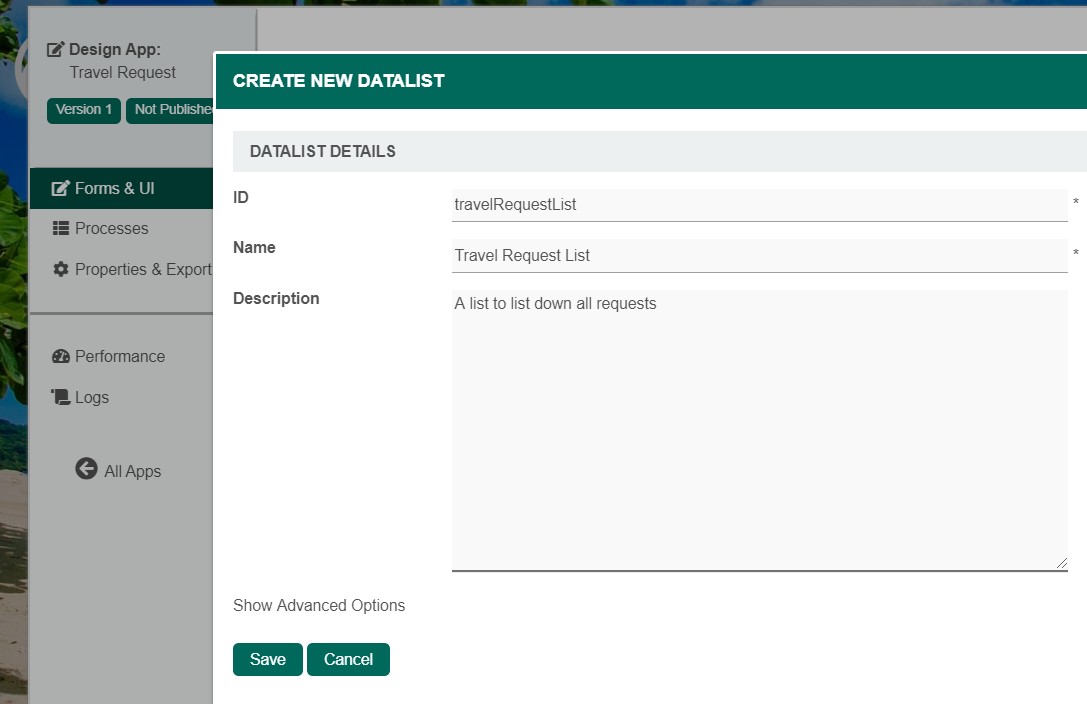
Name Description ID Unique ID to represent this entity.
ID ที่ไม่ซ้ำเพื่อแสดงถึงเอกลักษณ์
Naming convention
A standard naming convention is highly recommended to be used across the development of your App to maintain consistency and ease maintenance works.
Camel case naming convention is recommended for this field.
Example: travelRequestList
ขอแนะนำให้ใช้แบบแผนการตั้งชื่อมาตรฐานในการพัฒนาแอพของคุณเพื่อรักษาความสม่ำเสมอและความสะดวกในการบำรุงรักษา แนะนำให้ใช้หลักการตั้งชื่อเคสสำหรับฟิลด์นี้ ตัวอย่าง: travelRequestList
Name Name to represent this entity.
ชื่อที่ใช้แทนเอกลักษณ์
Example
Travel Request List
Description Entity description (OPTIONAL)
คำอธิบาย (ไม่จำเป็น)
Duplicate Datalist from With the above information filled up, one can choose to clone the design from existing datalist entity.
เราสามารถเลือกโคลนการตั้งค่าข้อมูลที่สมบูรณ์จาก datalist เดิมที่มีอยู่
Click on Save to save the list and launch the Dataist Builder in a new window. If your browser blocks the popup, click on the list name to launch it.
คลิกที่ Save เพื่อบันทึกรายการและเปิดตัว Dataist Builder ในหน้าต่างใหม่ หากเบราว์เซอร์ของคุณบล็อกป๊อปอัปให้คลิกที่ชื่อรายการเพื่อเปิดใช้งาน
The first step in the List Builder is the Source page. Here, you can select the source of the data, called Binders.
ขั้นตอนแรกในตัวสร้างรายการคือหน้าแหล่งที่มา ที่นี่คุณสามารถเลือกแหล่งที่มาของข้อมูลที่เรียกว่าตัวประสาน
Select Form Data Binder. This binder populates a list based on data captured from Joget forms. Once you select the binder, choose a form then click OK at the bottom.
เลือก Form Data Binder เติมรายการตามข้อมูลจากแบบฟอร์ม Joget เมื่อคุณเลือก binder ให้เลือกแบบฟอร์มจากนั้นคลิก OK ที่ด้านล่าง

This brings you to the Design page. Here, all available columns provided by the binder are listed in the palette on the left. Drag the desired columns into the canvas in the middle.
สิ่งนี้จะนำคุณไปสู่หน้าการออกแบบ ที่นี่คอลัมน์ทั้งหมดที่มีให้โดย binder มีการระบุไว้ในจานสีด้านซ้าย ลากคอลัมน์ที่ต้องการลงในผืนผ้าใบตรงกลาง

When you hover over a column, buttons appear giving you options to edit or delete the column. Clicking on Properties opens a Property Editor showing properties that you can modify.
เมื่อคุณลากเมาส์เหนือคอลัมน์ปุ่มต่างๆจะปรากฏขึ้นพร้อมตัวเลือกให้คุณแก้ไขหรือลบคอลัมน์ การคลิกที่คุณสมบัติจะเป็นการเปิดตัวแก้ไขคุณสมบัติที่คุณสามารถปรับเปลี่ยนได้
At any time, you may preview the list by clicking on the large Preview button at the top.
คุณสามารถดูตัวอย่างรายการได้ตลอดเวลาโดยคลิกที่ปุ่ม Preview ขนาดใหญ่ที่ด้านบน
Once you have finished designing the list, click on the large Save button at the top and you will receive confirmation that the list is saved. You may then continue to design the list, or close the List Builder window.
เมื่อคุณเสร็จสิ้นการออกแบบรายการคลิกที่ปุ่ม Save ขนาดใหญ่ที่ด้านบนและคุณจะได้รับการยืนยันว่ารายการจะถูกบันทึก จากนั้นคุณสามารถออกแบบรายการต่อไปหรือปิดหน้าต่างตัวสร้างรายการ