Introduction
In this tutorial, we will show the process of sending emails using Microsoft Graph API with Joget JSON Tool. The guideline will help you automate the process of sending emails, making it a more efficient and streamlined process. This article will provide a step-by-step guide to help set up and send emails using Microsoft Graph API and Joget JSON Tool.
Set Up Azure Application
Before going to Joget to use the Microsoft Graph API, we first must create the Azure application that has the permission to use this API, follow the steps below and you will have everything you need to send emails using the Microsoft Graph API.
Create Developer Account
To start creating your Azure application, you must first sign up on Azure here, but simply signing up using your personal Microsoft account wouldn't work as it won't give you full access to Azure. To get this access, you will need to join the Microsoft Developer program.

To join the Microsoft Developer program, simply sign up in their website with your personal Microsoft account, and get yourself a Microsoft 365 Developer subscription, you can either purchase it, or get a 90 day free trial.
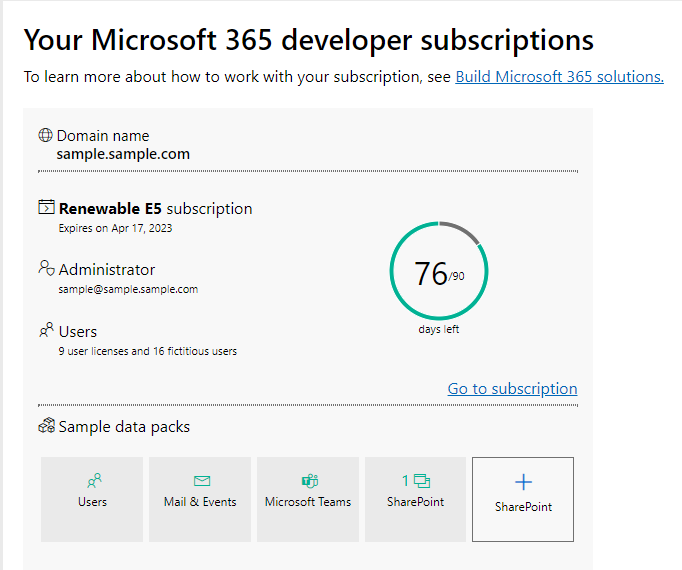
Use the email in the "Administrator" section to sign up for your Azure account and this time you will have full access to it.
Register Application
So now with the Azure account set up, we can begin registering an application.
To register an application go to:
- Azure Active Directory
- App Registrations
- New Registration
- Choose a name for the app
- Select your support type, for this guide, we will be using the third one

- And for this guide, ignore the redirect URI
- Register
After this you should see in the overview you have an "Application (client) ID" and a "Directory (tenant) ID", these two are important so that your API call will actually be using your app and your account.
Get Client Secret
Next up is to get your client secret.
To do this, from the app's overview page, go to:
- Certificates and Secrets
- New Client Secret
- Enter description and expire duration
- Add client secret
After doing so, you now should have a "value" and "ID", copy paste this "value" somewhere like a Notepad.
Client Secret Value
Make sure you secure this value before leaving or refreshing the page as the value will become hidden afterwards.
Add API Permissions
Last thing to do is to give the Azure app the permission to send emails via the Microsoft Graph API.
To do this, from the app's overview page, go to:
- API Permissions
- Add a Permission
- Microsoft Graph
- Application Permissions (for this guide we are using application permissions)
- Add "Mail.Send"
- Optionally, also add "User.Read.All" (this is for if you want to see the list of users who can use this Azure app, by default, Microsoft should give you a dozen dummy accounts when creating an Azure account)
- Add Permissions
- Press "Grant Admin Consent for MSFT"
And now your Azure app has the permission to send emails!
Using Joget JSON Tool to Call API
Demo App
Here is the demo app that showcases this guide, please do keep in mind all of the information related to the Azure app has been left empty since those should be filled with your own Azure app. Most of these empty information can be find in the process of the application.
- Send Email using MS Graph Demo