Red Hat OpenShift is a container application platform that brings Docker and Kubernetes to the enterprise. OpenShift Online is a public Platform-as-a-Service (PaaS) that offers a hosted solution in the cloud. With OpenShift Online, you can quickly build, host, and scale containerized applications in the public cloud–operated and supported by Red Hat.
As an open source low code platform to visually build enterprise web apps for coders and non-coders, Joget Workflow is a good complement for OpenShift.

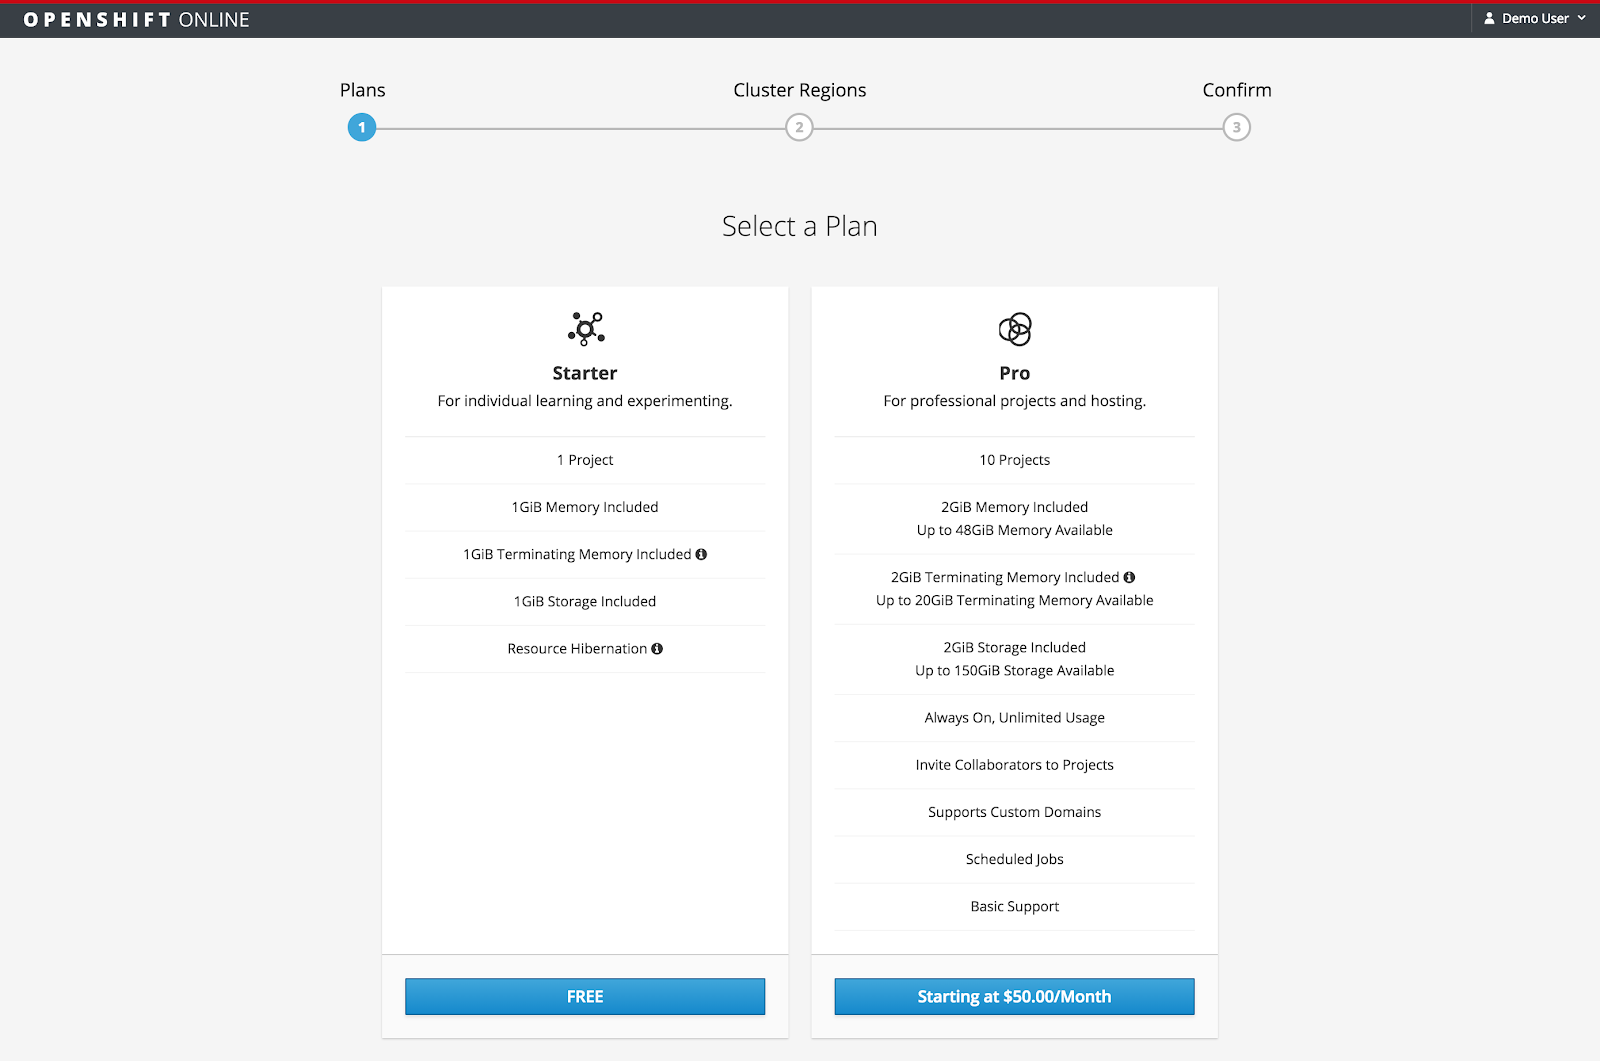
OpenShift Online has a free Starter plan, so you can use it to learn and experiment at no cost.
In this example, we will deploy Joget Workflow on a full open source stack comprising the Red Hat JBoss WildFly application server and MySQL database on Linux. WildFly, formerly known as JBoss AS, is a leading lightweight application server and MySQL is the most popular open source database today.
Step 1: Sign Up for OpenShift Online
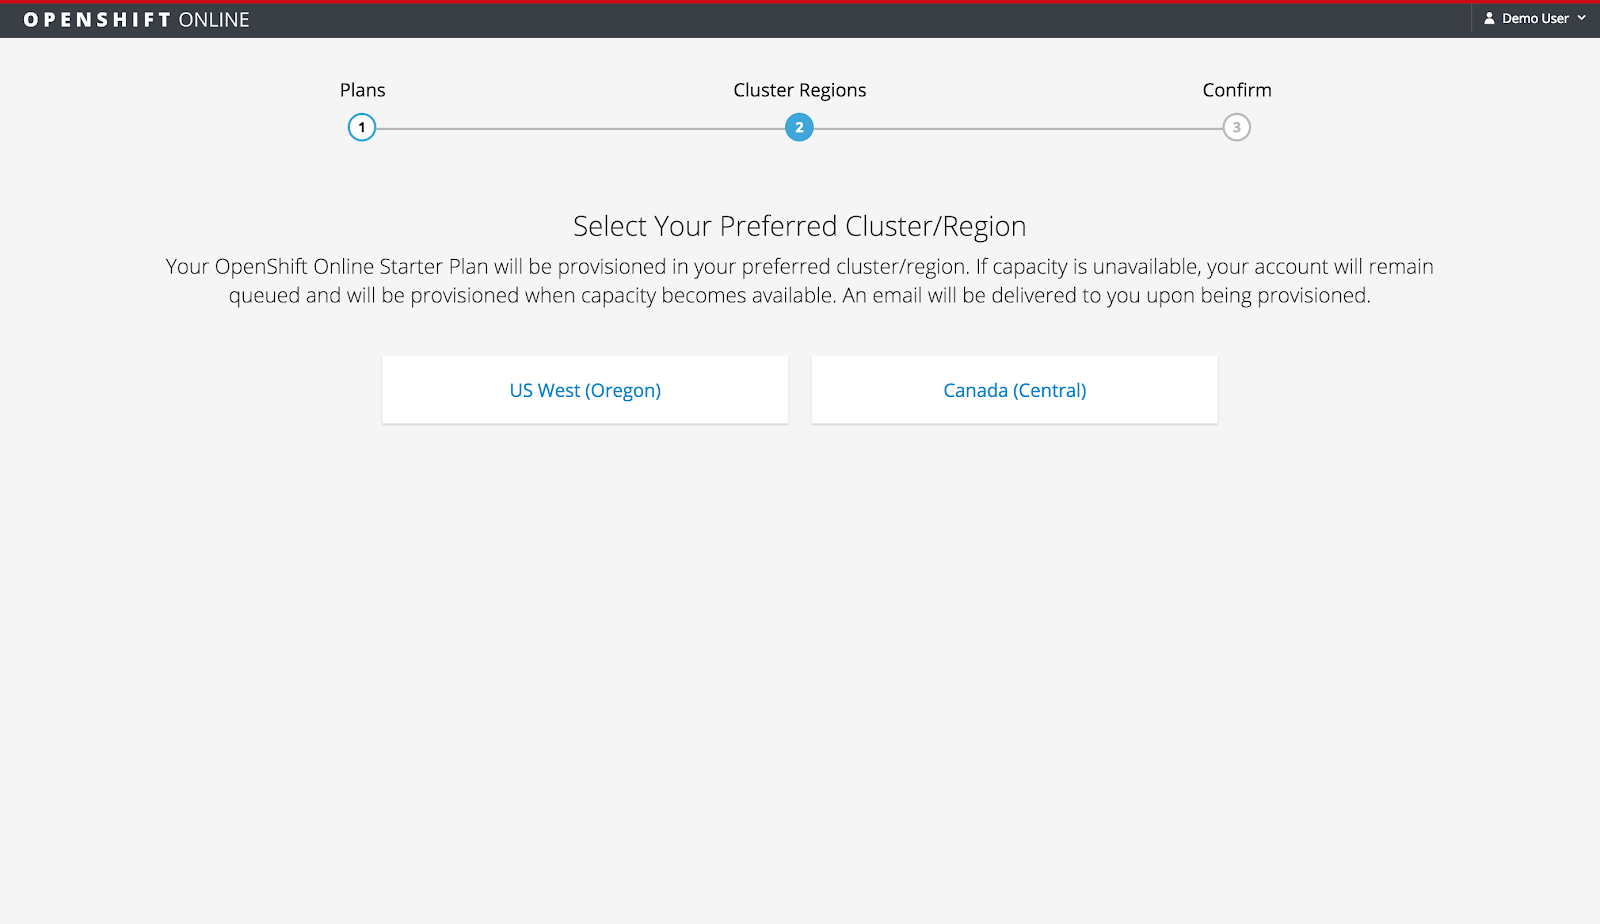
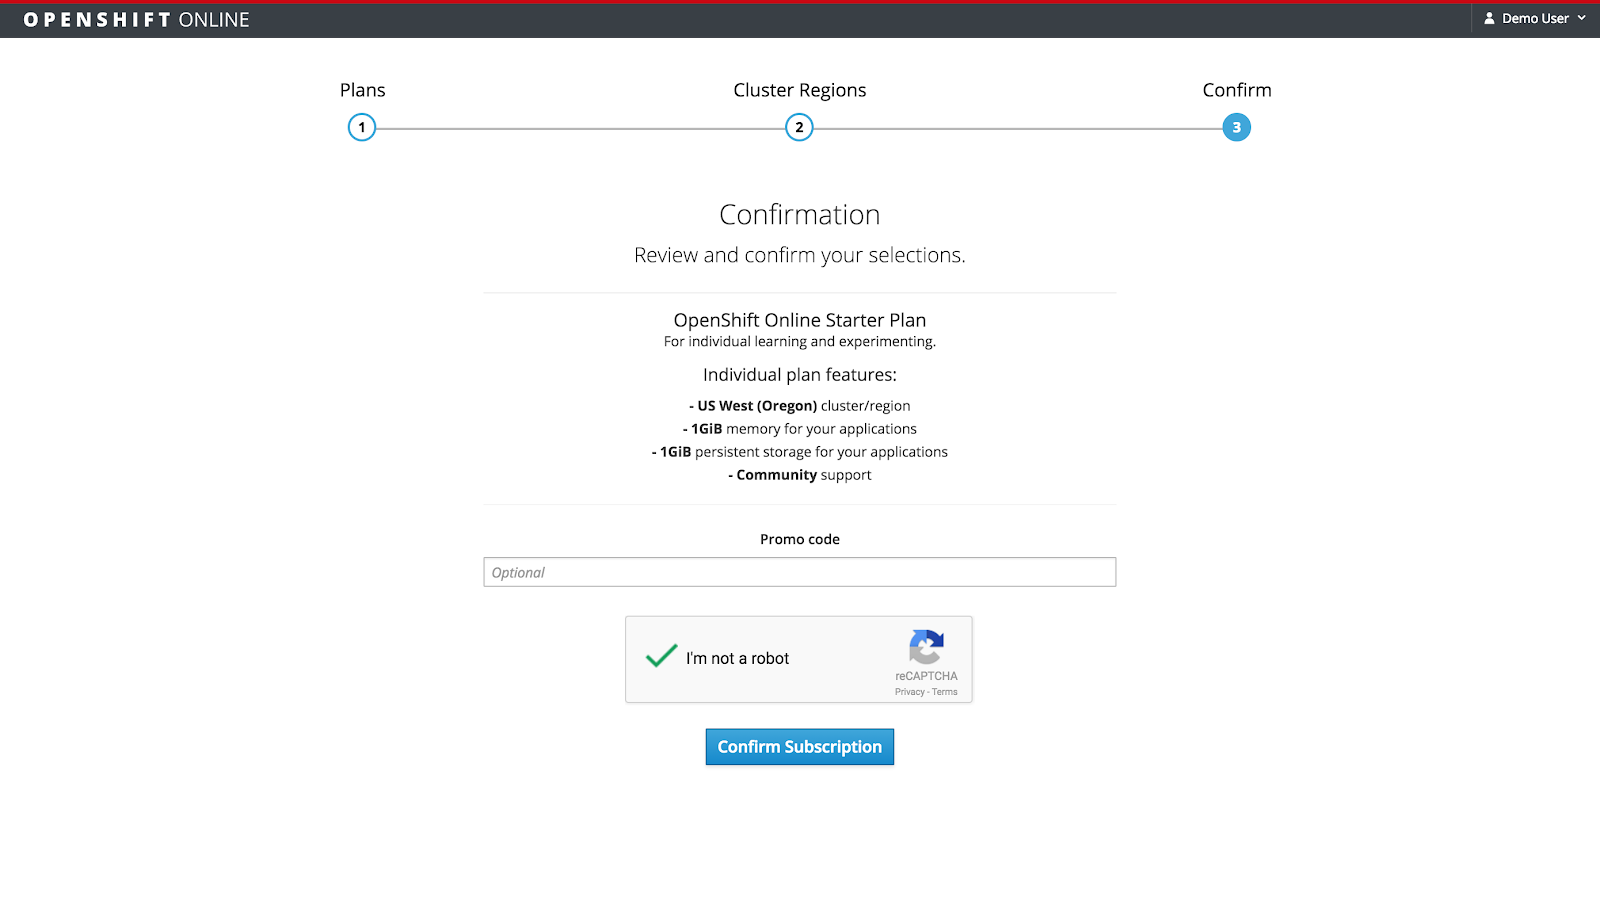
Sign up for free at https://manage.openshift.com/ and choose the desired plan and region.
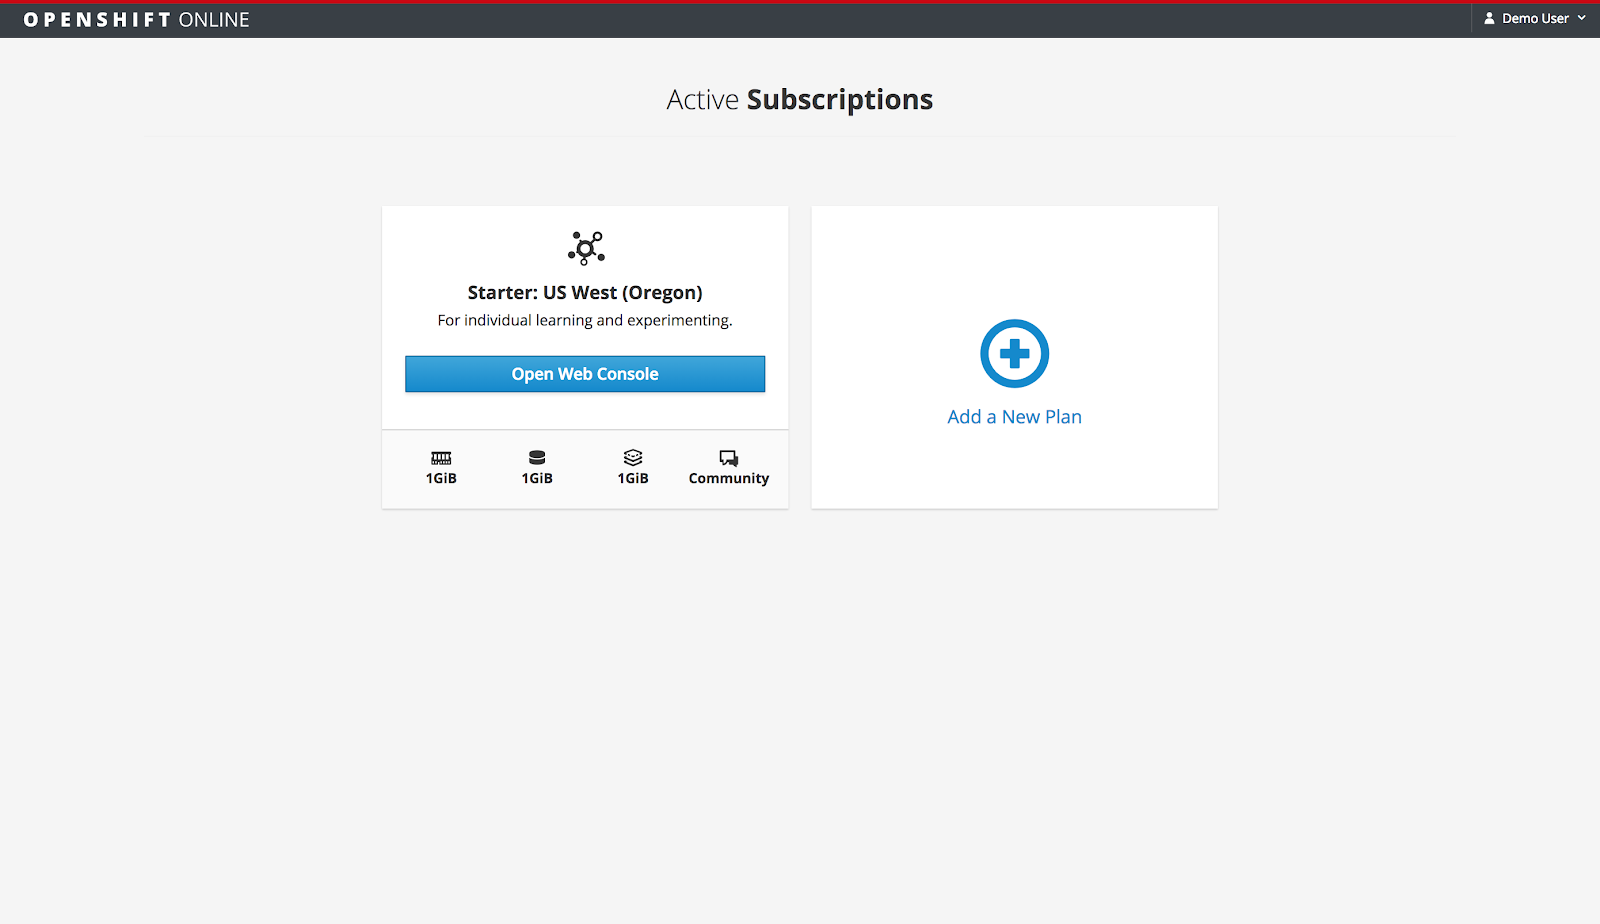
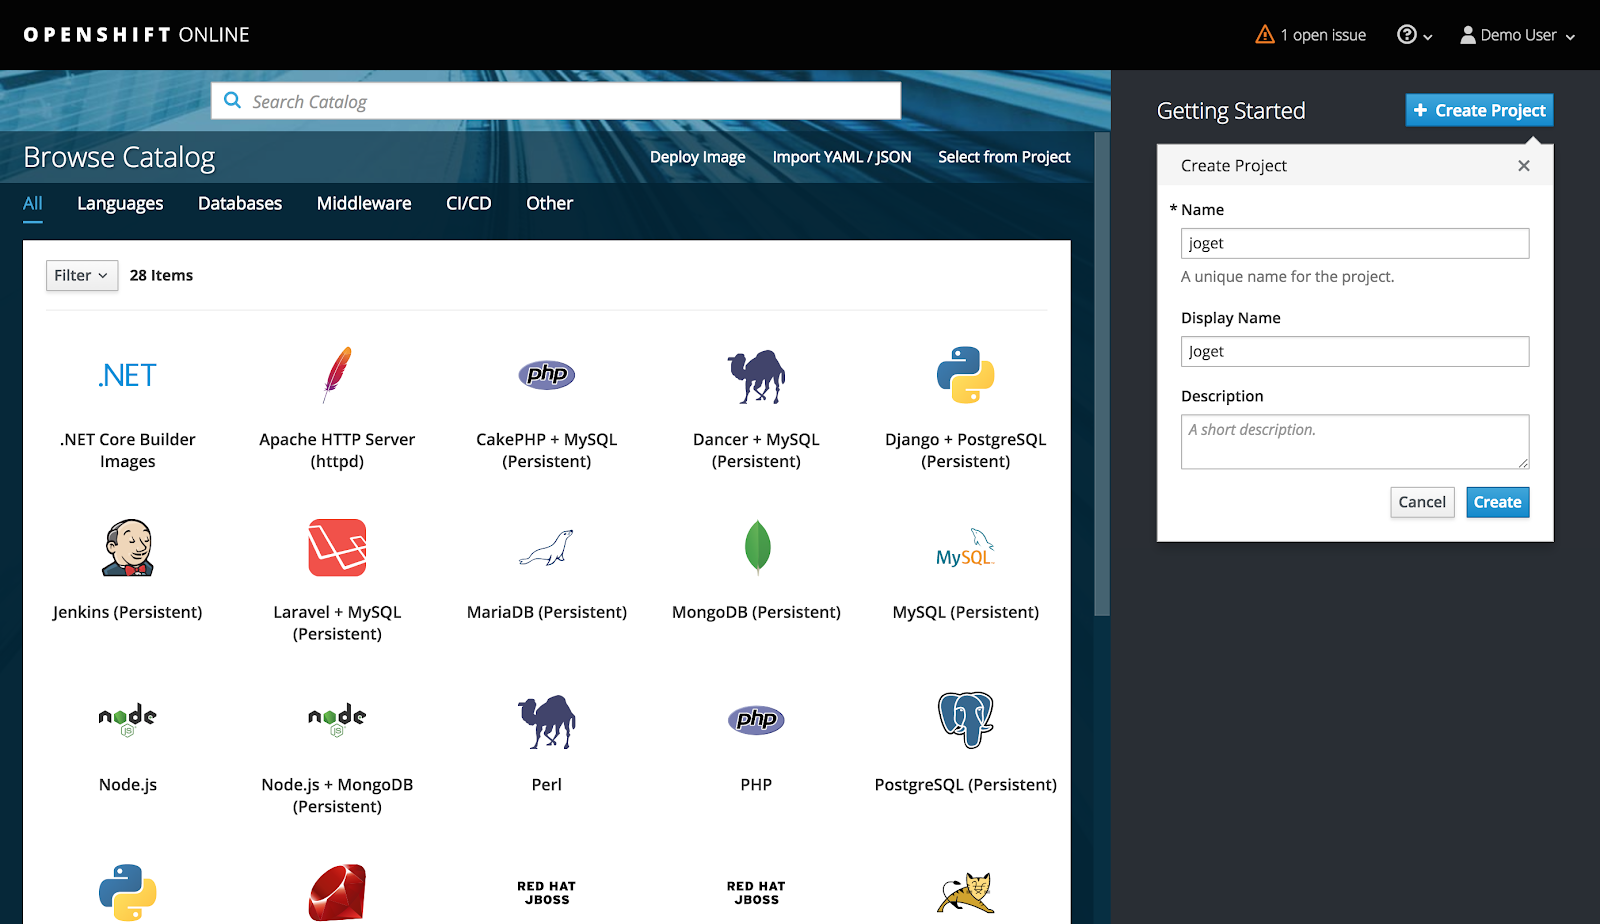
Step 2: Create OpenShift Project
In the OpenShift Web Console, create a project using the Create Project button and key in the desired Name, Display Name and Description.
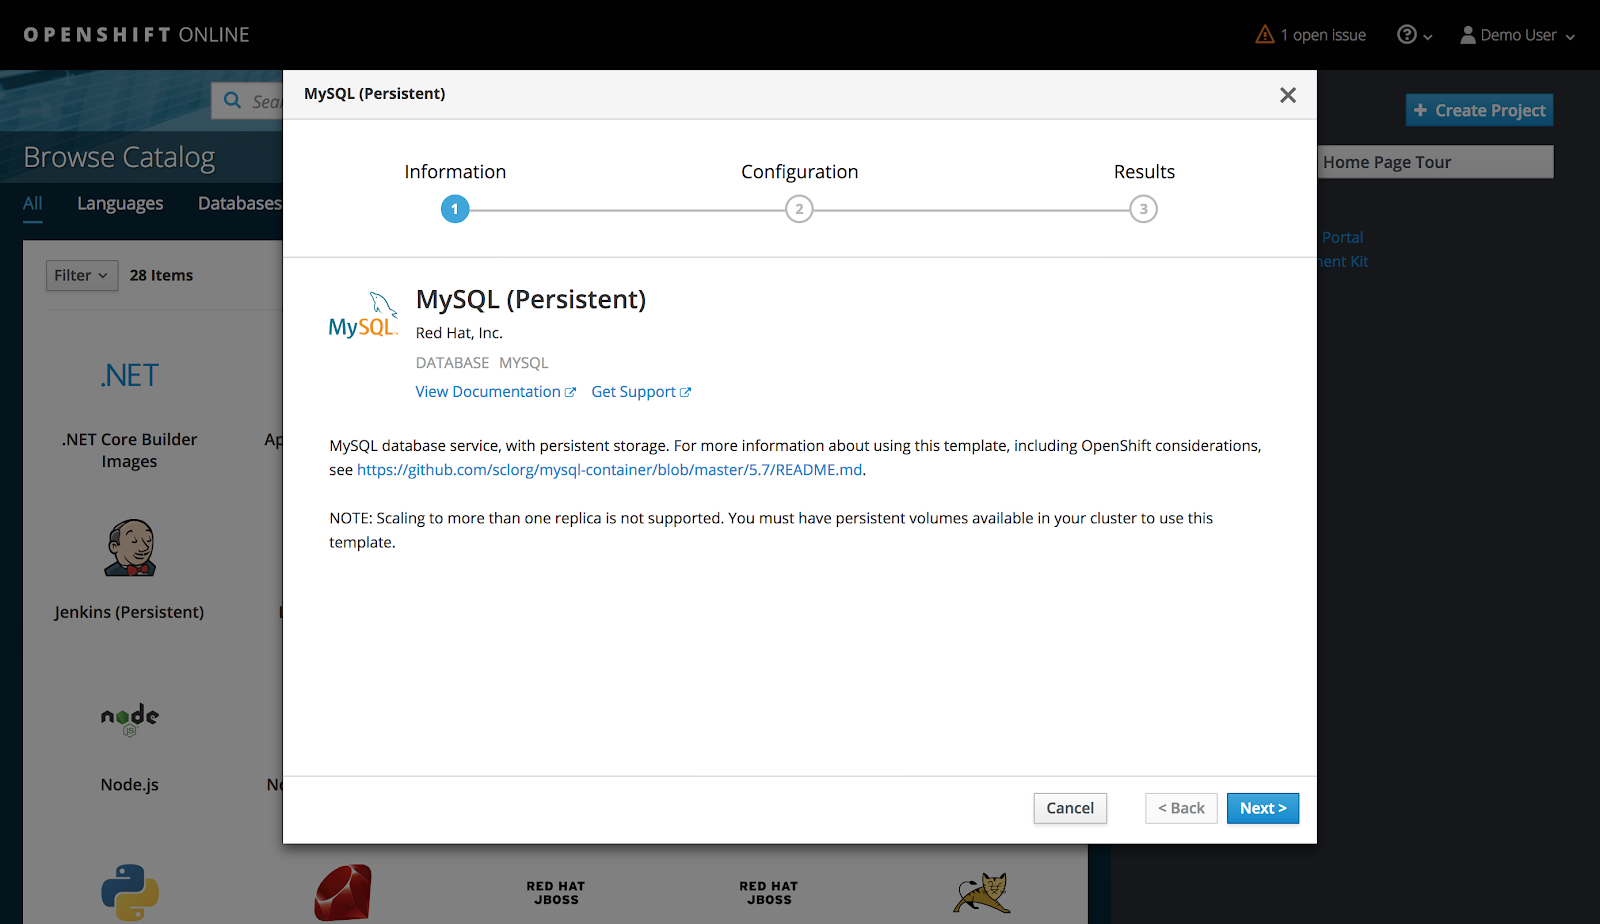
Step 3: Deploy MySQL Database
Under the selected project, select Add to Project > Browse Catalog and select the MySQL (Persistent) image.
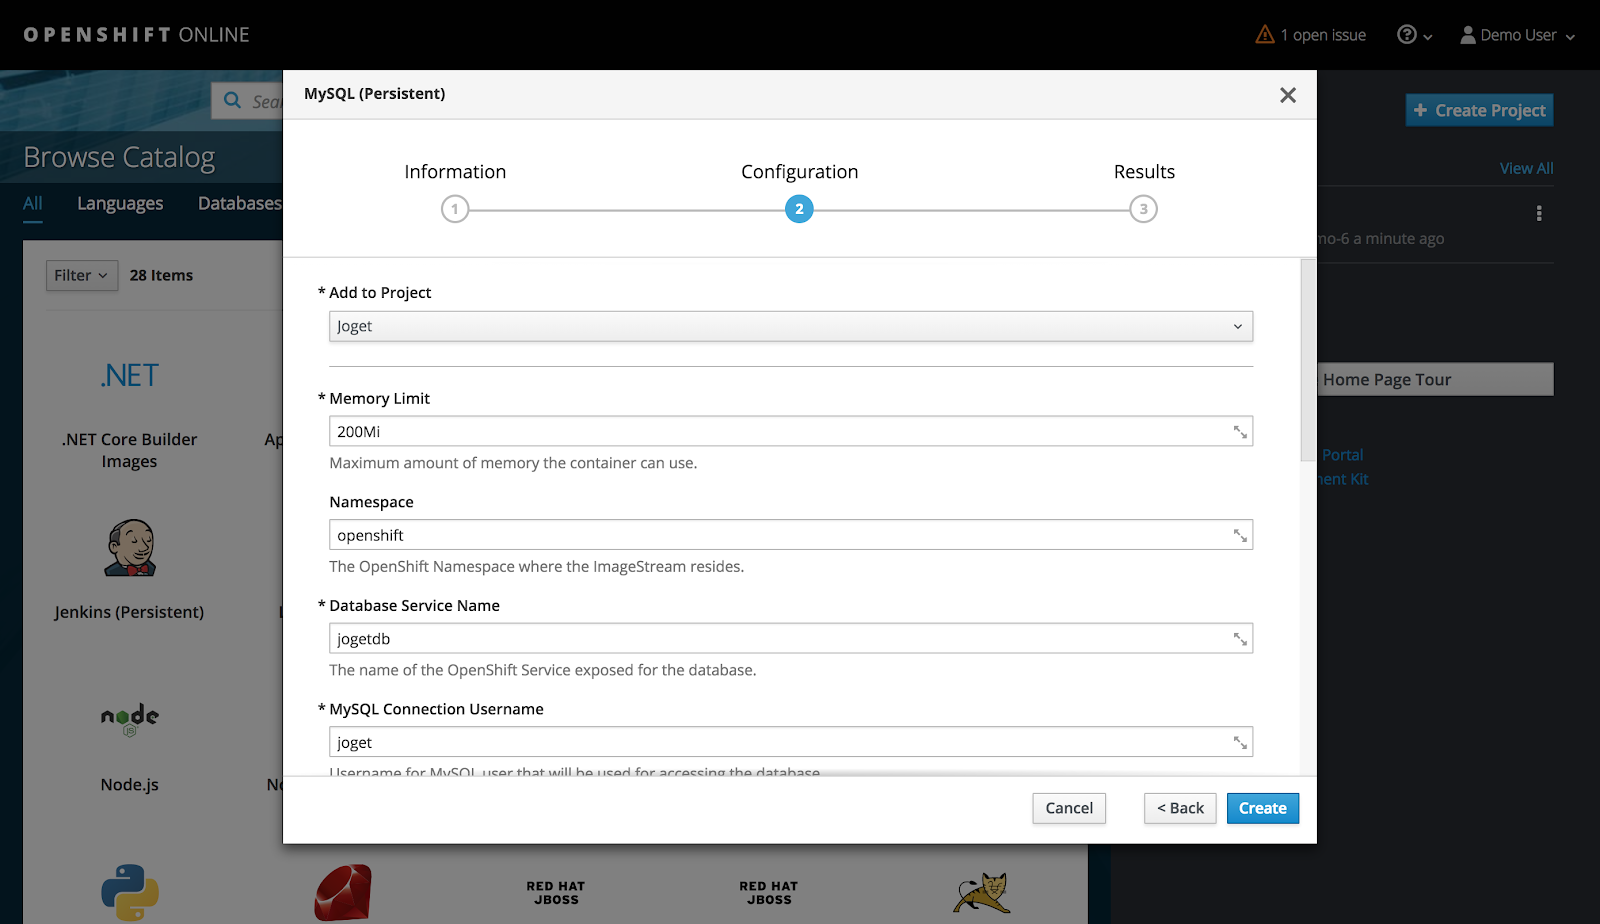
Key in the appropriate settings and click on Create e.g.
Memory Limit | 200Mi (This value is suitable for the OpenShift Starter plan which limits total memory to 1GB) |
Database Service Name | jogetdb |
MySQL Connection Username | joget |
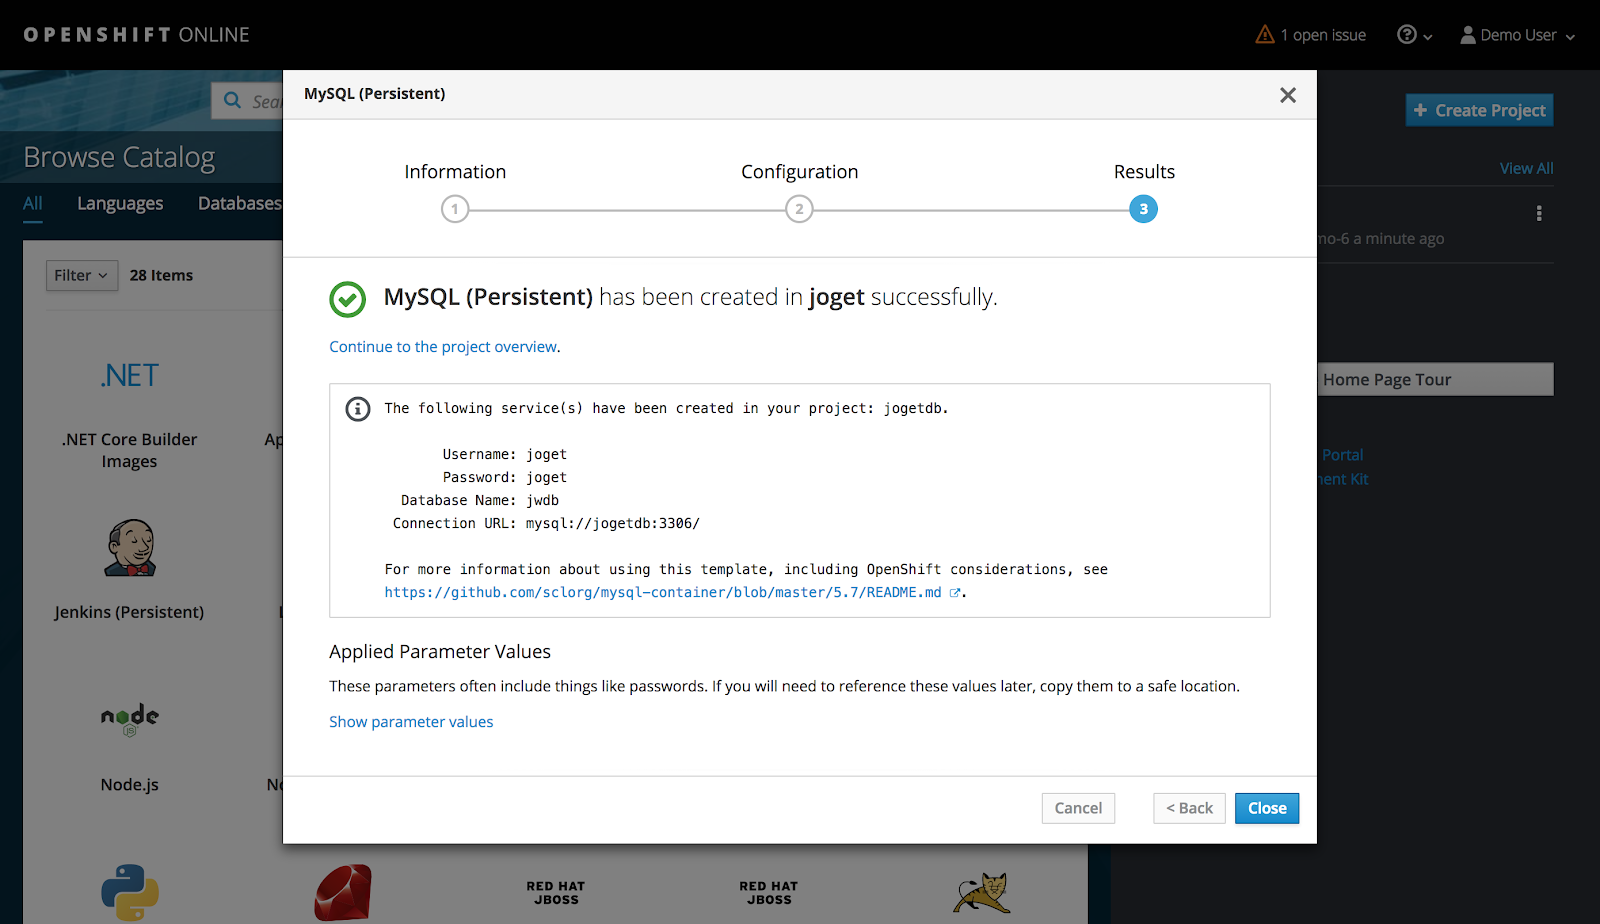
MySQL Connection Password | joget |
MySQL Database Name | jwdb |
Step 4: Deploy Joget Workflow on JBoss WildFly Application Server
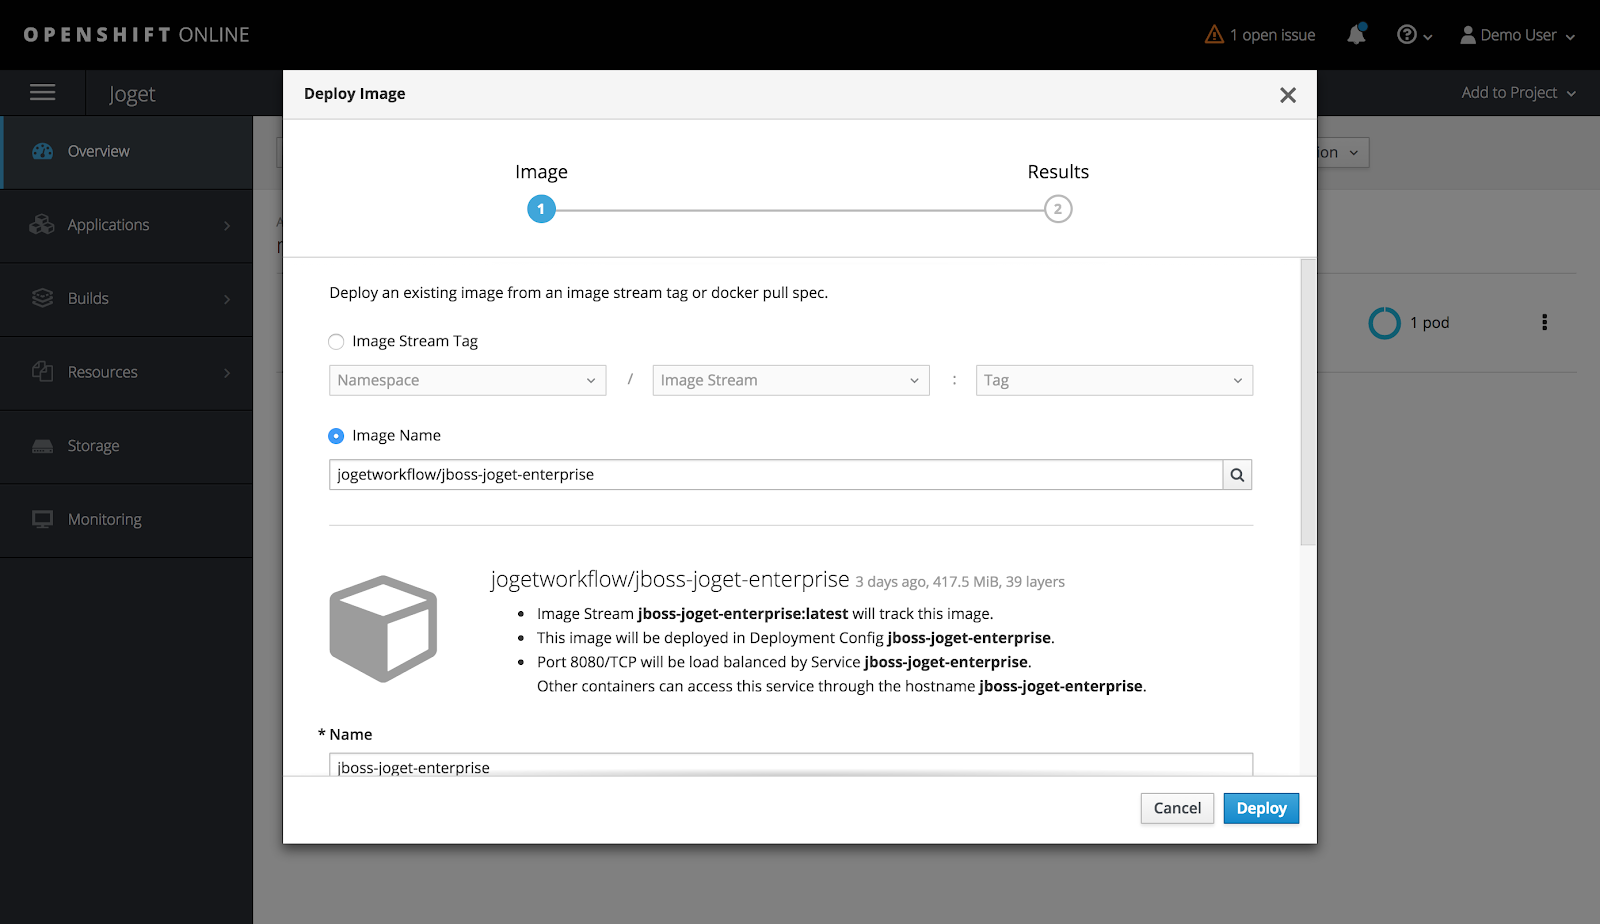
Under the selected project, select Add to Project > Deploy Image, select the Image Name option and key in jogetworkflow/jboss-joget-enterprise. Click on the small search icon to load the suitable Docker image hosted in Docker Hub.
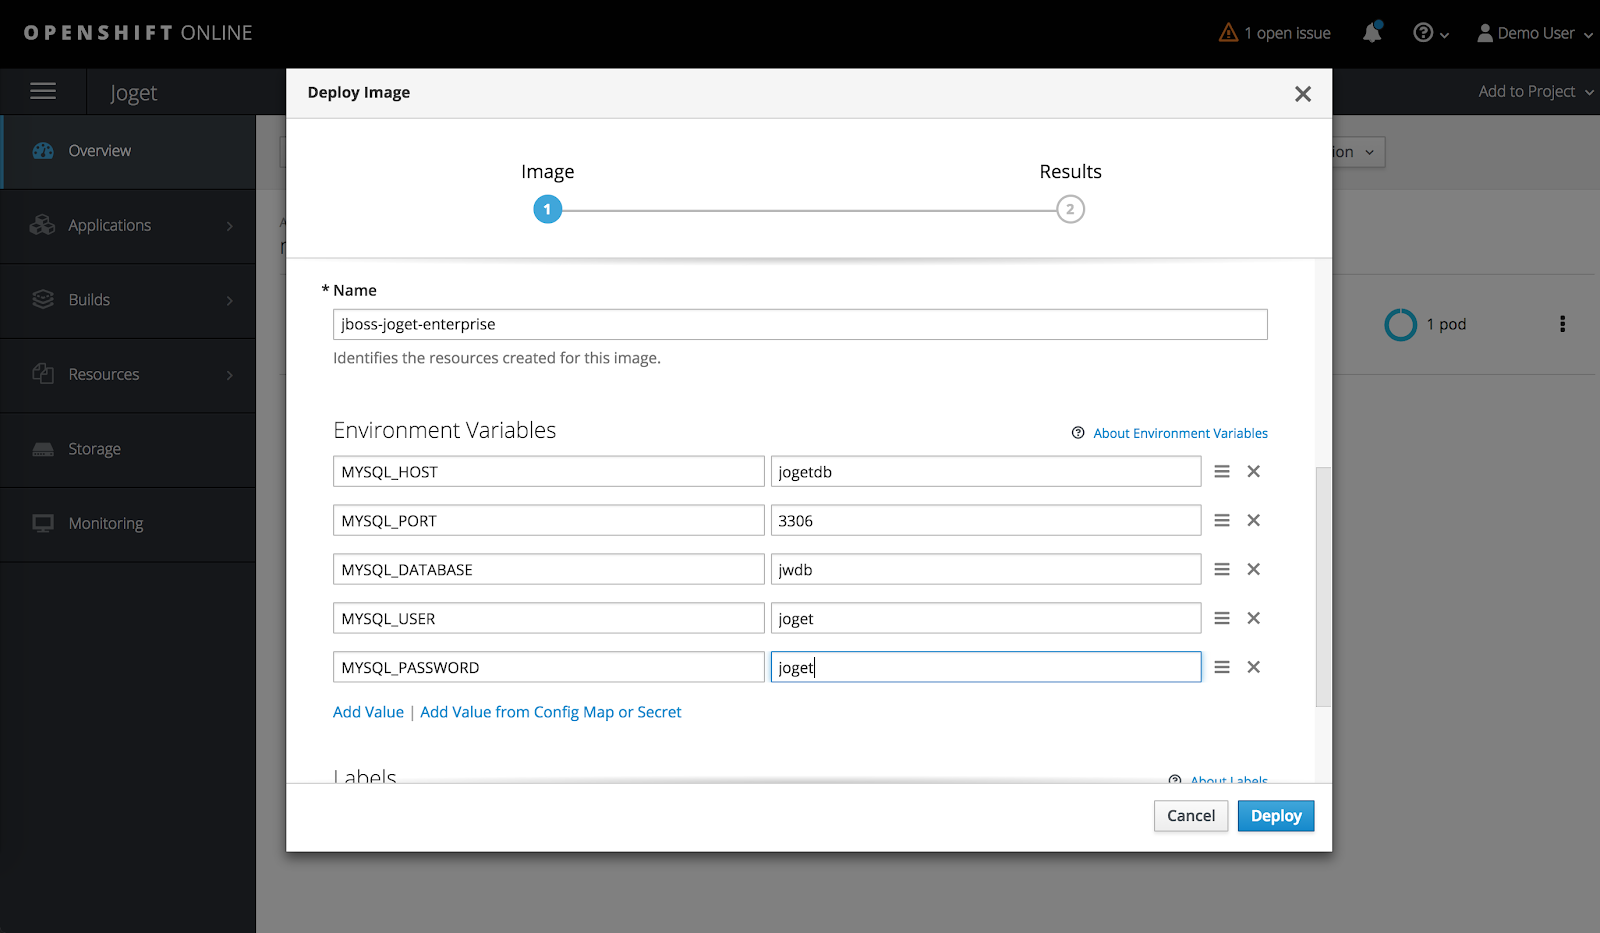
Add Environment Variables to match the previously configured database settings for the MySQL container and click on Deploy e.g.
MYSQL_HOST | jogetdb |
MYSQL_PORT | 3306 |
MYSQL_DATABASE | jwdb |
MYSQL_USER | joget |
MYSQL_PASSWORD | joget |
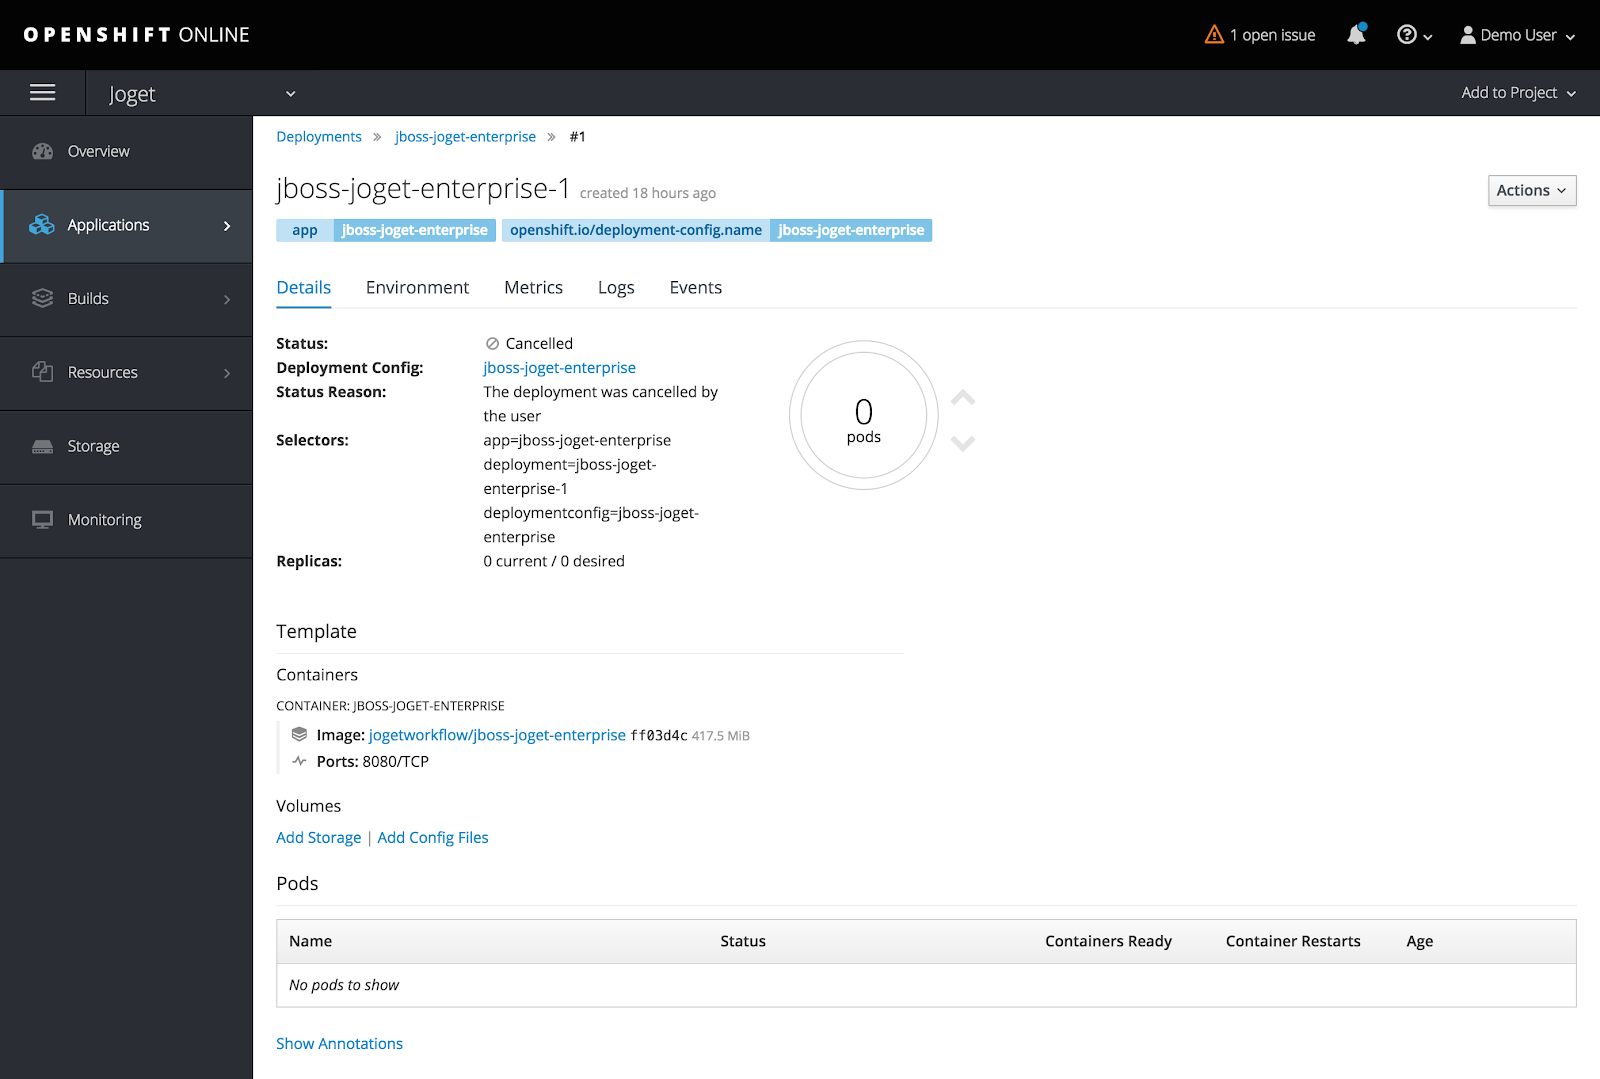
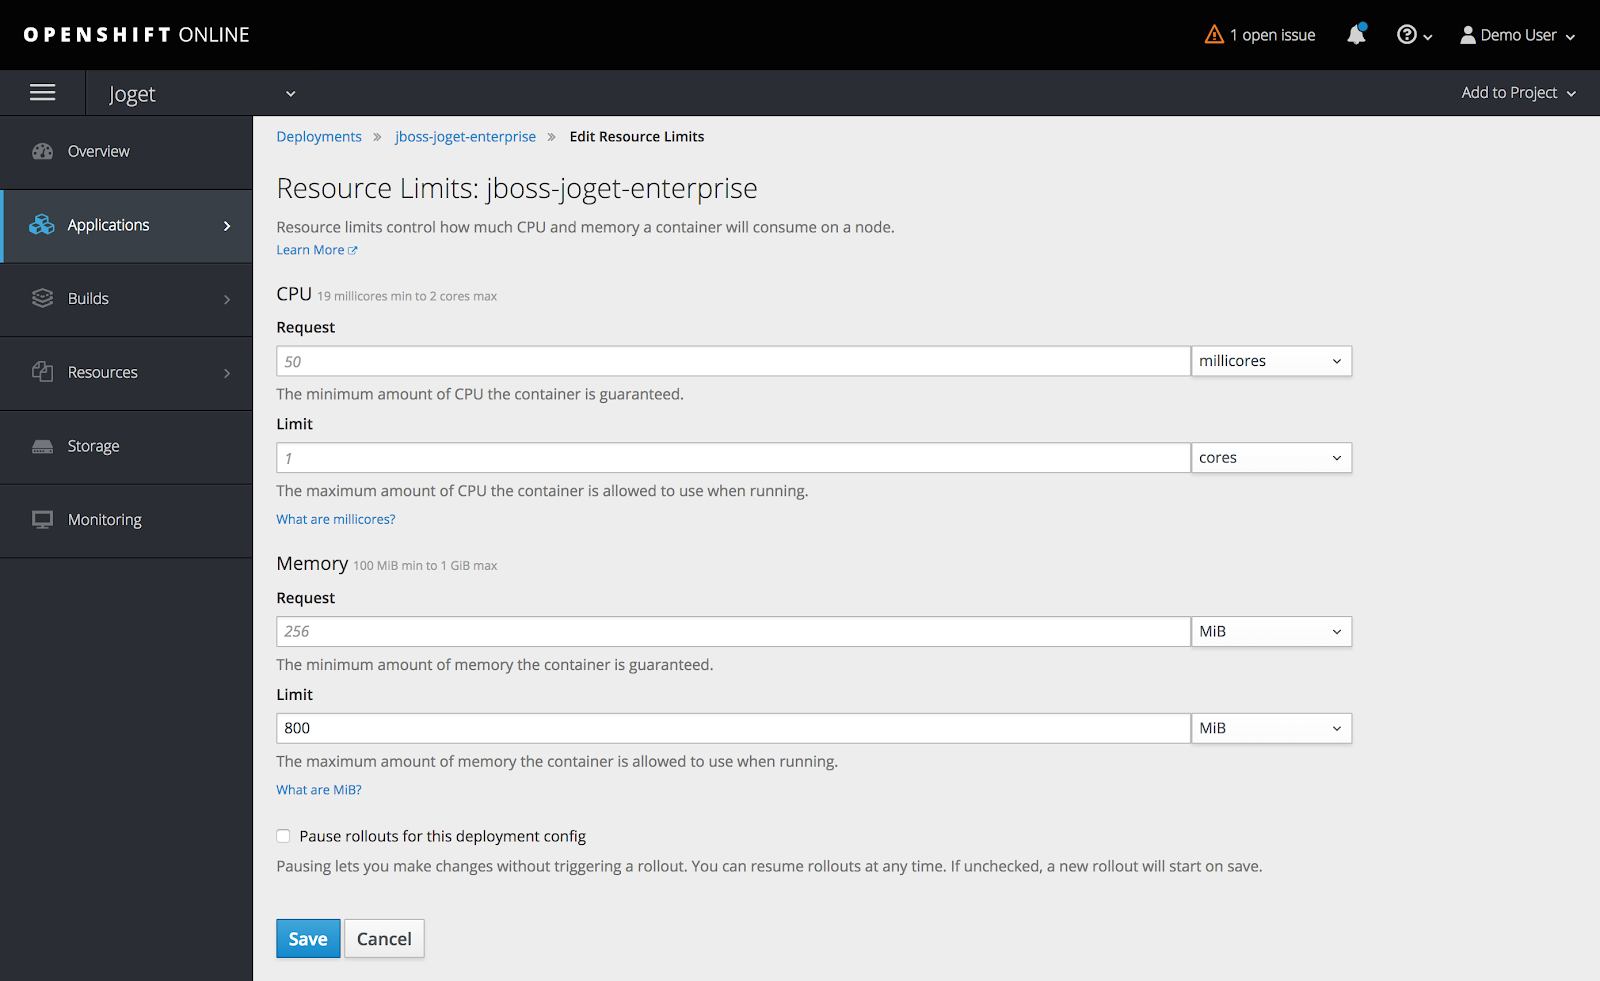
By default, the created pod (a pod is a group of one or more containers) is only allocated 512 MiB memory so we will need to allocate more resources to avoid memory errors.
Click on Applications > Deployments and select the jboss-joget-enterprise container. Reduce the running pods to zero by clicking on the down arrow.
Select Actions > Edit Resource Limits, set the Memory Limit to 800 MiB and click on Save.
Return to Applications > Deployments and select the latest jboss-joget-enterprise version. Adjust the running pod back to one by clicking on the up arrow. At this point, a new pod will start up and the status should change to Active.
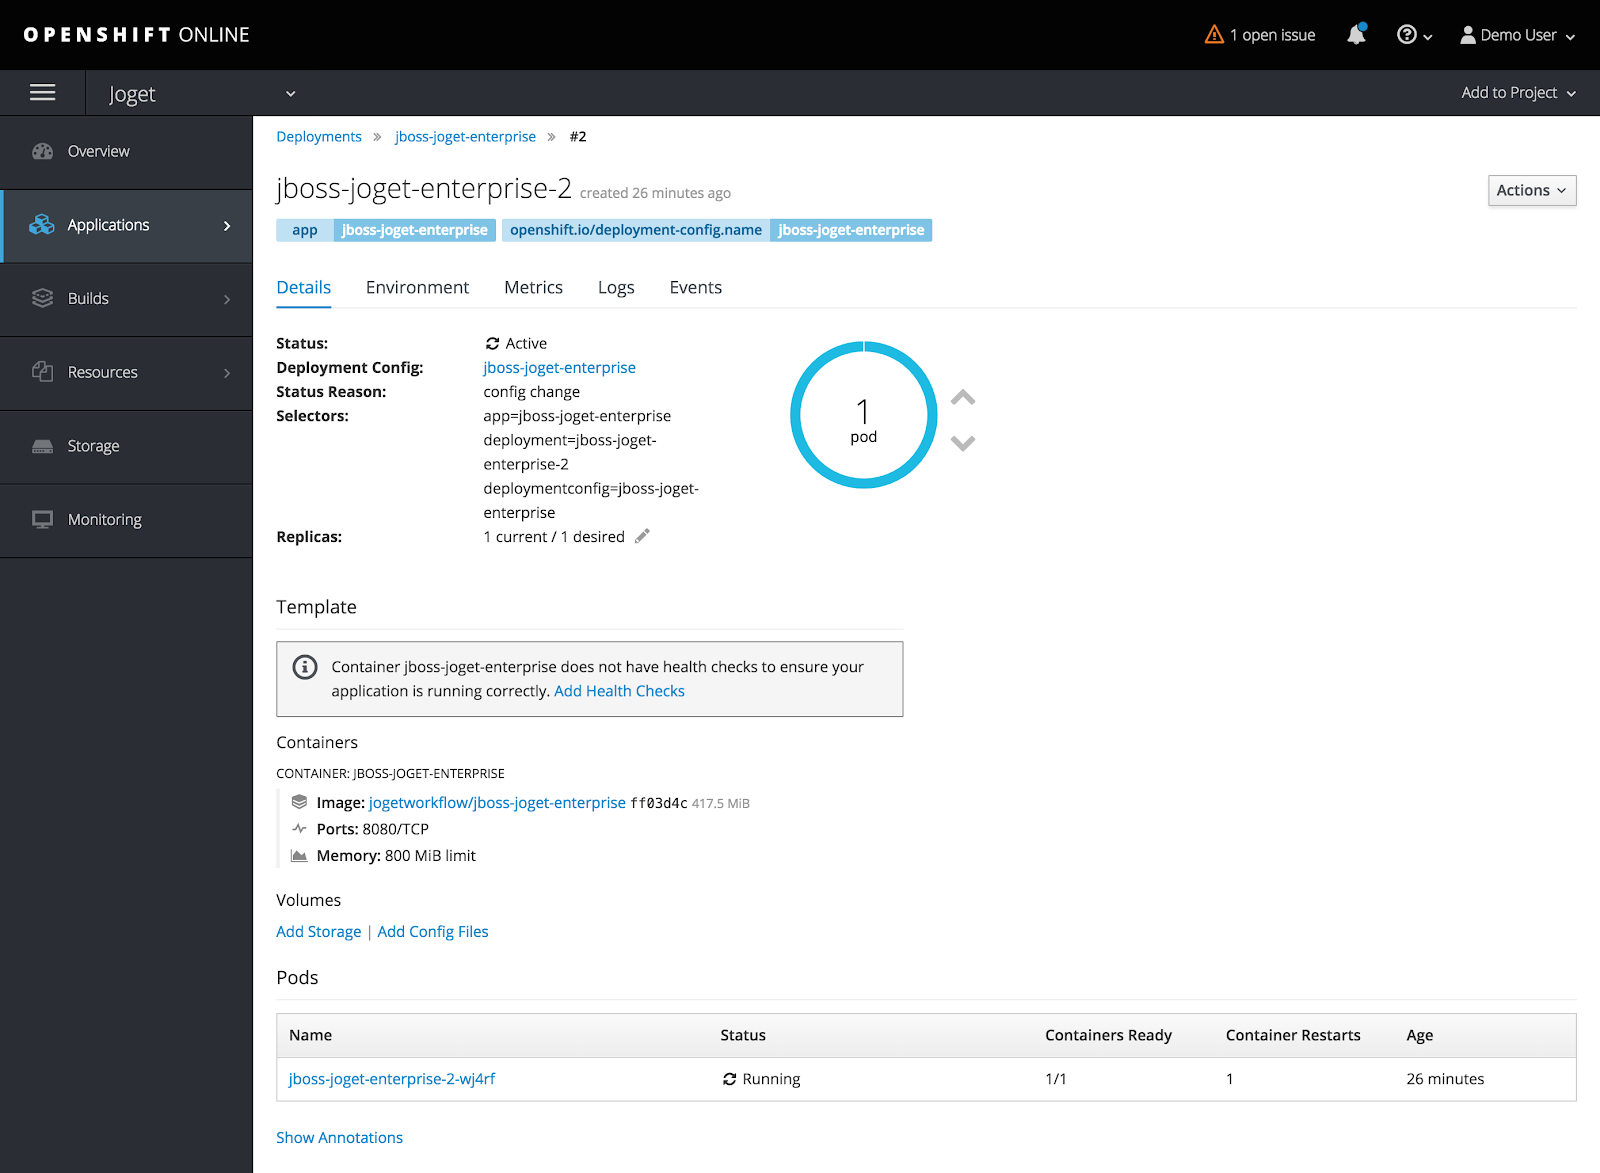
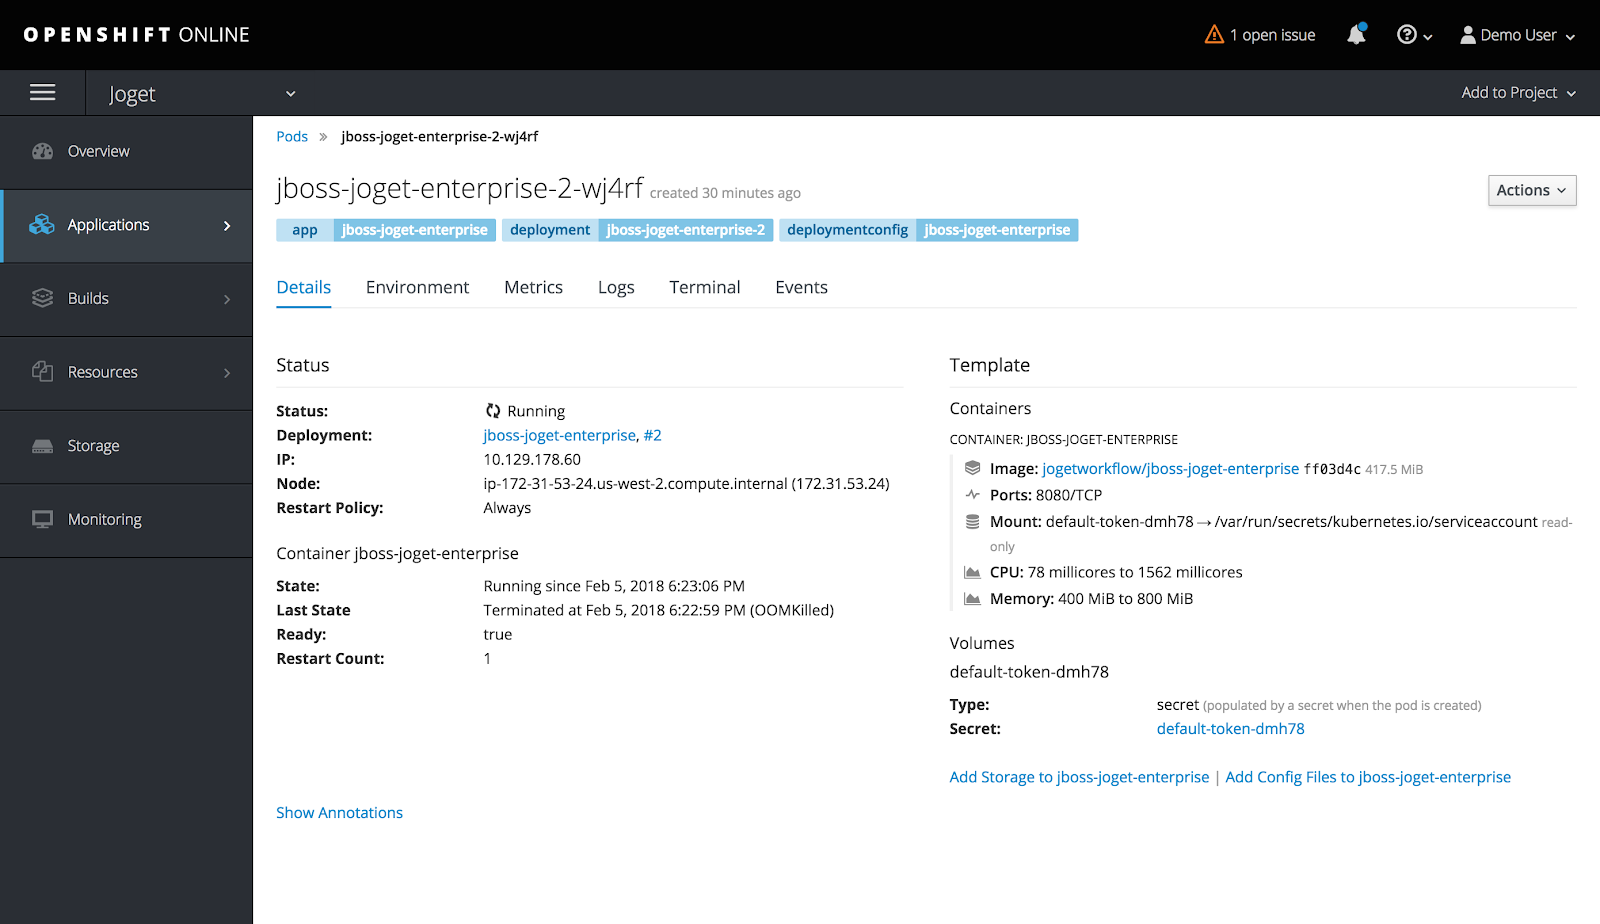
Click on the pod to view the pod details.
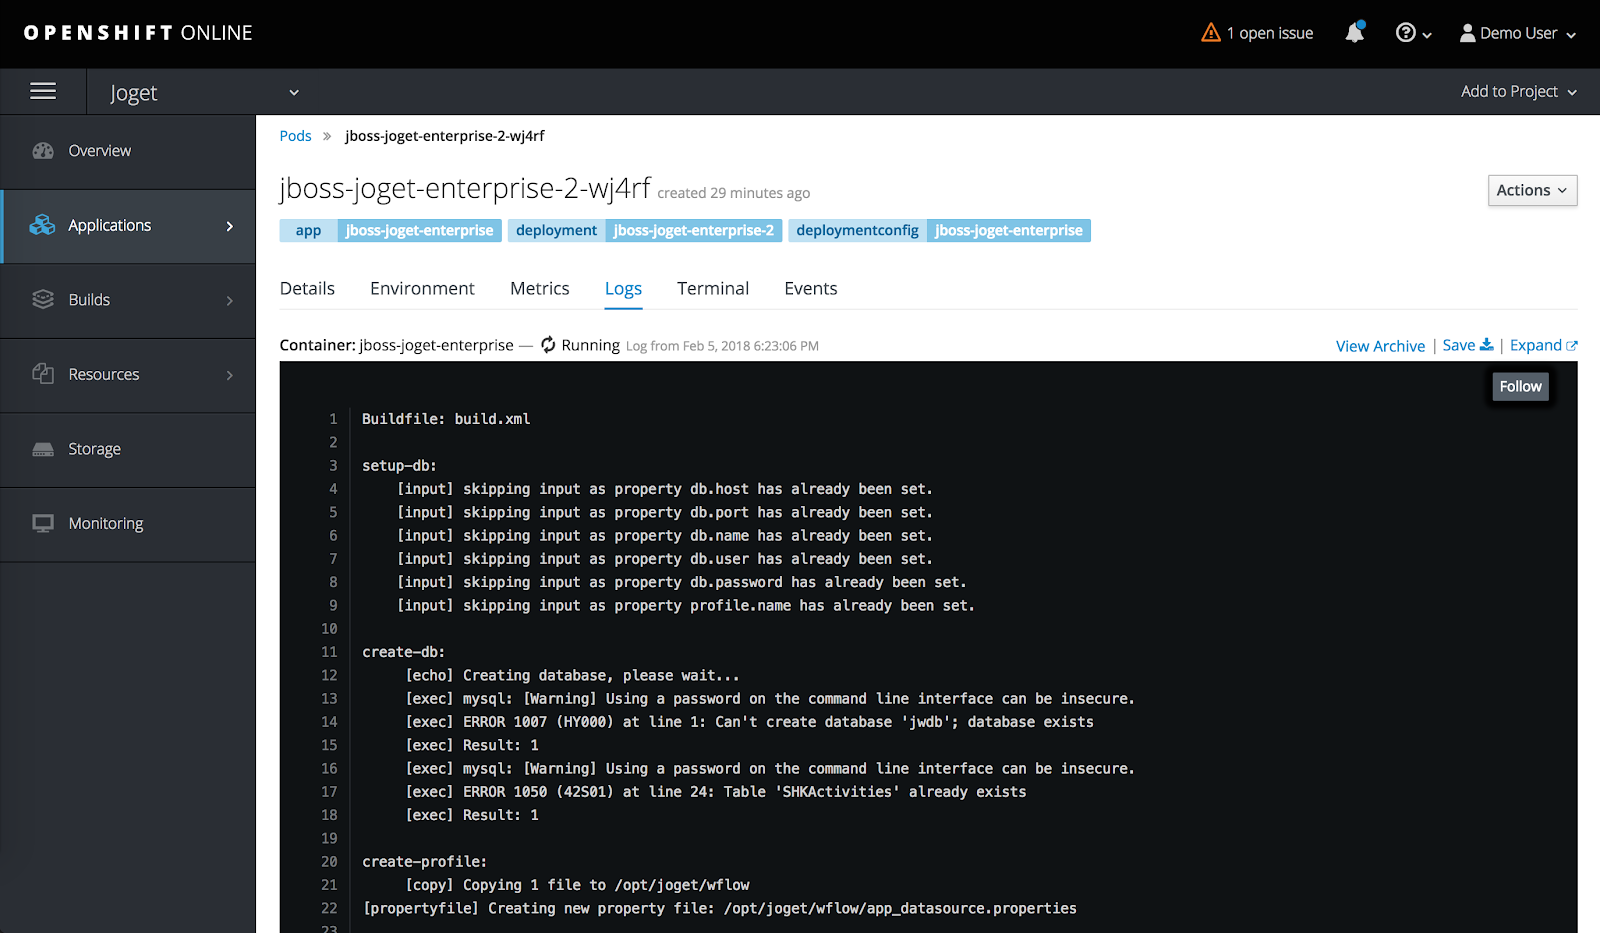
You can also view the running logs for the pod via the Logs tab.
Step 5: Create Service Route for External Access
At this point, the pod is running but is not accessible from an external web browser so you will need to create a route, which exposes a service at a host name.
Click on Applications > Services and select jboss-joget-enterprise.
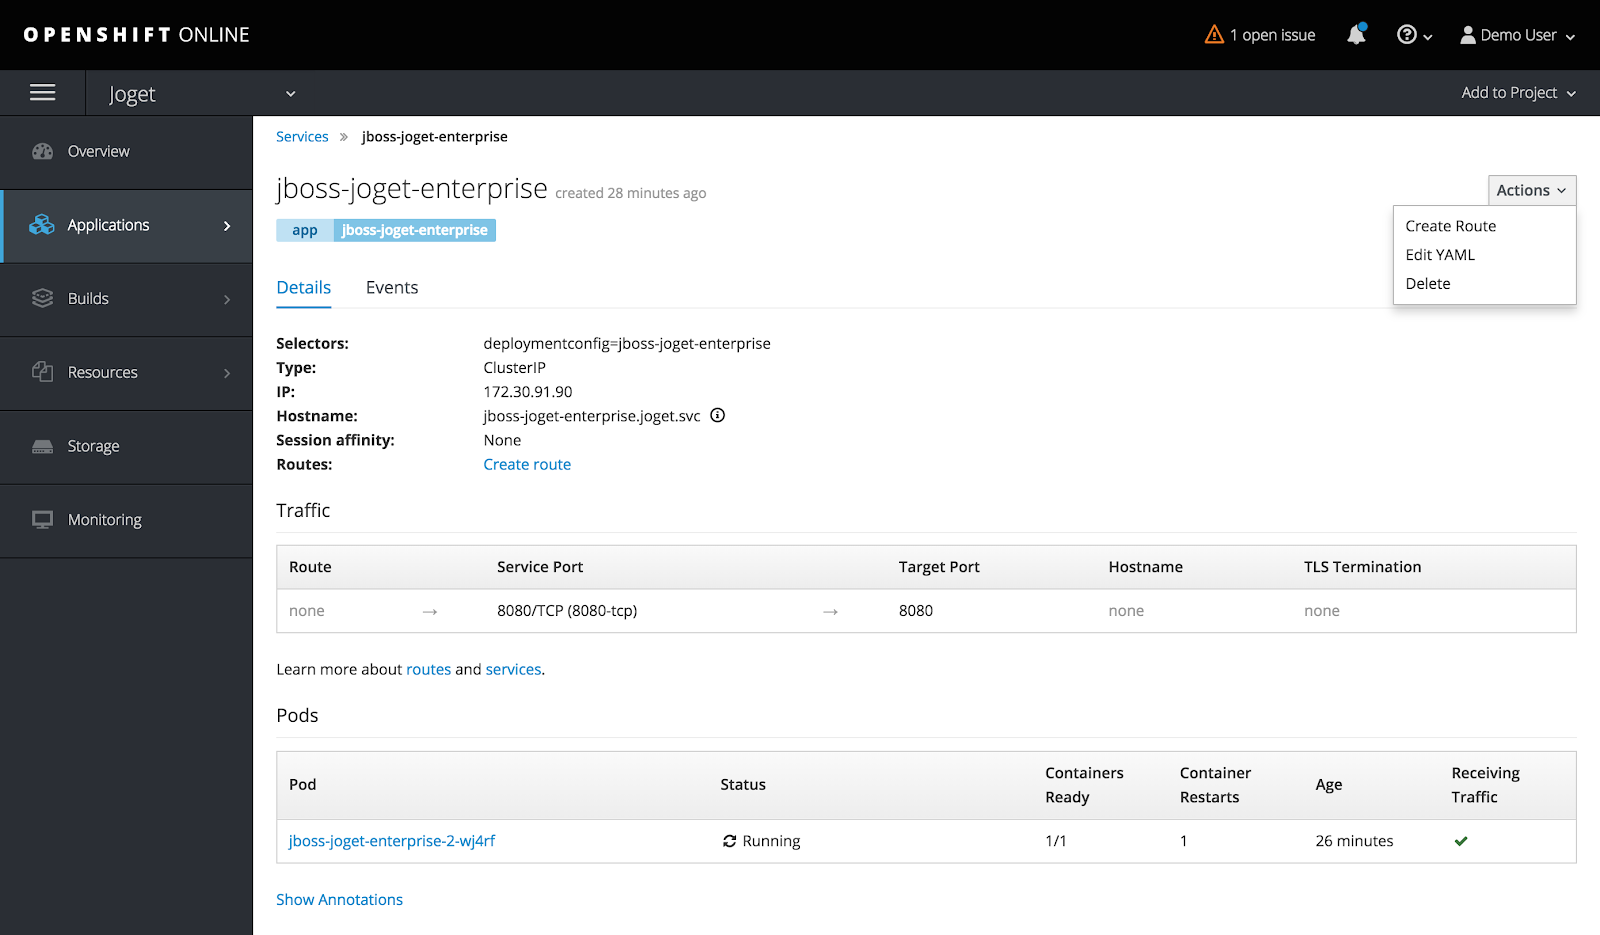
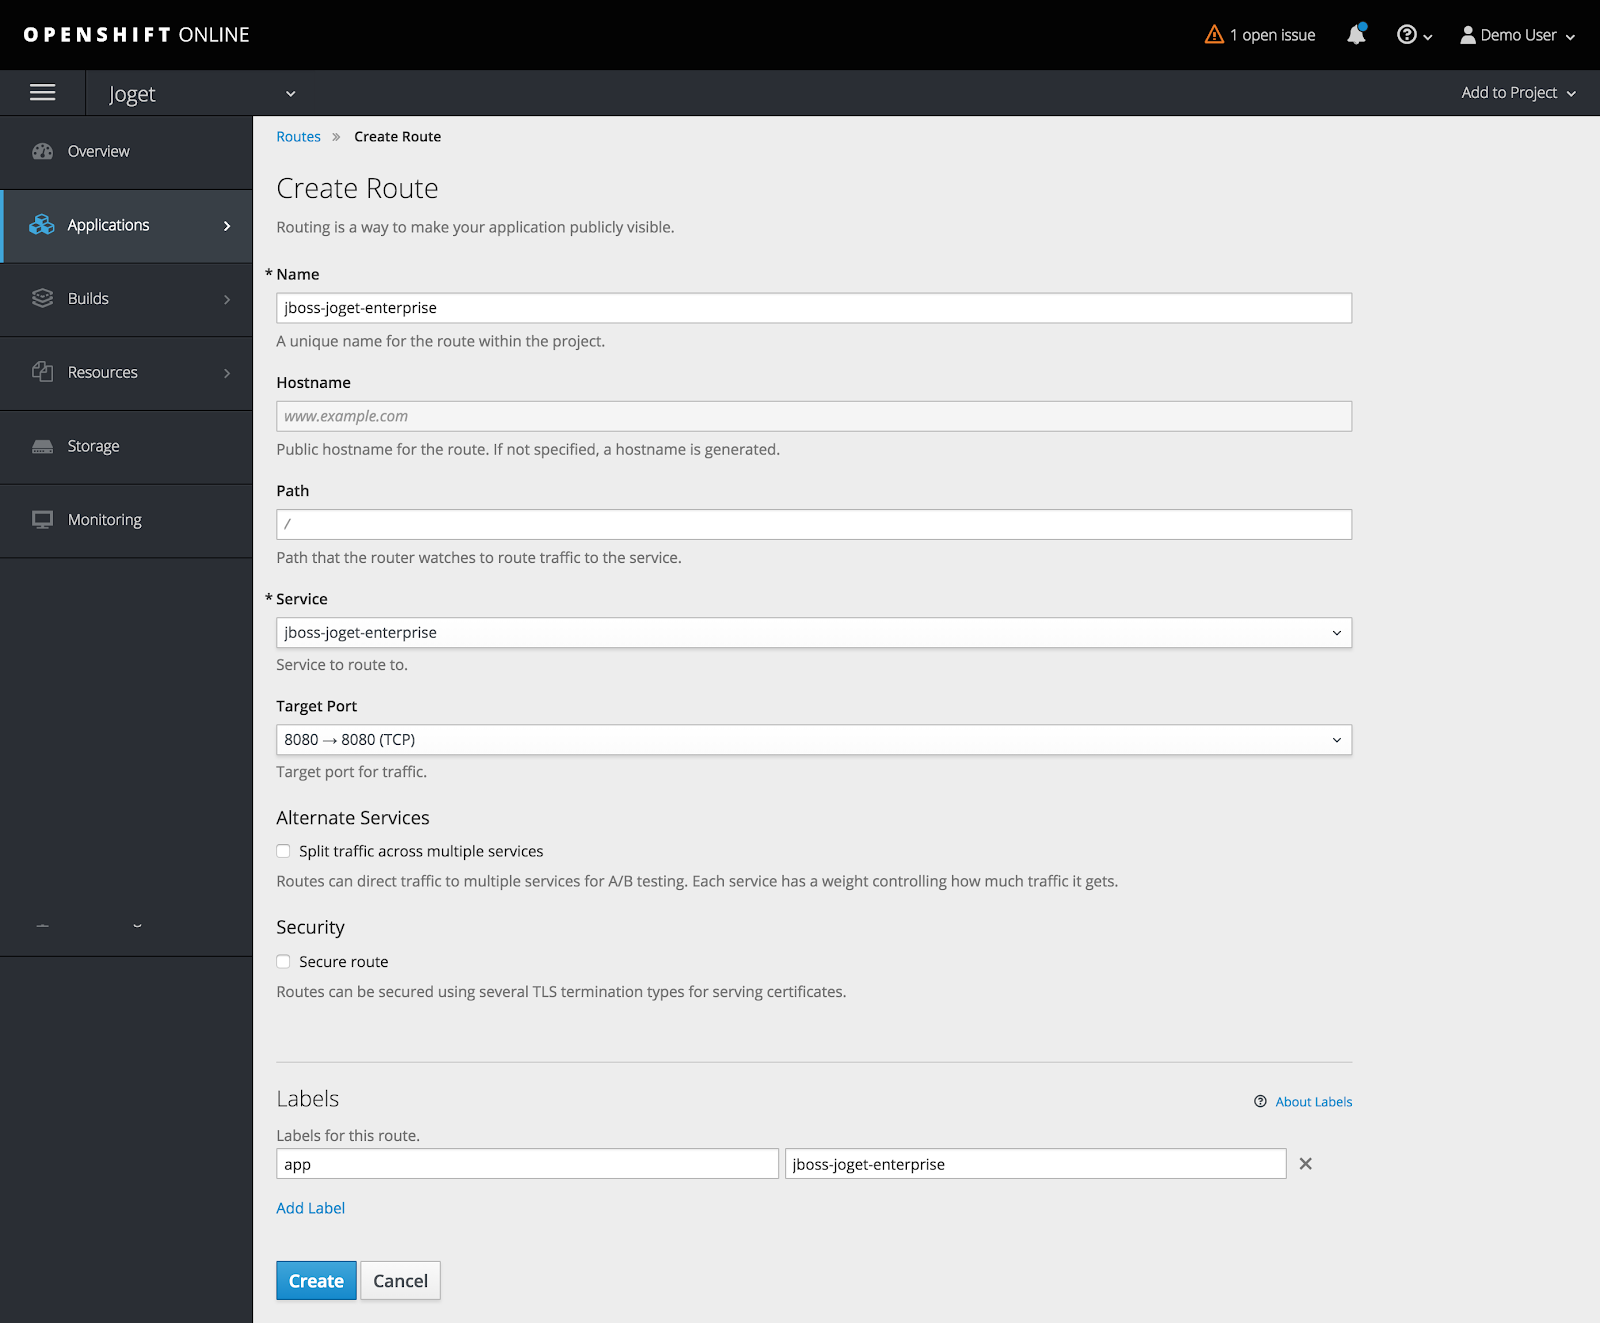
Select Actions > Create Route and click on Create.
And that’s it. Click on the host name link to access the application.
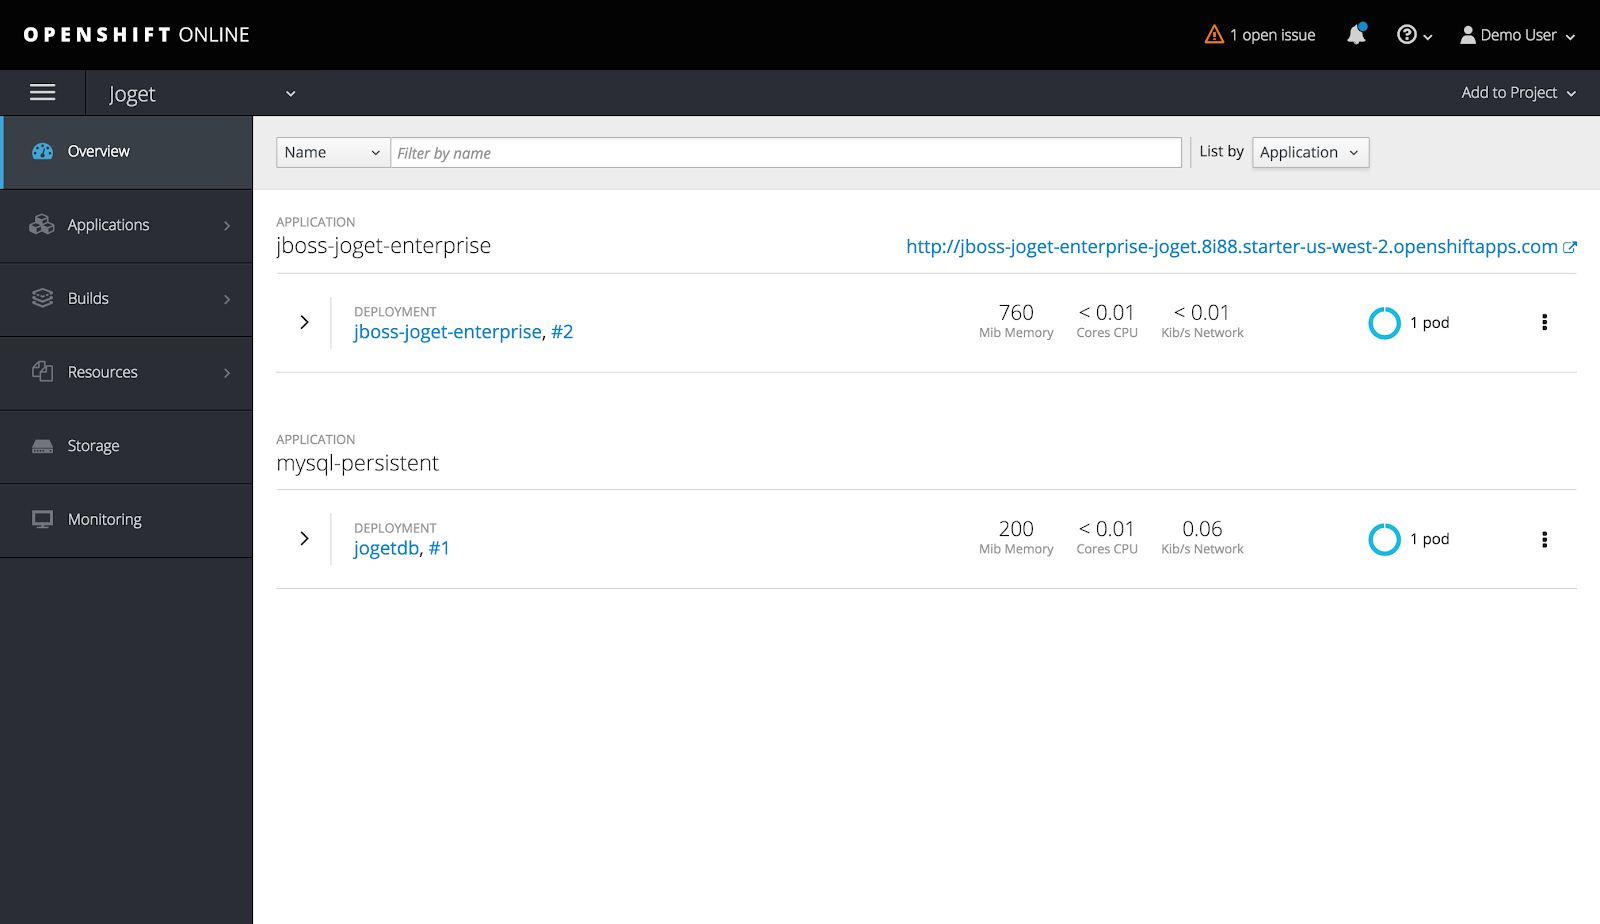
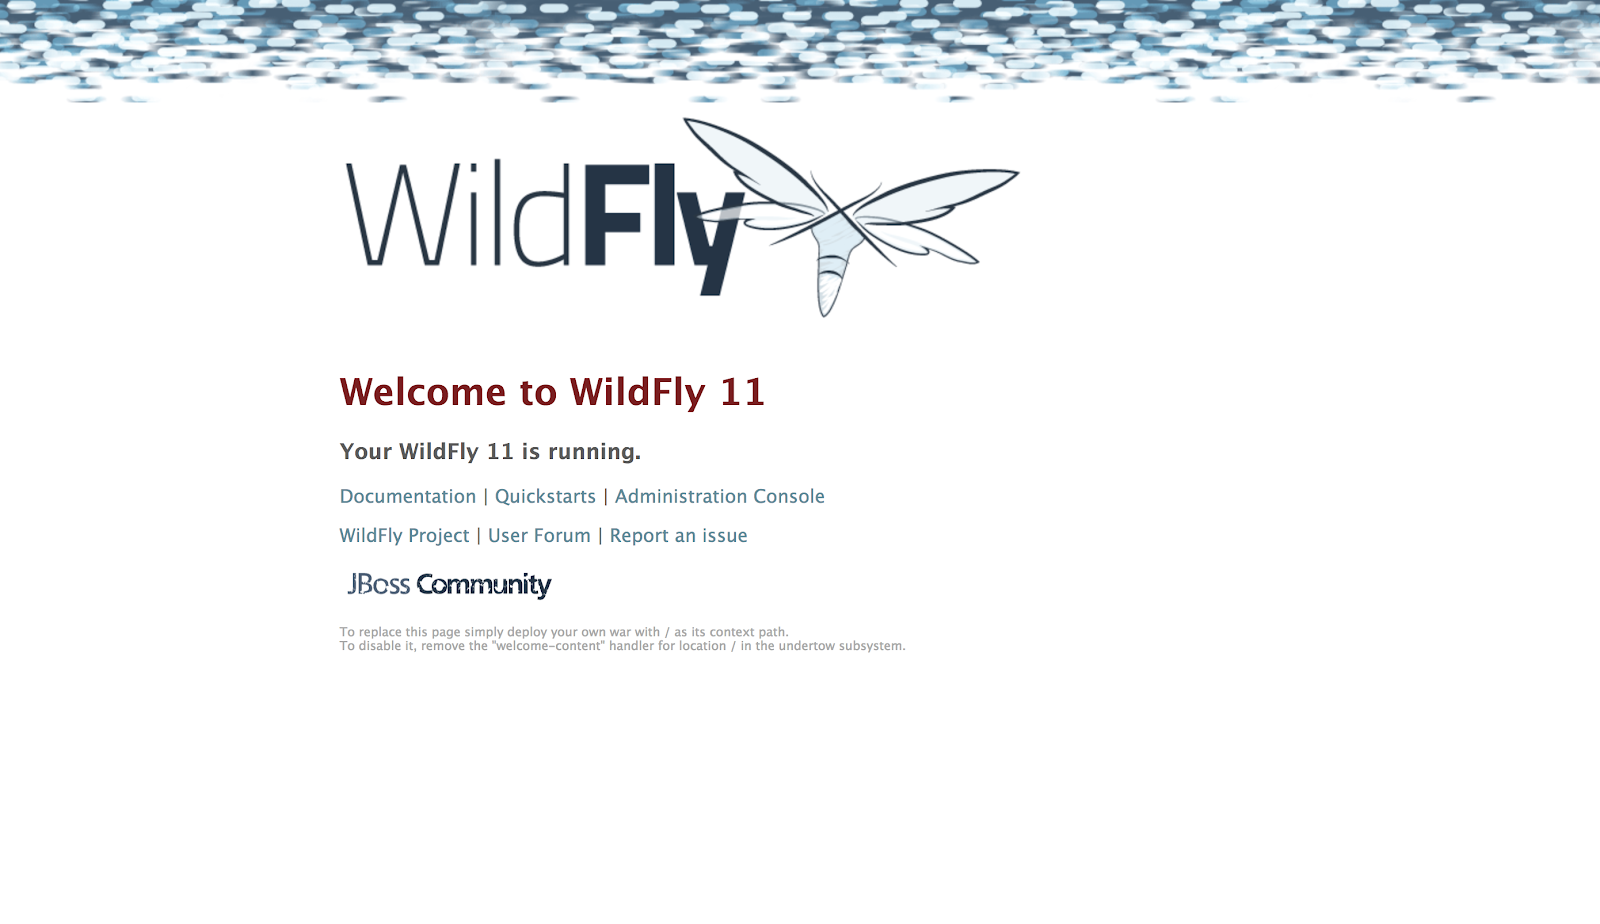
For example, in the screenshot above the URL http://jboss-joget-enterprise-joget.8188.starter-us-west-2.openshiftapps.com/ returns the WildFly welcome page.
Access Joget Workflow by adding /jw to the URL e.g. http://jboss-joget-enterprise-joget.8188.starter-us-west-2.openshiftapps.com/jw
