Introduction
Plugin Template Pack aims to factorize repetitive configurations of the same plugin throughout the same app in one place to ease future maintenance. It currently supports:-
- Datalist Formatter
- User view / Form Permission
- Process Tool
- Form Validator
with more plugin types to be supported in the future.
This plugin source code is available in a new open source repository at https://github.com/jogetoss/plugin-template-pack. JogetOSS is a community-led team for open-source software related to the Joget no-code/low-code application platform. Projects under JogetOSS are community-driven and community-supported, and you are welcome to contribute to the projects.
Get Started
The easiest way to see how the Plugin Template Pack function is to create a simple Application. Here are the steps:
Steps To Import This Plugin
1. Go to the website https://github.com/jogetoss/multi-permission
2. Go to the "Releases" page (See Figure 1).

Figure 1
3. Click on the .jar file to initiate the download (See Figure 2).

Figure 2
4. Go to your Joget Workflow localhost or server and log in as admin.
5. In Joget Console navigate to "Admin Bar > Systems Settings > Manage Plugins" and click the "Upload Plugins" button.
6. In "Upload Plugin", select the plugin .jar file you just downloaded, then click "Upload".
7. You should be able to view the newly installed plugin under the "Installed Plugins" tab.
8. Remember to always uninstall the old plugin before uploading a new version.
9. The Joget Workflow Knowledge Base has more information on managing and developing plugins.
Datalist Formatter
Steps to use the Plugin Template - Datalist Formatter Plugin:
1. Start the Joget server and open the App Center.
2. Log in as admin and click on Design New App (See Figure 3) or click on existing application.

Figure 3
3. For new applications, fill up the App ID with camel case, and App Name, and click on the "Save" button. (See Figure 4)

Figure 4
4. Create a New Form, fill up Form ID in camel case, Form Name, and Table Name then click on the Save button (See Figure 5).

Figure 5
5. Fill up the form with several fields, save it and then click the "Generate App" button (See Figure 6).

Figure 6
6. After Clicking the "Generate App" button, generate the app with CRUD and Datalist included (See Figure 7).

Figure 7
8. After generating the app, Launch the UI Builder by clicking on the newly created CRUD. (See Figure 8).
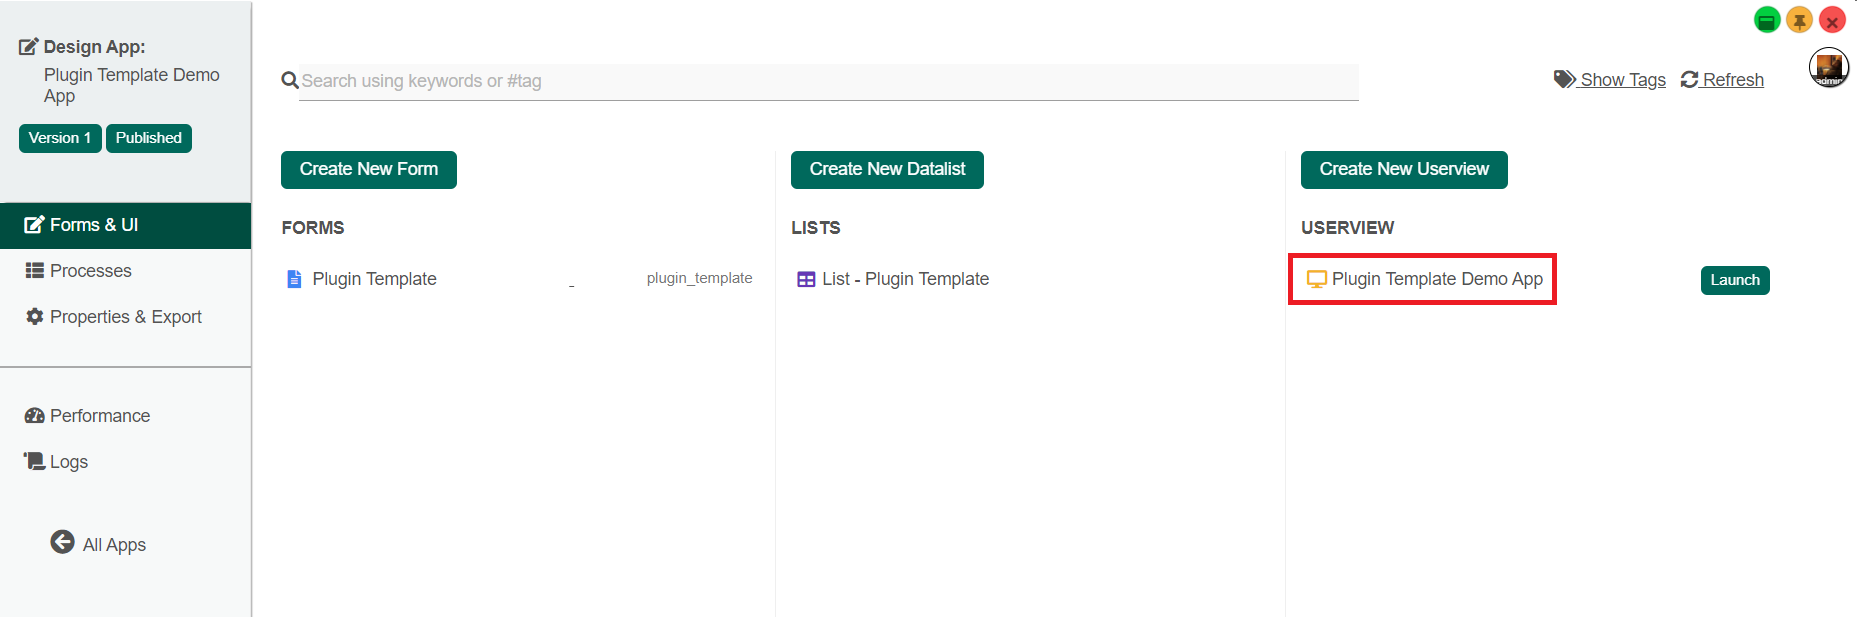
Figure 8
9. Navigate the user view menu elements and add the "Plugin Template Management" to the User view Menu. (See Figure 9).

Figure 9
10.
User view / Form Permission
Steps to use the Plugin:
Process Tool
Steps to use the Plugin:
Form Validator
Steps to use the Plugin: