This feature is enhanced in Joget DX to support image resizing options
Introduction
File Upload enables you to attach a file to a form.
File uploaded through the File Upload is stored under "[Joget Installation Directory]/wflow/app_formuploads".
How to set to a different storage path?
There are 2 ways you can change the wflow folder path:
1. By adding "-Dwflow.home=PATH" to your JAVA_OPTS when starting tomcat.
2. By setting the "Uploaded File Storage Base Path" option in General Settings.
Get Started
The easiest way to see how the File Upload works are to use the existing built-in App Expenses Claims. Here are the steps:
- Start the Joget Server and open the App Center.
- Log in as admin and click on the pencil icon on the Expenses Claim to open the App Composer (see Figure 1).
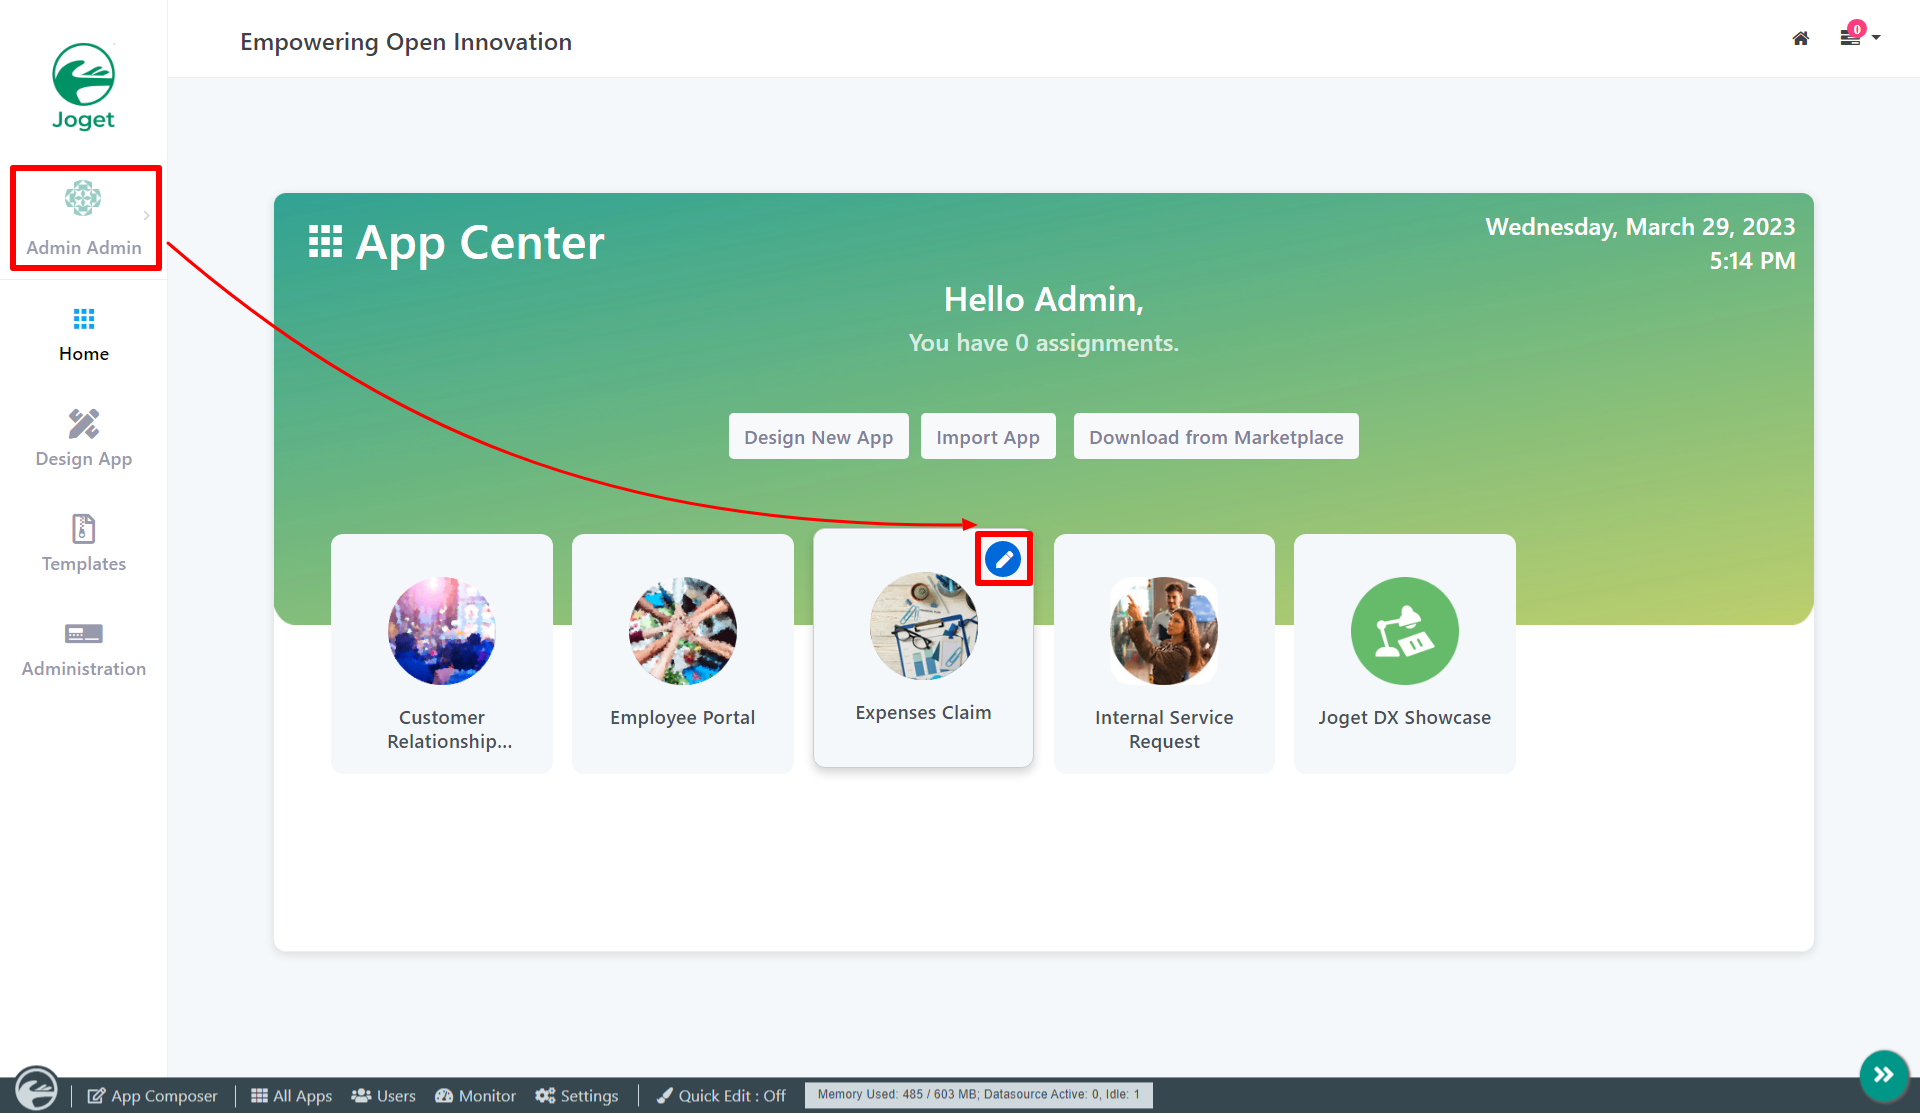
Figure 1 - Click on Expense Claim Form and you will be directed to the Form Builder.
Hover the mouse over the File Upload element on the canvas entitled Attachments (i.e. Receipts, tickets etc.) and click it to open up the Configure File Upload properties (see Figure 2).

Figure 2- Remember to click Apply Change and Save the changes.
- To see it working, head back to the App Composer and click the Launch button in the UI column.
- Click on Create a New Expense Claim button on the Dashboard, fill up the necessary details and click Continue Next Screen.
- Here you will find the file upload. Click inside the box to upload or drag and drop files inside the box.
File Upload Properties
Edit File Upload

| Name | Description |
| Label | Element Label to be displayed to the end-user. |
| ID | Element ID (By declaring as "receipt", a corresponding database table column "c_receipt" will be created) Please see Form Element for more information about defining the ID and list of reserved IDs. |
Advanced Options
Data

| Name | Description |
|---|---|
| Validator | Attach a Validator plugin to validate the input value. When will validation takes place? Validation will take place whenever a form is submitted except when it is submitted as "Save as Draft". |
Maximum File Size (KB) | Maximum File Size (KB) in Integer. For example, if the maximum allowable file size is 10 megabytes, enter into this field the value of "10240" which represent 10,240 kilobytes. |
Error Message (File size limit exceeded) | Error Message when file size exceeded. |
File Type (.pdf;.doc) | Accepted file type extension(s). (Semicolon separated values) Example .pdf;.doc |
Error Message (File type mismatch) | Error Message when file type mismatched. |
Delete actual file during overwrite or remove? | Actual file will be deleted when the file is removed or being overwritten. |
Image Resize

Name | Description |
|---|---|
| Maximum Width (px) | If set, images will be resized to these dimensions before being uploaded. |
| Maximum Height (px) | If set, images will be resized to these dimensions before being uploaded. |
| Quality (Max 1.0) | set the quality of the resized image. |
| Method | sets how the images should be scaled down in case both Maximum Width (px) and Maximum Height (px) are provided. There are only two methods:
|
Permission

| Name | Description |
|---|---|
| Permission | Manage on who is able to access the file uploaded. Read more at Permission Control. Available options:
|
UI

| Name | Description |
|---|---|
| Size | Specifies the width, in characters, of an <input> element. |
Allowed multiple files upload? | When checked, multiple files can be uploaded. |
| Readonly | Determines if one can upload a file. |
| Drop zone padding | Determine the extra size of padding for the larger drop zone. Example 50px Example 5% |
Download as Attachment | Determines the download behavior. |